Theta and Paralldoxs on Worldlines Guide
Theta and Paralldoxs on Worldlines — Chapter 4 — Emergence Hints
Level hint tables — Chapter 4 — Emergence Hints
Last updated: October 19, 2026
Quick Answer
Box split, walls, meta levels 4-X / 4-Y — hardest box chapter.
Chapter 4 — Emergence Hints
Hub: main guide.
Chapter 4 — Emergence (1/2)
Beginning in Chapter 3, you will continue to experience high levels of Gimmicks using boxes. The difficulty level will also increase.
| ID | Level | Revelation | Hints |
|---|---|---|---|
| 4-1 | Duality | Recap level. Combines the spacing technique used in 1-18 with the collision. | |
| 4-2 | Terminus | Recap level 2: Utilize the end-to-end splitting technique used in 1-19. | |
| 4-3 | Tic-tac-toe | Most of the levels are covered with spikes and there is no terrain available for boxing. We will use the techniques and divisions used in 4-1 to create the boxing. | |
| 4-4 | anabolic (vs)/ | Box-packing split tutorial. If Theta box-packs while holding a fork, box-packing Theta can split too. | |
| 4-5 | Ostrich | You want to place box-packing Theta on the goal, but corners and switch blocks block the way. Use split behavior when surrounded to get past switch blocks. Theta walled in shows which way box-packing Theta is facing. | |
| 4-6 | Butterfly | Two goals are blocked by thorns, and only one theta can push the boxed theta. Use the movement of the box during the split. | |
| 4-7 | Domestic Rabbit | The goal is blocked by a 2-cell thorn, so you'll need to line up two boxes to get past the thorn. | |
| 4-8 | Turtle | I want to take the box out of the wall using splitting, but I can't take it out just by splitting the box. Use the Theta Split at the same time as the Box Split. | |
| 4-9 | Earthworm | Two boxes must be lined up to push the switch, and the theta to push the box must be left waiting in the passage below. You can swap theta and box positions in the application of the 4-8 technique. | |
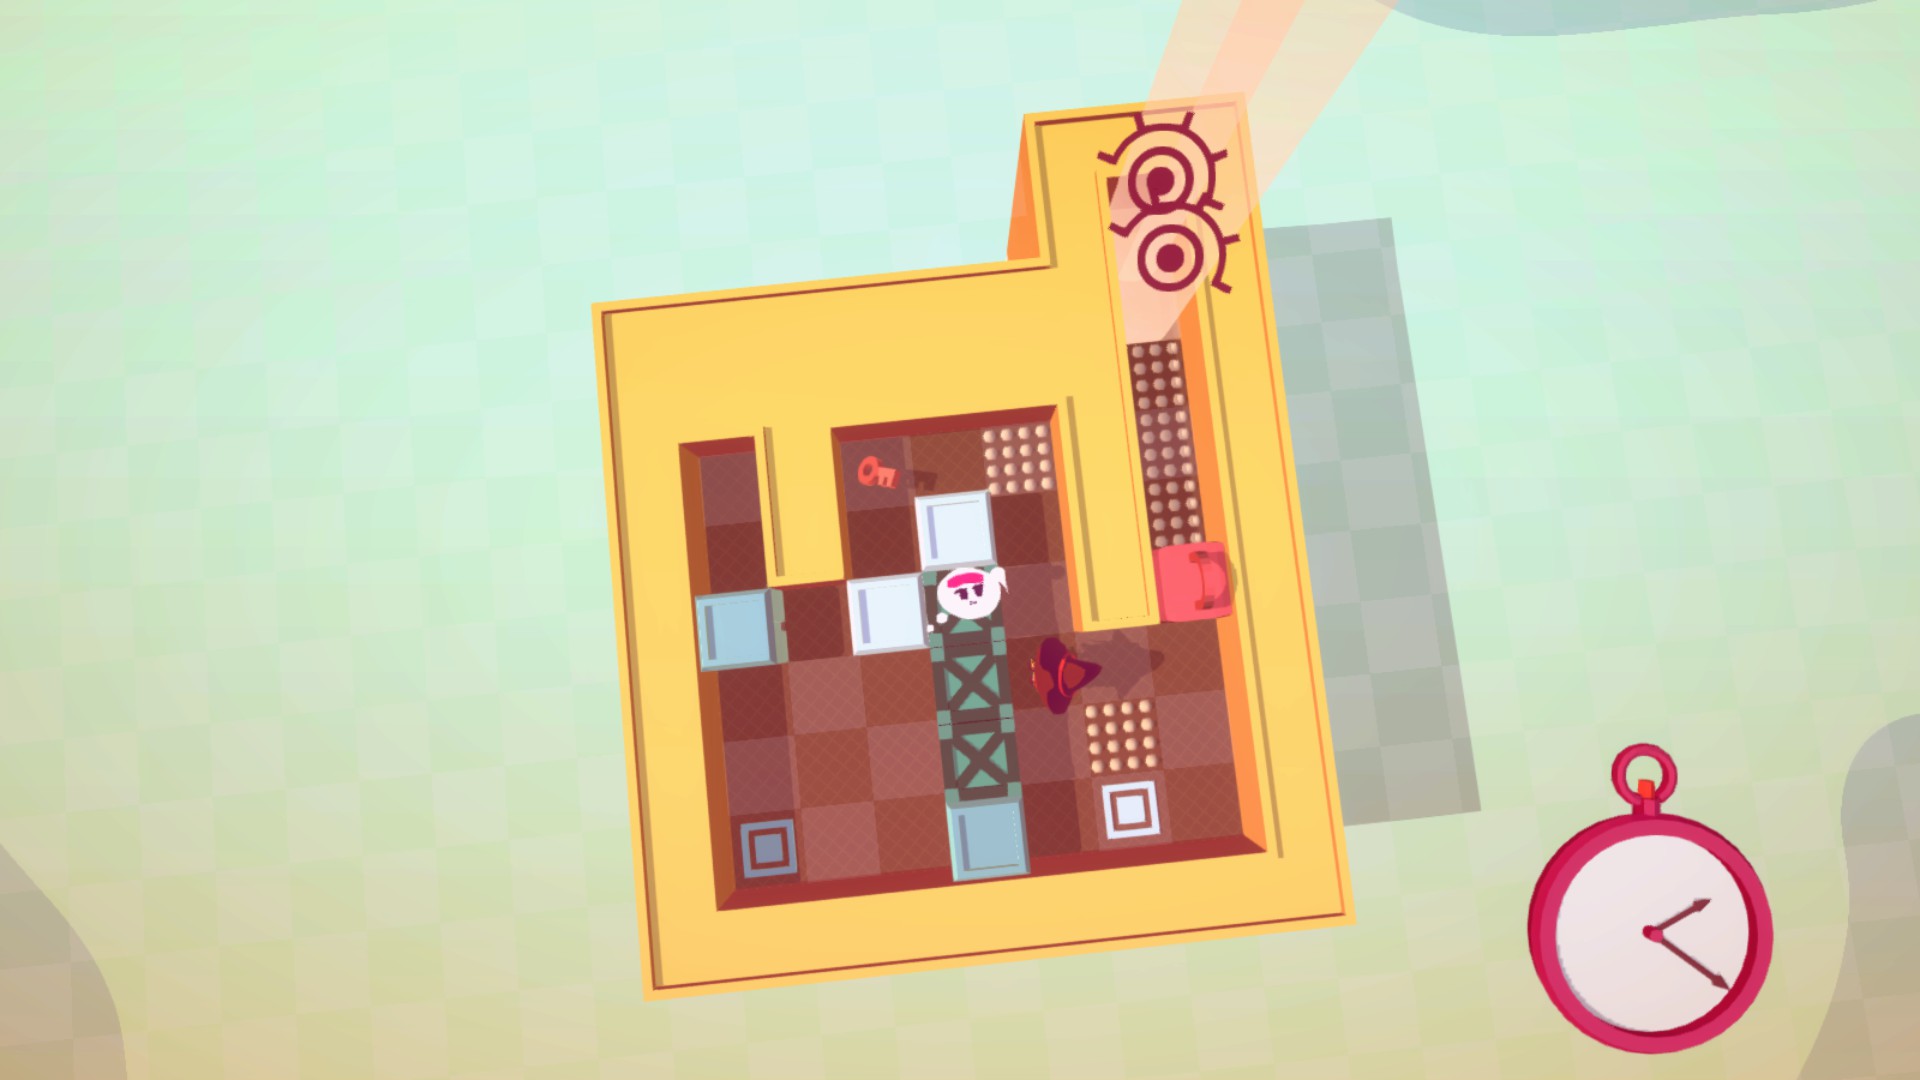
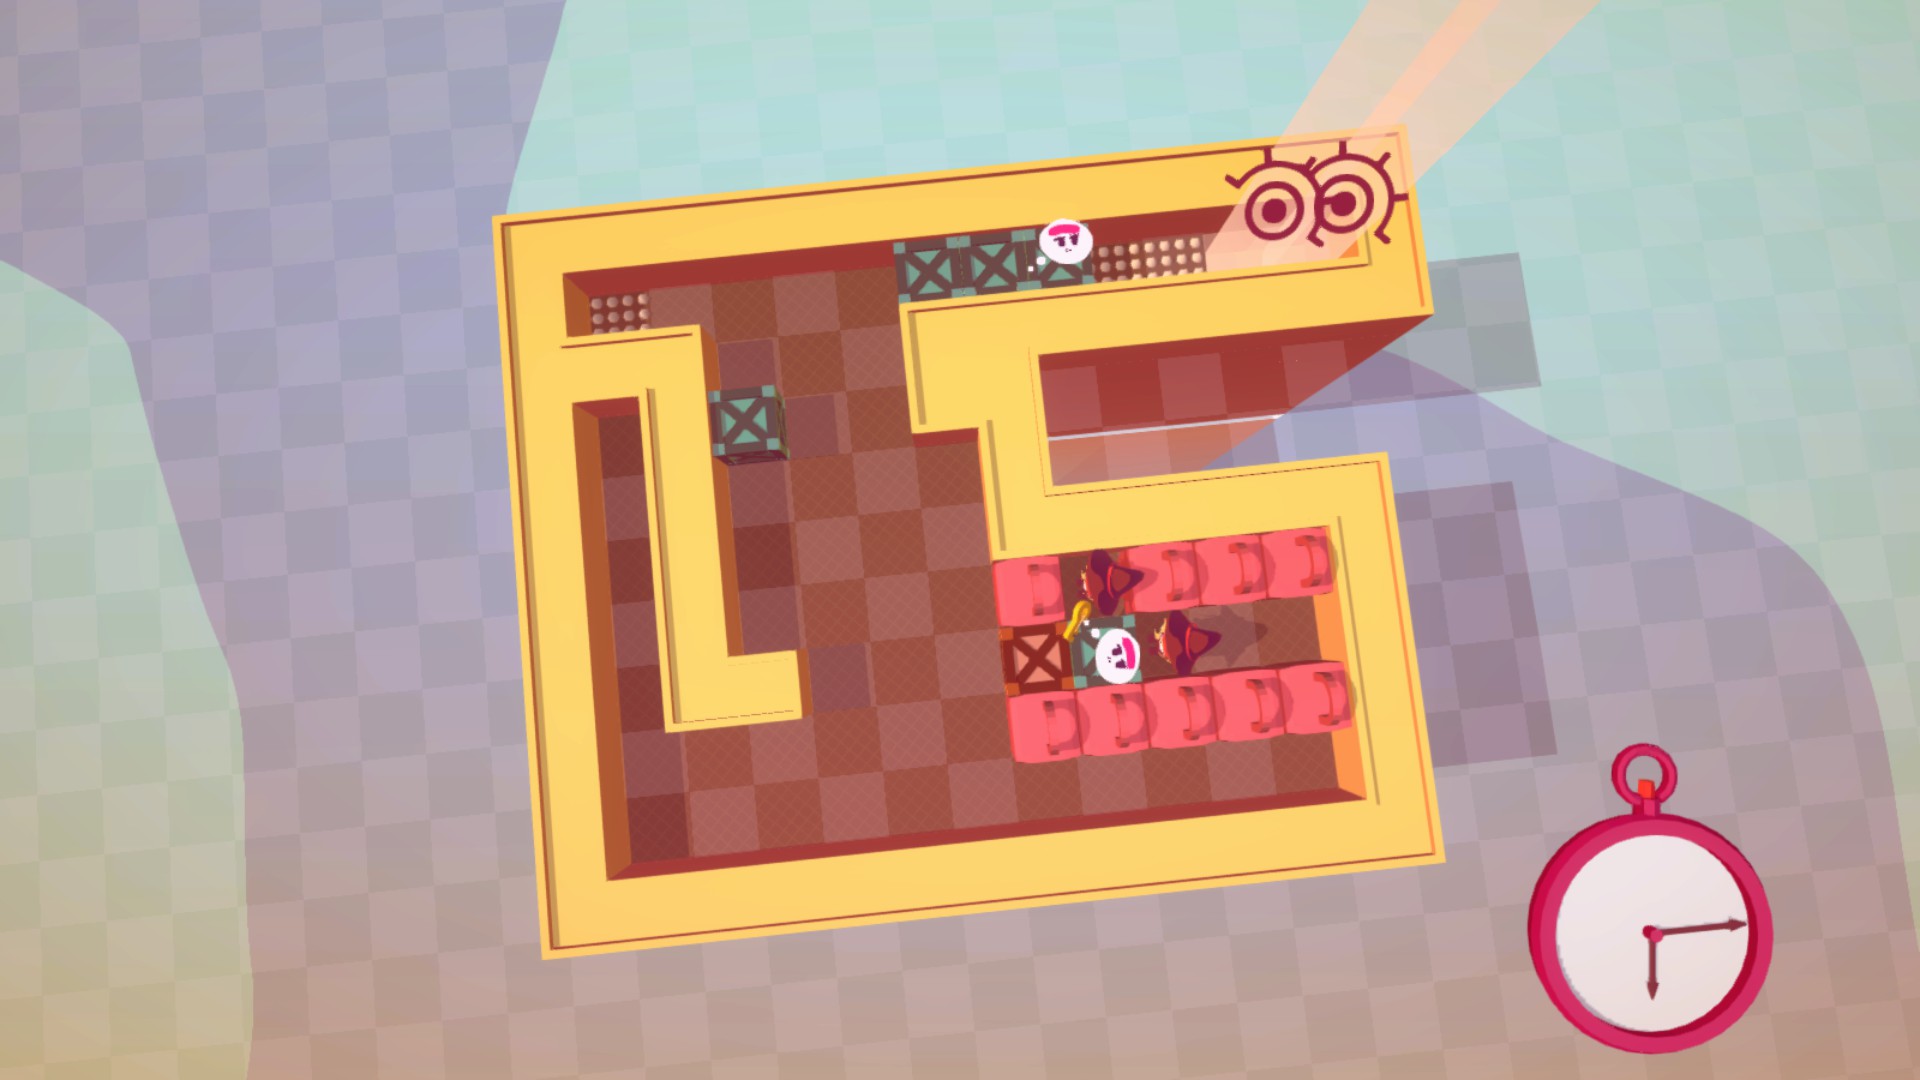
| 4-10 | Snail | Hard. Delivering two box-packing Theta to the goals needs four boxes total. Using boxes on switches leaves you short, so hold both switch blocks down with box split. (Spoiler image) | |
| 4-11 | Elephant | There are two goals surrounded by thorns on the left and right, and they use collisions because there are not enough boxes. You will also need the end-to-end splitting technique used in 4-2. | |
| 4-12 | Duck | There are not enough boxes out there, so we need to start a collision, but there are limited places we can start. How to take a fork to make a box is also a point. | |
| 4-13 | Queue | Use locked boxing and box splitting to fill the four corners of the cubicle with goals. It is difficult to understand because you can not see the orientation, but even if it is only a box packing theta, you can turn around. | |
| 4-14 | Pyramid | Use the two boxes as walls to adjust the location of the box split. As mentioned in the conversation, if the same boxes divide, they will merge. | |
| 4-15 | Alignment | Two of the forks are in a boxed position, so a collision with theta alone will not satisfy the six goals. A collision can also occur by utilizing the division of the box. | |
| 4-16 | Piston | A level where box split alone triggers collision. Plan when to insert boxes so they act as terrain. | |
| 4-17 | DIVE UP | There are six goals with four goals blocked by thorns, and a total of six people are required, including a boxed theta. If you sacrifice Theta to push her into the goal, there will be a shortage of Theta's, so use your chest to push her in as much as you can. Three world lines are required. Stars are not available at this time. | |
| 4-18 | Mixed | Four goals are lined up and four world lines are required. After unlocking, box the fork on the barb and go to the Theta to retrieve it. After that, you need to use the box split and theta split to divide the world into four lines in a single split. | |
| 4-19 | COUNTER OFFENSIVE | Place the three boxed theta next to each other in the optical path. Hinted at by the level title. | |
| 4-20 | Horse | Level with the goal ahead of the 7 thorns. You'll need six boxes and two thetas to push them in, so keep splitting so the boxes don't merge. | |
| 4-21 | Expansion | The two light paths on the upper side are two adjacent thetas, and the two on the lower side are two boxed thetas. In order to make the theta adjacent to each other, use the replacement technique used in 4-8 to lock them. | |
| 4-22 | Erosion | Hard. You must use every top-left box for the goals. Pulling them all off the wall needs repeated spacing tweaks—use the bottom-right lock and split. Activate the two goals on separate worldlines. (Partial spoiler image) | |
| 4-23 | Snake | A level that repeatedly splits towards the goal with a large number of forks. Repeated splits are usually one cell short, so let the route below precede it. | |
| 4-24 | Finger patch | It is similar to 4-23 but needs to be split. Synchronize the up and down routes as opposed to 4-23. | |
| 4-25 | Giraffe | 4-23 The box must be advanced to the finish line as well. Repeat the split to fill all the second rows from the left. | |
| 4-26 | D.N.A | Unlike before, you can't split a box and carry it to the finish line. Therefore, the goal is to transport the prism in a box split and place it in the goal. All forks along the way are consumed. | |
| 4-27 | Blossom | There are three boxes that can only be split once, and you can arrange the boxes so that the split can create eight world lines at once. It is an advanced version of 4-18 that created four world lines at a time, and you can also apply the idea of combining boxes. |
Chapter 4 — Emergence (2/2)
The walls that used to be just obstacles will be the main ones.
| ID | Level | Revelation | Hints |
|---|---|---|---|
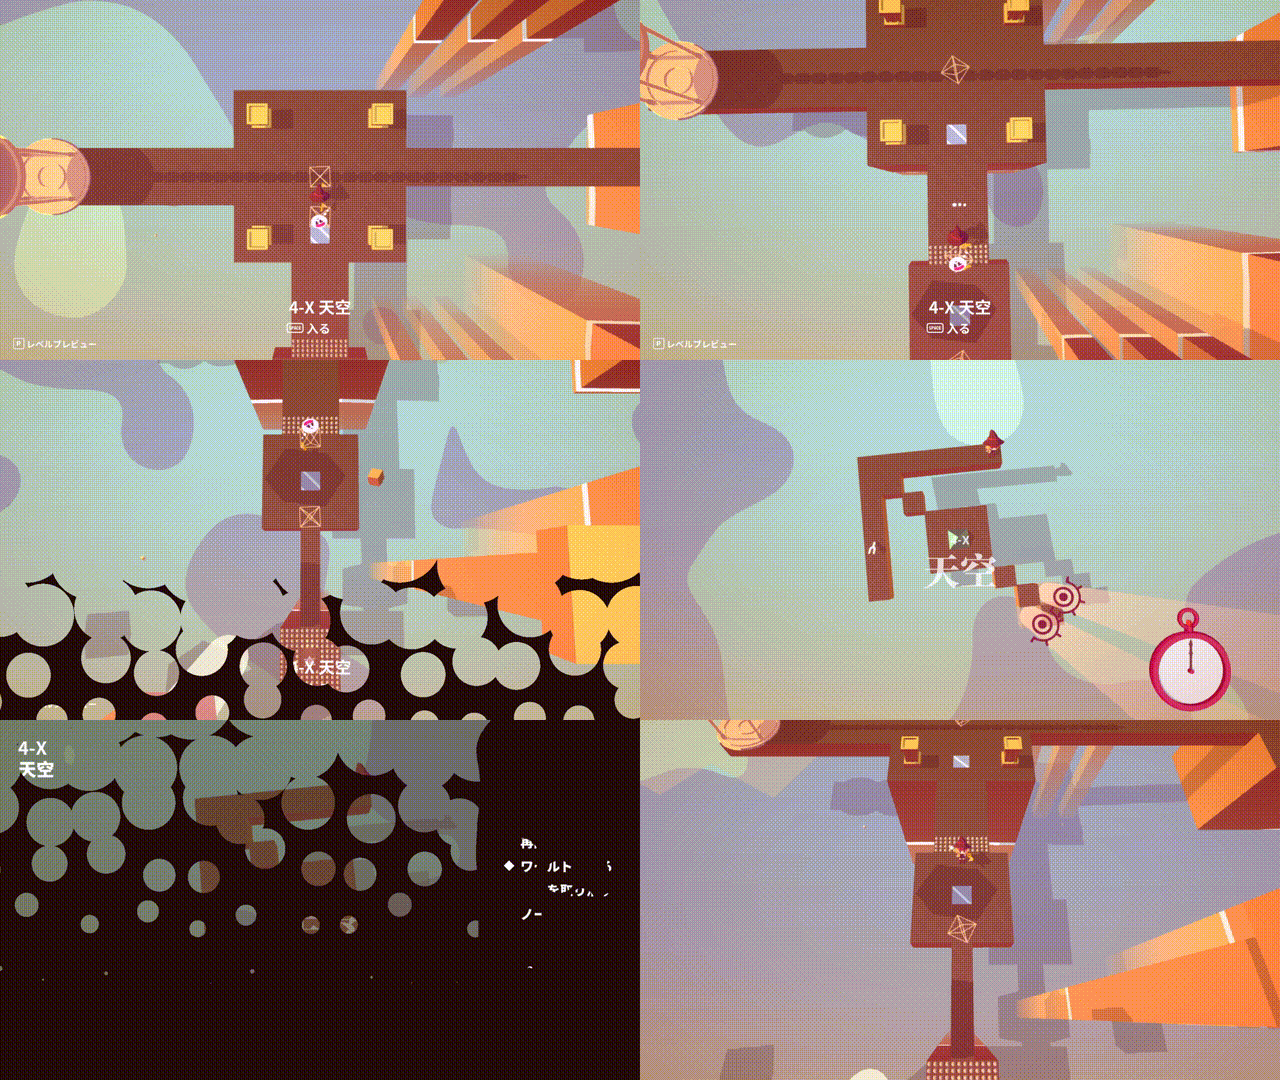
| 4-X | Sky | A box-type meta level. Chapter 4 levels sit away from walls, so few levels can be combined. The solution after combining is nearly the same as the original level. | |
| 4-0 | (Up to 4-Y entry) | It is located at the point where it is blocked by the barb below from 4-27. A new technique is required to overcome the thorns. Use the theta filled with levels and the items in the menu. | |
| 4-Y | Earth | A box-type meta level. You cannot clear it alone, and no levels besides 4-Y are accessible. Use the techniques and split from before entering 4-Y. | |
| 4-0 | (Up to 4-J entry) | You can use the same technique as the 4-Y path from 4-13 to the level below the barb. | |
| 4-J | Fork in the Stone | Theta inside the wall can move as long as the wall lasts, and if it splits inside the wall, it splits through the wall like a box. | |
| 4-K | Bedrock | There is a goal beyond the wall, so you need a way to get to the other side of the wall. Theta can be embedded in the walls by using the superimposition of boxes and walls and prisms. | |
| 4-L | Sandstone | Splitting from within the wall will not reach the goal. So we use the theta and the box inside the wall to create a collision. | |
| 4-M | Slate | You need to cross the wall to reach the goal, and you need to have the theta adjacent to each other. Apply the swap and lock used in 4-8, etc. | |
| 4-N | Shale | There are only three goals, and the theta inside the walls must be used before there are enough theta. By making a superposition of the box and the wall by splitting, you can go to pick up the fork in the right wall while transporting the wall packing theta. | |
| 4-O | A'a | Keys and locks are separated by a wall, so find a way across. Theta spacing prevents box-and-wall overlay. Use how one colliding Theta is sent to another worldline. |
Exiting a level
Spoiler — Chapter 4 — Emergence (2/2) — Exiting a level
The game remembers where Theta stood when you entered a level; choosing Return to World spawns Theta there. With box-shaped levels you can use this to cross spike floors. Cancel Entry restores the pre-entry state instead.
Level duplication
Spoiler — Chapter 4 — Emergence (2/2) — Level duplication
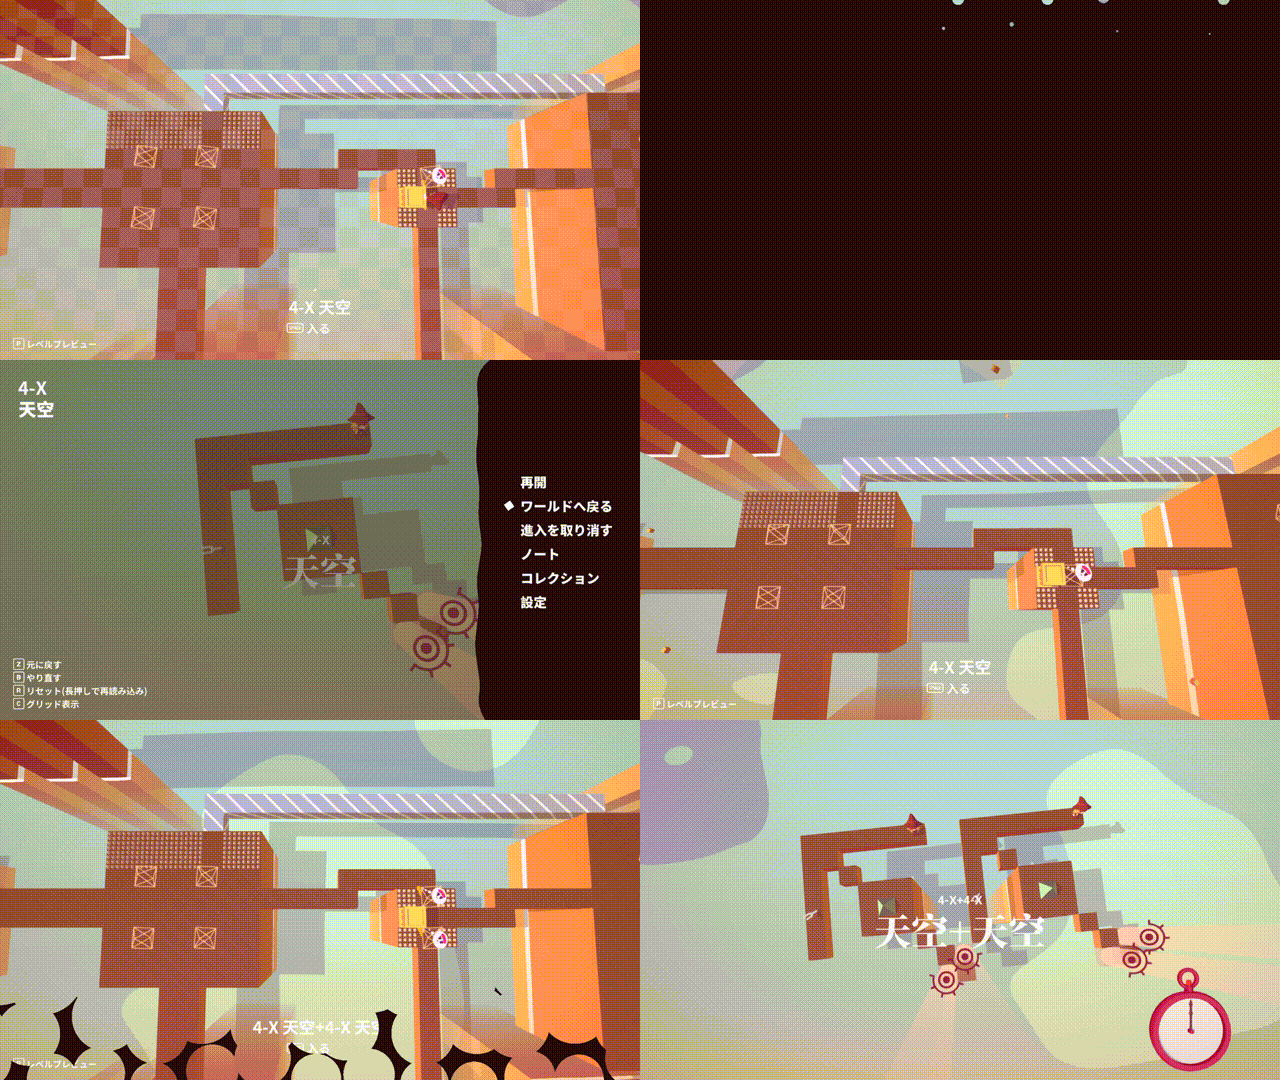
Using the exit trick above, exit where the box-shaped level used to sit to appear on the map still inside that level. Combine with split to duplicate the same level.
Wall intrusion
Spoiler — Chapter 4 — Emergence (2/2) — Wall intrusion
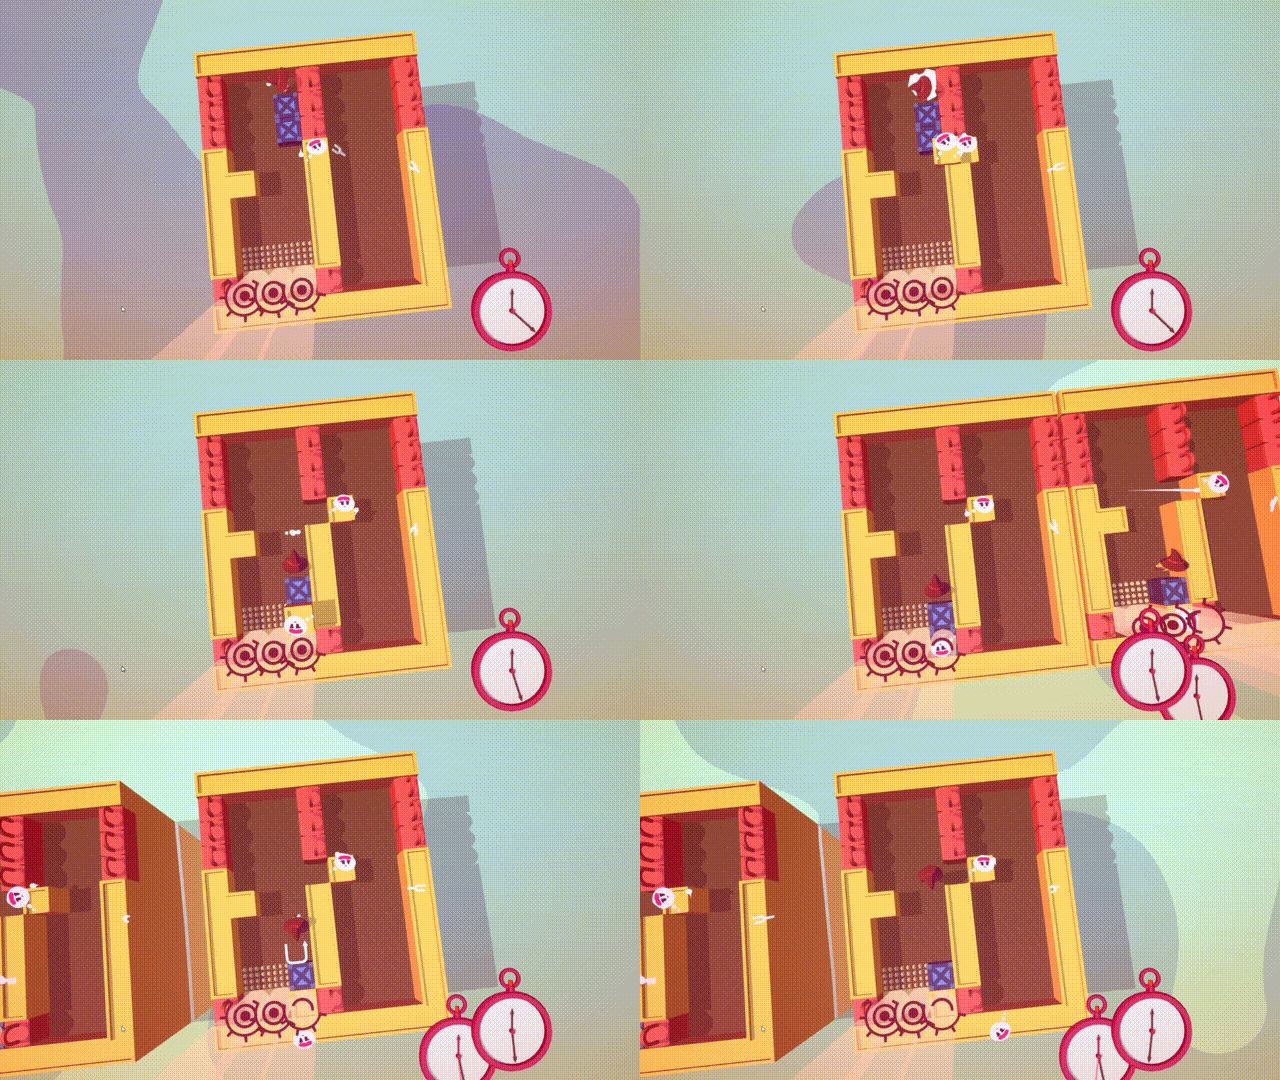
When a wall and box are overlaid, the stack behaves like the bottom box and can be pushed. Pack Theta inside, then break the overlay at a wall to place Theta inside the wall. Lock-on-wall overlays work the same way.
Spoiler screenshots (by level)
Hint art tied to specific rows — text is also in the table; open for the picture.
Spoiler — 4-10 — Ch2 Collision Tutorial
Hard. Delivering two box-packing Theta to the goals needs four boxes total. Using boxes on switches leaves you short, so hold both switch blocks down with box split. (Spoiler image)
Spoiler — 4-22 — Ch2 Worldline Split
Hard. You must use every top-left box for the goals. Pulling them all off the wall needs repeated spacing tweaks—use the bottom-right lock and split. Activate the two goals on separate worldlines. (Partial spoiler image)
More Theta and Paralldoxs on Worldlines guides
Go back to hub for full walkthrough, or browse all games.