Theta and Paralldoxs on Worldlines Guide
Theta and Paralldoxs on Worldlines — Chapter 6 — Overflow Hints
Level hint tables — Chapter 6 — Overflow Hints
Last updated: October 19, 2026
Quick Answer
Cross-boundary, infinite loop, light paths — finale chapter.
Chapter 6 — Overflow Hints
Hub: main guide.
Chapter 6 — Overflow (1/2)
Only in the final level, Gimmick will appear with the force of the storm. It is recommended to read the notebook when it is clogged. As of Ver. 1.13, there is no Revelation at all levels.
| ID | Level | Revelation | Hints |
|---|---|---|---|
| 6-1 | Hello world program | Cross-boundary (leaving the level edge) from Chapter 1 returns. On a single worldline, cross-boundary sends you to the opposite coordinates on that worldline; with multiple worldlines, you appear at the opposite coordinates on an adjacent worldline. | |
| 6-2 | Chekhov's Gun | As in Chapter 1, you can adjust spacing between Thetas using cross-boundary. | |
| 6-3 | Gold Fork, Silver Fork | 6-2 Similarly, we will collect keys from both worldlines while utilizing the cross-border of the worldline. | |
| 6-4 | Klein bottle | You want to press a switch with a box, but spikes block you on a single worldline. Use the fact that boxes can cross-boundary between worldlines, like Theta. | |
| 6-5 | Ship of Theseus | I would like to line up in the form of a switch, but the wall is surrounded by thorns and is not available. Use the cross-border to arrange theta in the form of switches. | |
| 6-6 | Occam's razor | It is surrounded by thorns and has little space to cause a collision. There is a barb under the lock, so you need to get the box theta to hold the key. Use one of the boxes as a wall. | |
| 6-7 | Mountain of Light | Goal: fill the diamond-arranged light paths with Theta. Use cross-boundary to form a Theta queue as in 1-19. | |
| 6-8 | Heraclitus River | The level split in the middle. If there is an increase in the world line due to a collision, etc., traffic will be blocked by the central wall. In order for Theta to join us in the same room, we need to figure out how to start a collision. | |
| 6-9 | Mystery of the Sphinx | 6-8 Similarly, the levels are separated in the middle. You need three boxes to push the switch, so think about how to create a collision where the boxes are biased on one side. | |
| 6-10 | Friends of Vigner | It is surrounded by thorns instead of walls, with only one fork and three goals. Consider a different approach as a clash will not satisfy the three goals. | |
| 6-11 | Third Kind of Close Encounter | In the beginning, the world line is divided into two. Since the right world line does not have access to the lower two goals, a world line rupture must occur on the left world line. Use overlapping and crossing borders. | |
| 6-12 | Lone Observer | Hard. Filling four goals requires four worldlines. Use the collision from 4-18 that creates four worldlines at once. Box-packing Theta keeps facing direction when cross-boundary—use that to trigger collision. (Spoiler image) | |
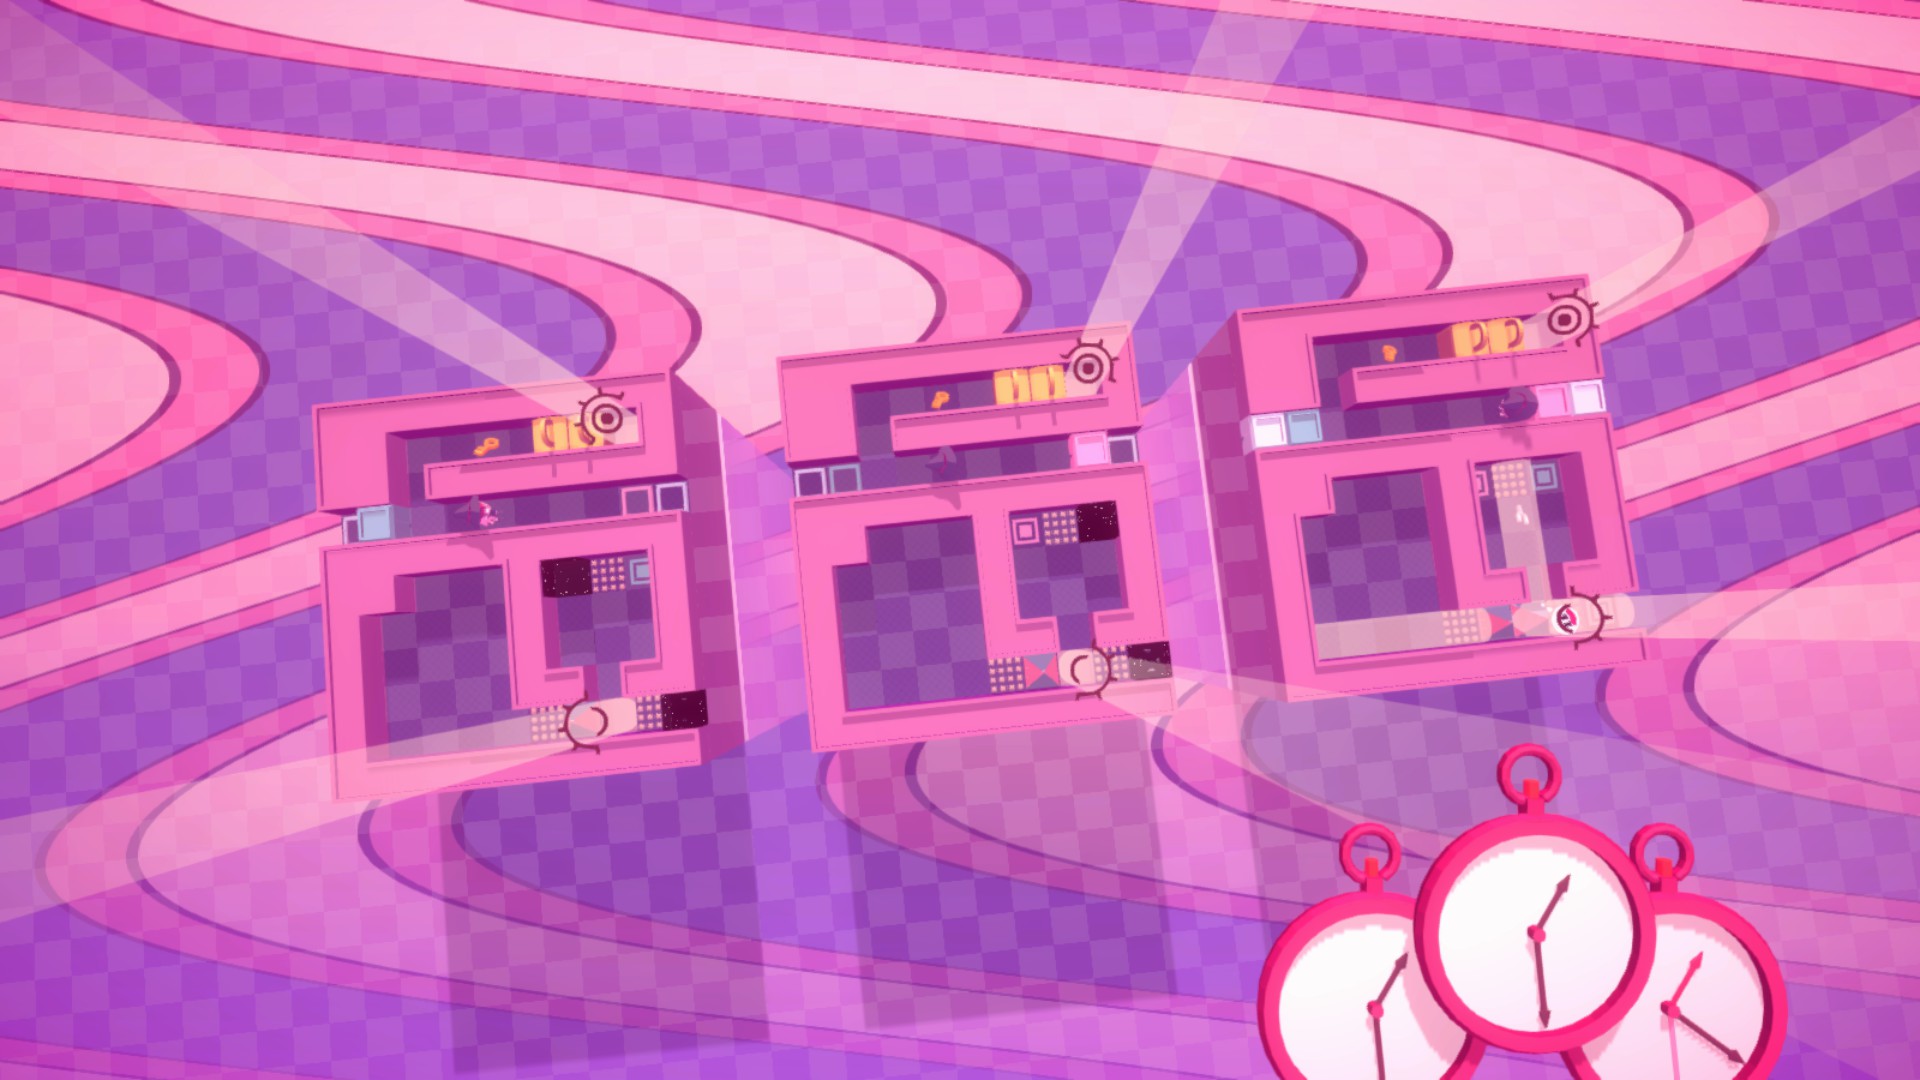
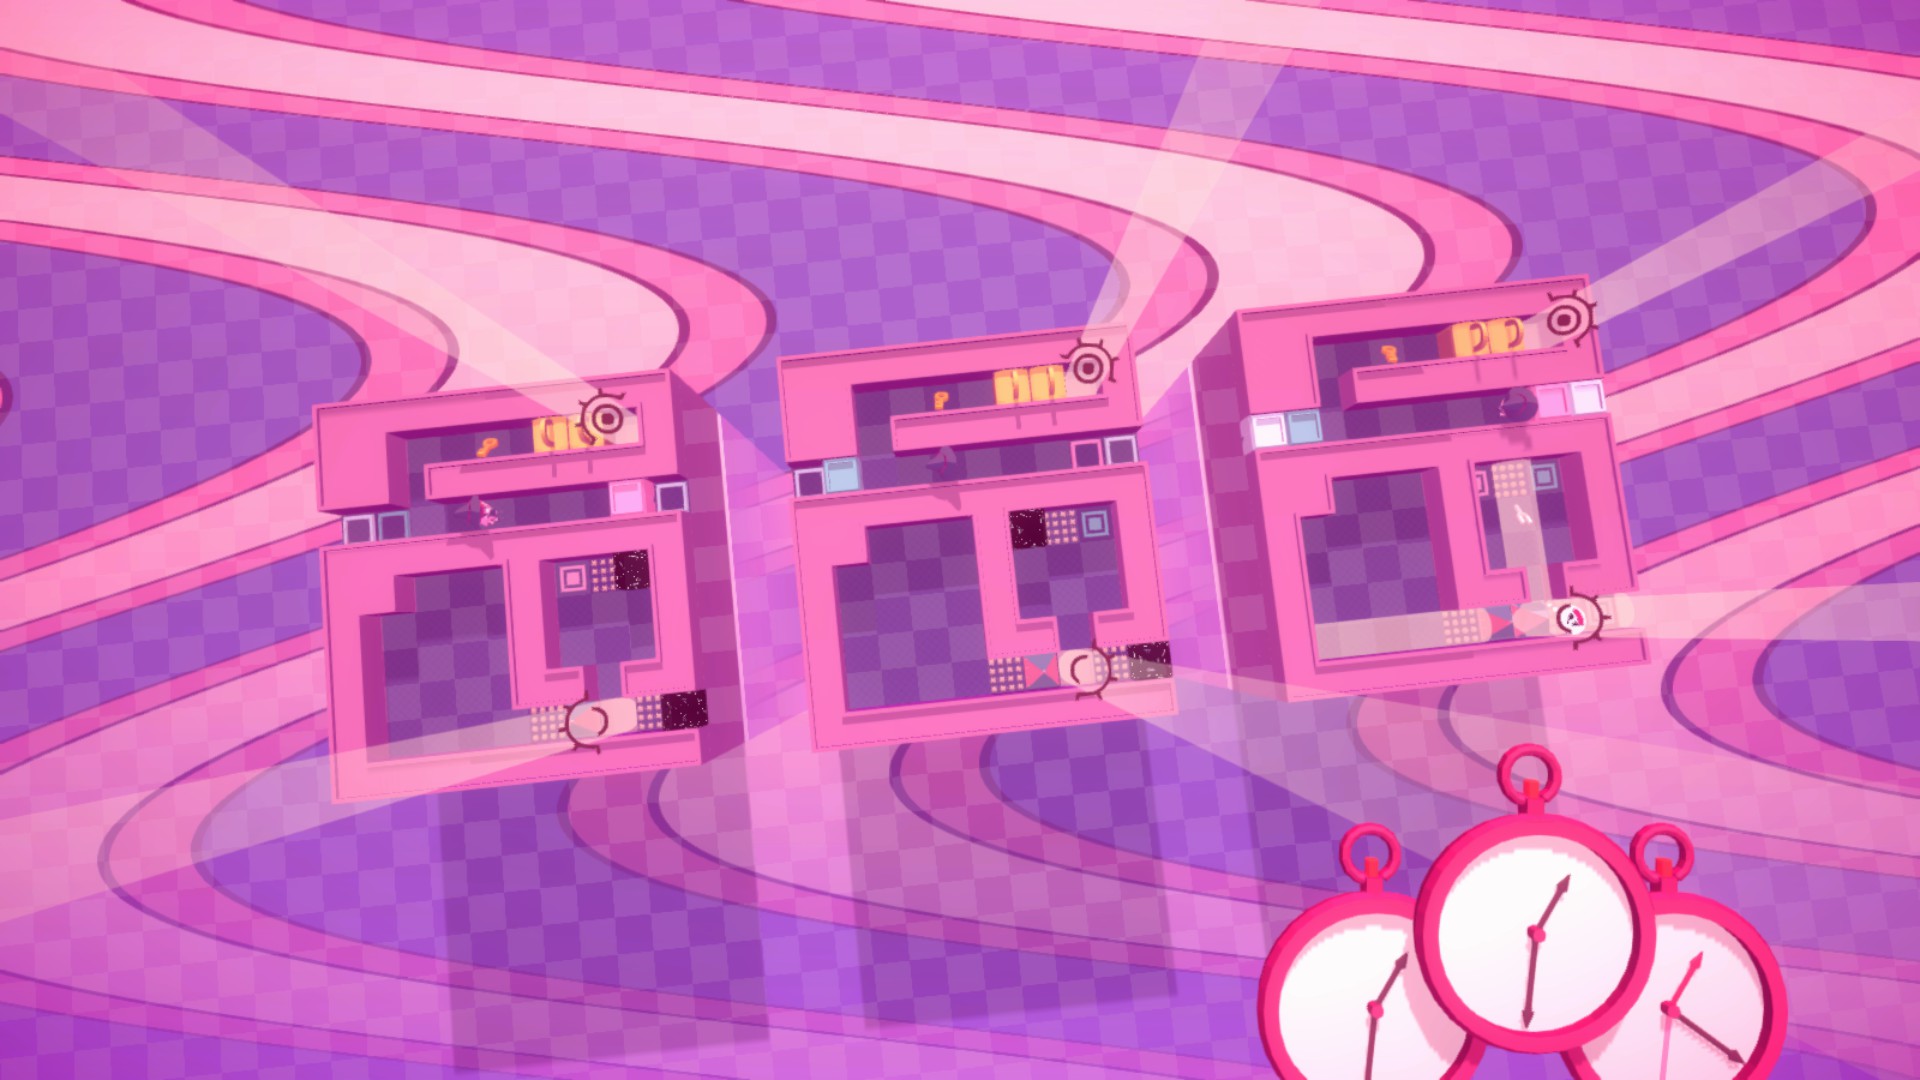
| 6-M | Maxwell's Devil | Priority tutorial. Each theta has a priority, and in the event of a collision, the higher priority side remains on the world line. We use this to create a combination of switches that will allow you to cross the border. (spoiler image) SpoilerSwapping which Theta is where changes the outcome, as in the screenshots below. |
|
| 6-L | Laplace's Devil | Level of Priority used to collect Keys from 3 World Lines. Theta's line (when crossing the border ~) is a hint. Theta's priority is re-shifted when crossing the border, and its entry into the world line is of the nature of a higher priority in order of the oldest. | |
| 6-13 | From one to infinity | Nothing stands in your way. Create as many worldlines as you like. | |
| 6-14 | Hotels in Hilbert | You need to create five thetas from two thetas and three worldlines. There are not many things to try, so let's try various things. | |
| 6-15 | Zeno's Turtle | It is an application level of 6-14. Cross-border multiplication is not only theta, it can also multiply boxes. First, create three world lines for proliferation. | |
| 6-16 | Return to Zero | ||
| 6-17 | From the New World | Worldline Submergence Tutorial. The generated world line appears submerged from the world line of the previous time. If you attempt to cross the submerged worldline, you will be passed through and cross to the worldline beyond. Use cross-border breeding to fill in the five goals. | |
| 6-18 | Möbius Belt | A key-fetch level, but mishandling the box makes it slide forever into an infinite loop. Use the ice stop from Chapter 2 to get the key. |
Spoiler — Chapter 6 — Overflow (1/2) — Ch6 Cross Boundary
Swapping which Theta is where changes the outcome, as in the screenshots below.
Worldline multiplication
Spoiler — Chapter 6 — Overflow (1/2) — Worldline multiplication
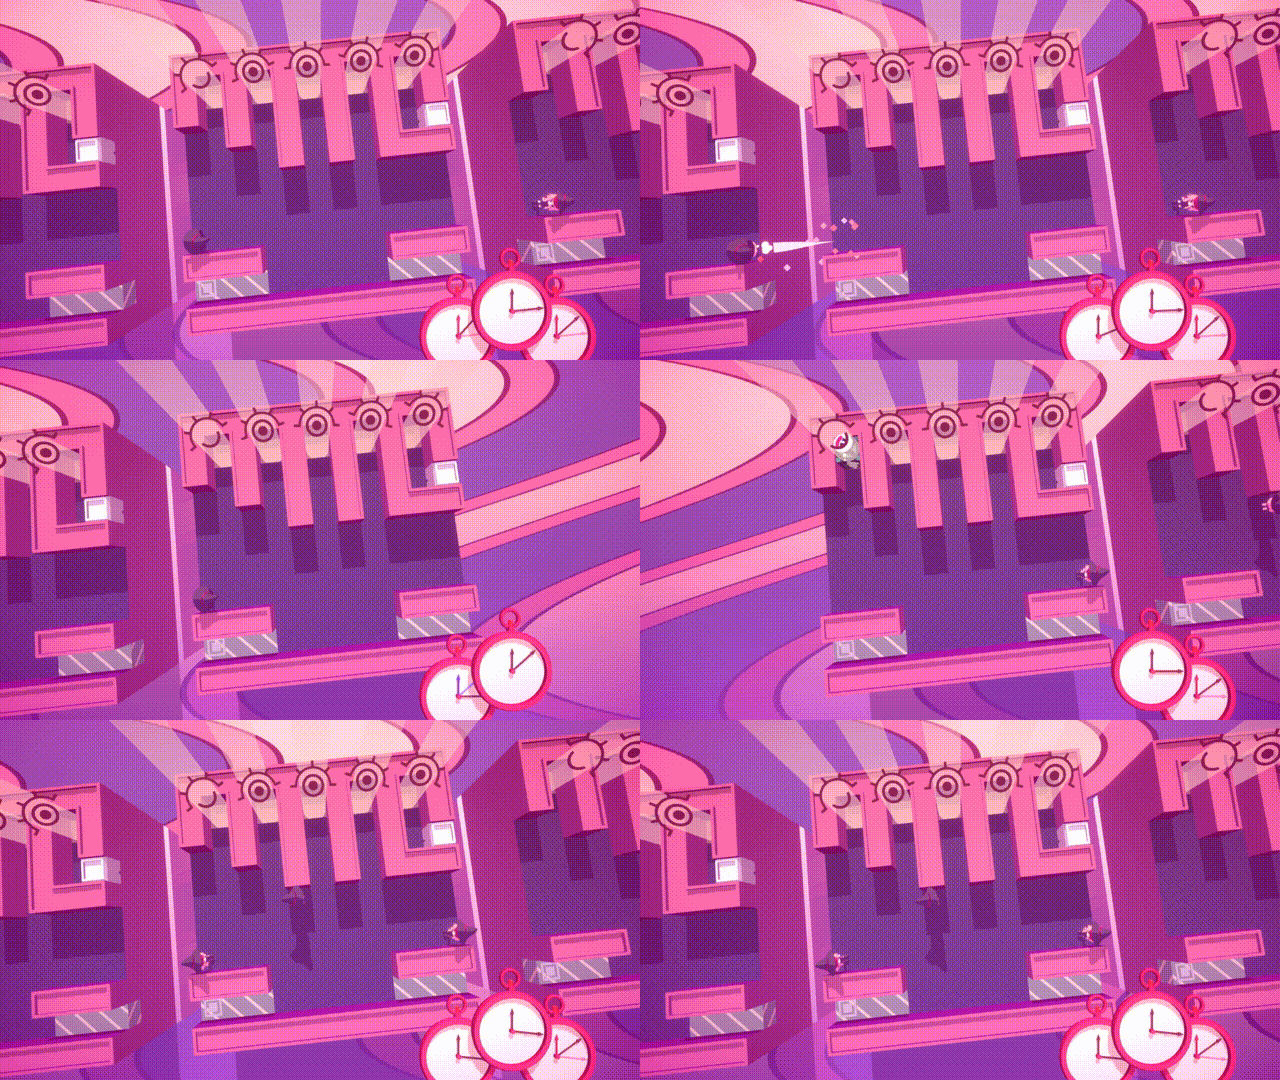
Cross-boundary overwrites the destination worldline’s time with the source’s. If that rolls time backward on the destination, actions after the new time on that worldline are cancelled (other worldlines unaffected). Cancel a move mid-cross-boundary and Theta never moved on the source, but the “moved” outcome still spawns Theta on another worldline—you can multiply Theta (and other objects).
Chapter 6 — Overflow (2/2)
| ID | Level | Revelation | Hints |
|---|---|---|---|
| 6-19 | Three-Body Problem | Infinite Loop Tutorial. If the ice sheet and cross-border movement are looped, it will be in an infinite loop state. The clock at the bottom right will be marked with ∞, and you will not be able to switch to the world line in the infinite loop. When the world line in the infinite loop meets the clearing conditions, it will be clear as soon as it reaches that time on the other world line. | |
| 6-20 | To the End of the World | A level solved using an infinite loop. During the loop, use boxes and Theta to set up the loop so you can pass through two light paths at once. Dark boxes serve both for spacing adjustment and worldline generation. | |
| 6-D | Far side of the Moon | 6-20 and the solution are almost the same, but the optical path is blocked by the switch, and the box must be slid side by side to push the switch to open. | |
| 6-21 | Penrose Staircase | The goal is to stay still in front of the lock while locking in the two worldlines. As we experienced in 2-12, theta sliding over the ice sheet does not merge. | |
| 6-22 | Seasonal Circling | Levels similar to 6-14. The goal is to grow theta, but theta can't stop theta on the ice sheet, so theta crosses the border on its own. In order to multiply, we need to determine the direction of theta's slide and the timing of crossing the border. | |
| 6-S | Inspection corridor | Goal: fetch the key and return. Switching worldlines while the white switch is held makes the level impossible to clear. Time also overwrites every five steps, so repeatedly stop somewhere other than the white switch within five steps as you head for the key. | |
| 6-23 | Broken Chain | A key sits where you cannot reach it without an infinite loop; you need a way to recover it from a worldline while the loop is active. Cross-boundary on a worldline during an infinite loop temporarily breaks the loop—use that to grab the key. | |
| 6-24 | Reincarnation Offset | 6-23 Similarly, the key is on the ice sheet, and an infinite loop occurs during the process of taking. Use cross-border and quantum entanglement from otherworldly lines to retrieve the key. | |
| 6-25 | Sword of Damocles | Hard. Avoid pressing the white switch while using an infinite loop and entanglement to zigzag box-packing Theta to the goal. The Y-axis lane is one cell longer—that is the key. | |
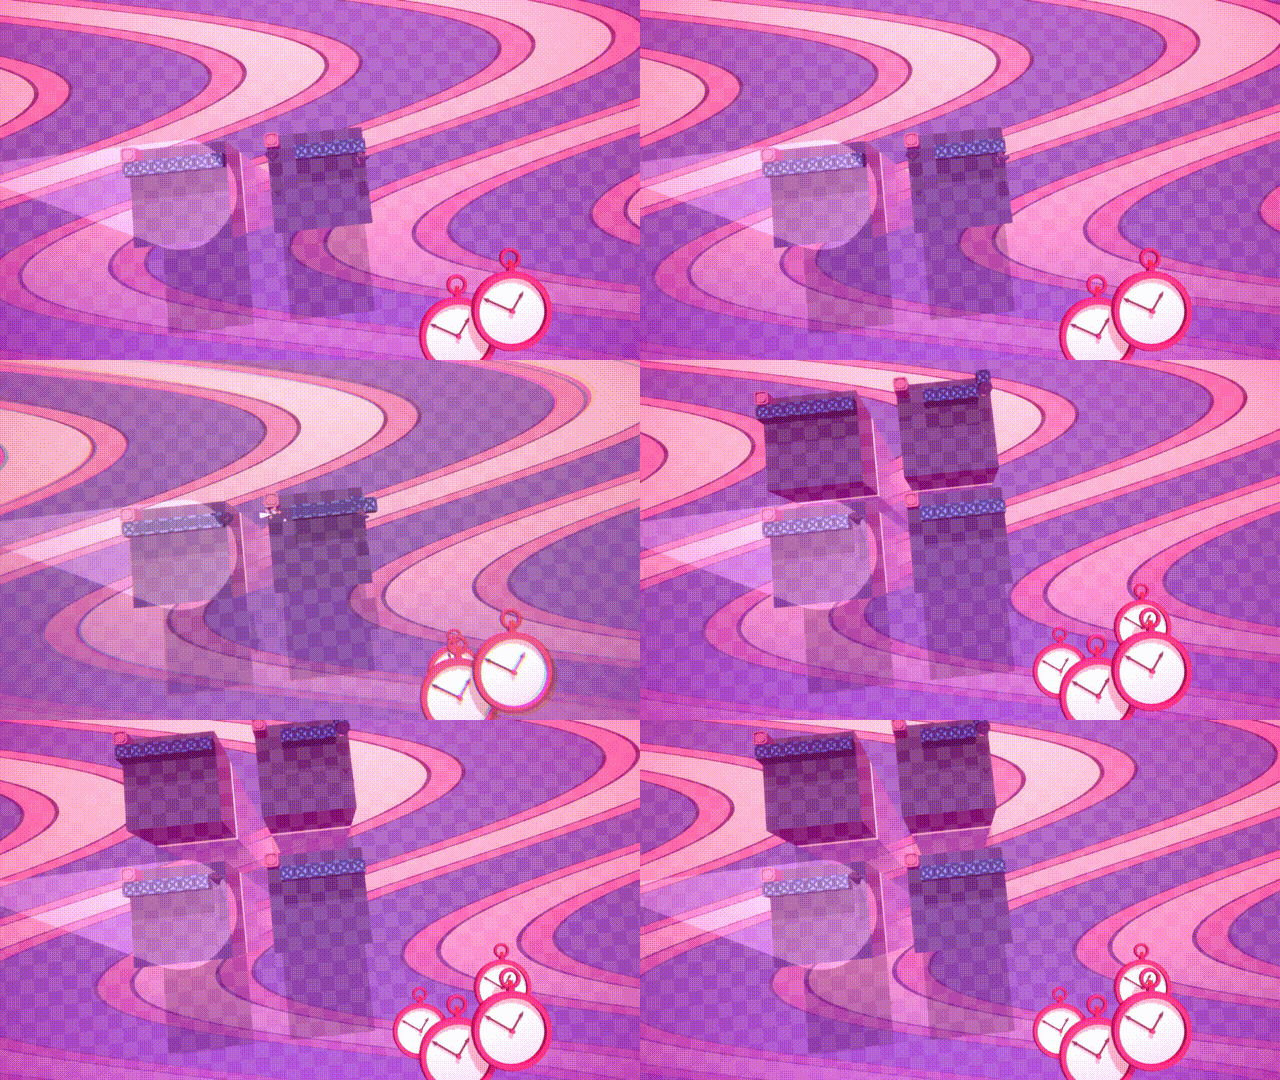
| 6-26 | Shape of time | Multi-worldline collision tutorial. Line boxes in a row and cause a collision that pierces other worldlines—new worldlines spawn perpendicular to every worldline you pass through. Here you pass through two worldlines aligned on the X axis and create two on the Y axis. | |
| 6-27 | Curse of Dimension | Application of 6-26. Generate a world line in the Y-axis direction to move towards the goal while pressing the white switch. As in the opening conversation, after that, you can see the number of world lines that can be used as a guide for clearing on the menu screen. | |
| 6-E | Ouroboros. | Level with 2 goals blocked by a barbed floor and 5 locks. After generating the world line in the Y-axis direction, multiply by crossing the border, secure the necessary fork and key, and repeat the division to reach the goal. | |
| 6-28 | Cosmic String | Hard. Reaching the goal needs worldlines along the Y axis, but the room is split down the middle, so lining boxes in a row will not work. Use entanglement instead. Also use the 6-9 trick of shifting a box to one worldline. (Spoiler image) | |
| 6-29 | Between the Rains | Hard. The middle is divided; Y-axis worldlines need entangled boxes. You must also press the blue switch, so you need two sets of entangled boxes—one for Y worldlines and one combined with that. (Spoiler image) | |
| 6-X | Sunrise | The goal is buried in the wall, so you need to enter by a method other than adding. Use 5 boxes totaling 4 boxes and 1 box type level. | |
| 6-Y | Sunset | Ibid. | |
| 6-0 | (Up to 6-R) | It's hard to tell where the level is, and you may find yourself wandering around near 6-X. The gimmicks in this chapter are a hint. | |
| 6-R | Re-starting | The level of clearance is incredible, with 12 world lines. After acquiring 3 keys, you want to use the tangled state to carry the box to the goal, but the tangled state will be resolved when you move through the world line. Therefore, using the nature of crossing the boundary to the submerged world line experienced in 6-17, we create a situation where there is one world line and two submerged world lines in the X-axis direction. | |
| 6-30 | Fate | The final stage before the ending and the culmination of Chapter 6. Unlike previous levels, the goal is much higher. The point is the nature of the collision via the multiworld line, which generates the world line vertically. | |
| 6-U | Past | It is superimposed with 6-V. You can attack by removing the overlap and combining it with other levels. Since the wall that exists in 6-U is disturbing, repeat the collision so that you can create a column with a row that does not exist in 6-U. | |
| 6-V | Future | It is superimposed with 6-U. Clearing 6-U is a prerequisite for clearing. 6-U and 6-V are different sizes and are cross-border tutorials when the adjacent world lines are different sizes. | |
| 6-W | Singularity | 6 - Level at the end of the right side barb floor of the X. Clearance of 6-U and 6-V is a prerequisite for admission. |
Cross-worldline collision
Spoiler — Chapter 6 — Overflow (2/2) — Cross-worldline collision
Collisions across worldlines spawn a new worldline perpendicular to the ones you crossed—cross on the X axis → new line on Y, and vice versa. What if you trigger both at once…?
Spoiler screenshots (by level)
Hint art tied to specific rows — text is also in the table; open for the picture.
Spoiler — 6-12 — Ch4 Wall Mechanics
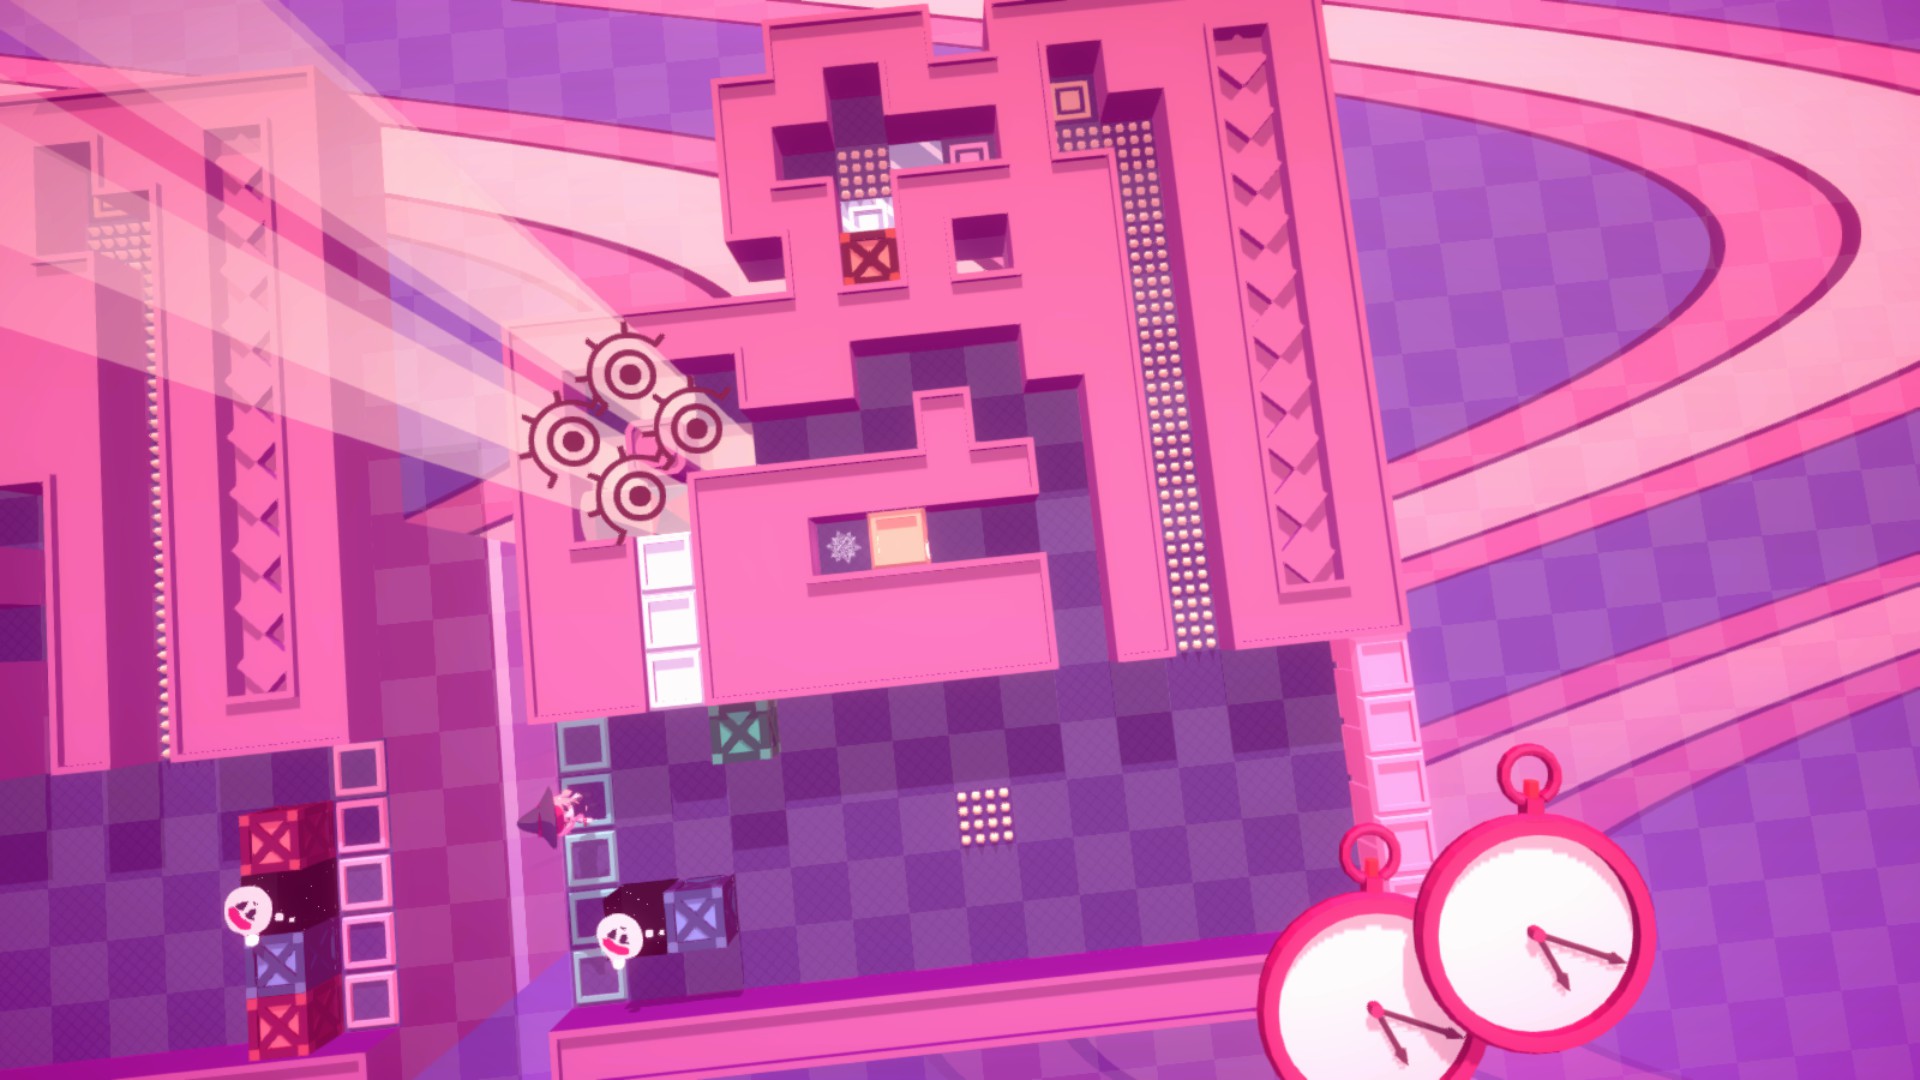
Hard. Filling four goals requires four worldlines. Use the collision from 4-18 that creates four worldlines at once. Box-packing Theta keeps facing direction when cross-boundary—use that to trigger collision. (Spoiler image)
Spoiler — 6-28 — Ch5 Ghost Spikes
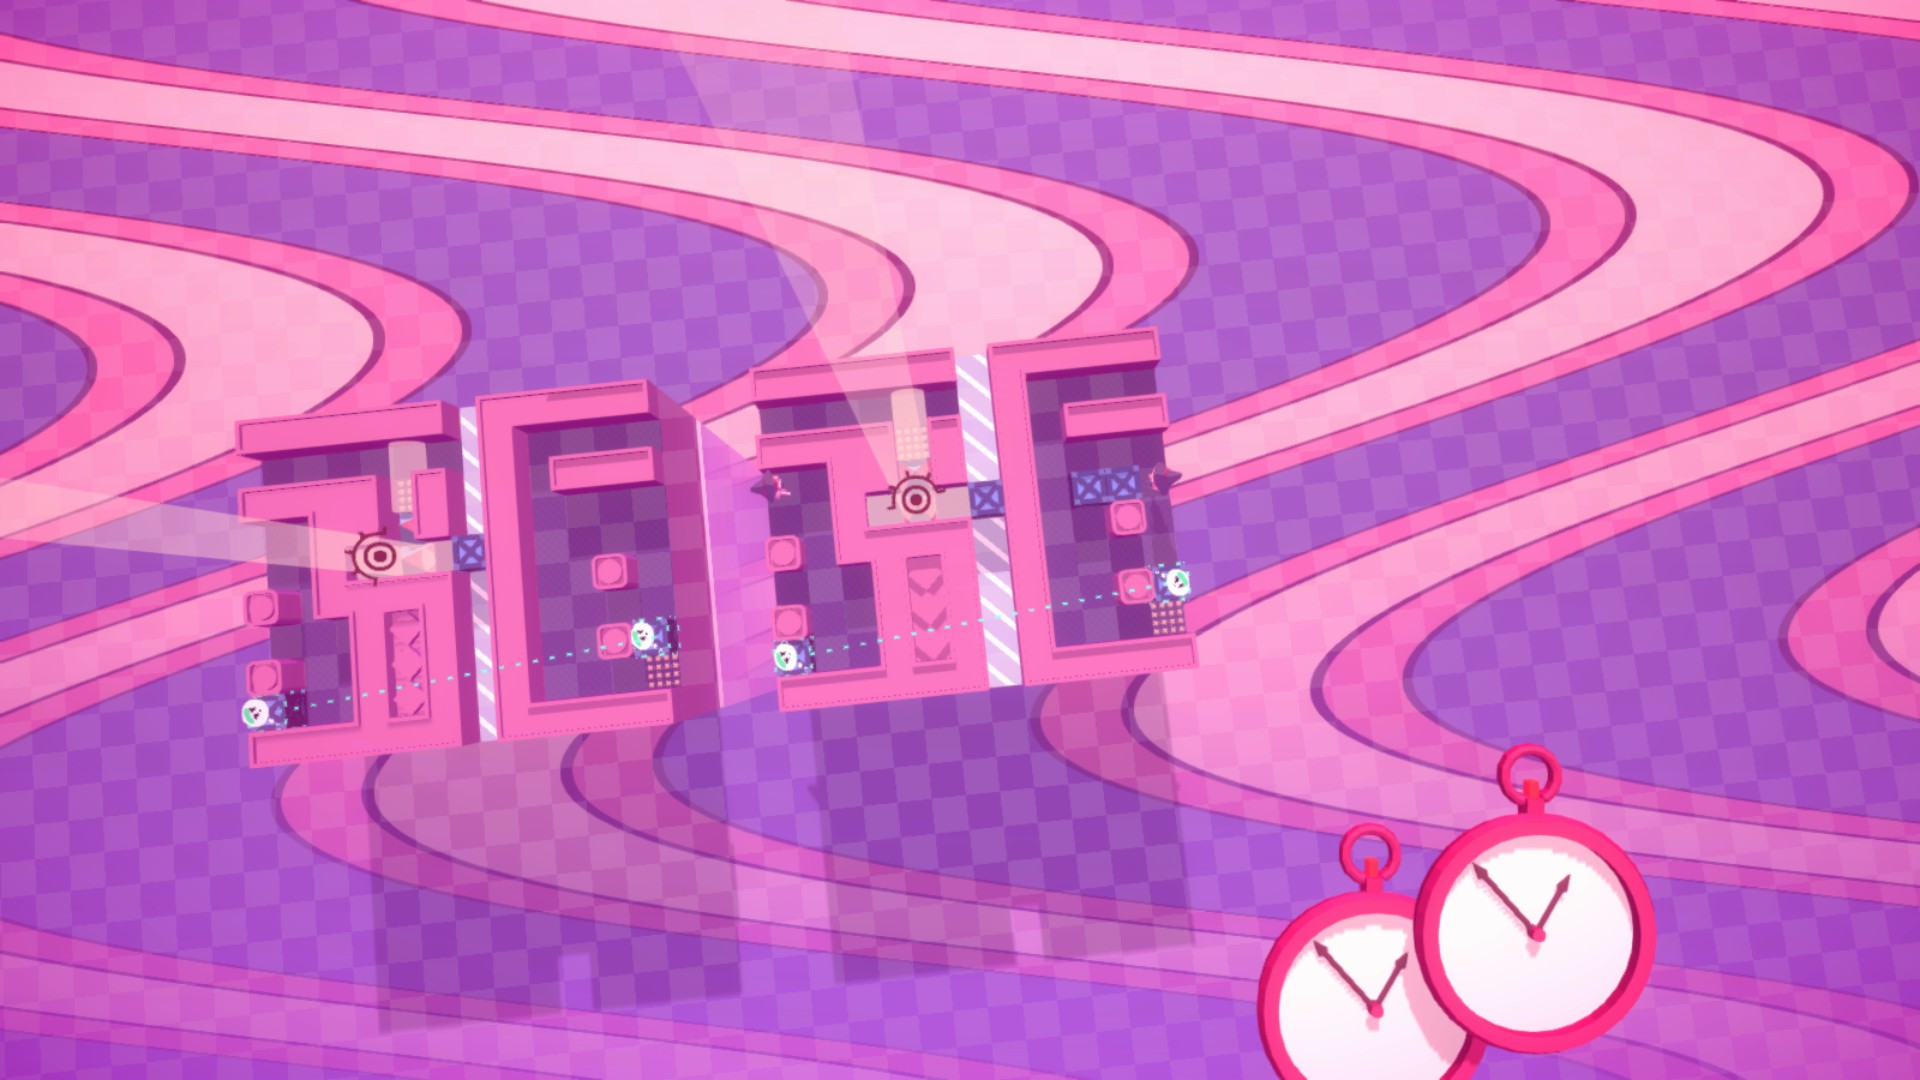
Hard. Reaching the goal needs worldlines along the Y axis, but the room is split down the middle, so lining boxes in a row will not work. Use entanglement instead. Also use the 6-9 trick of shifting a box to one worldline. (Spoiler image)
Spoiler — 6-29 — Ch5 Entanglement Tutorial
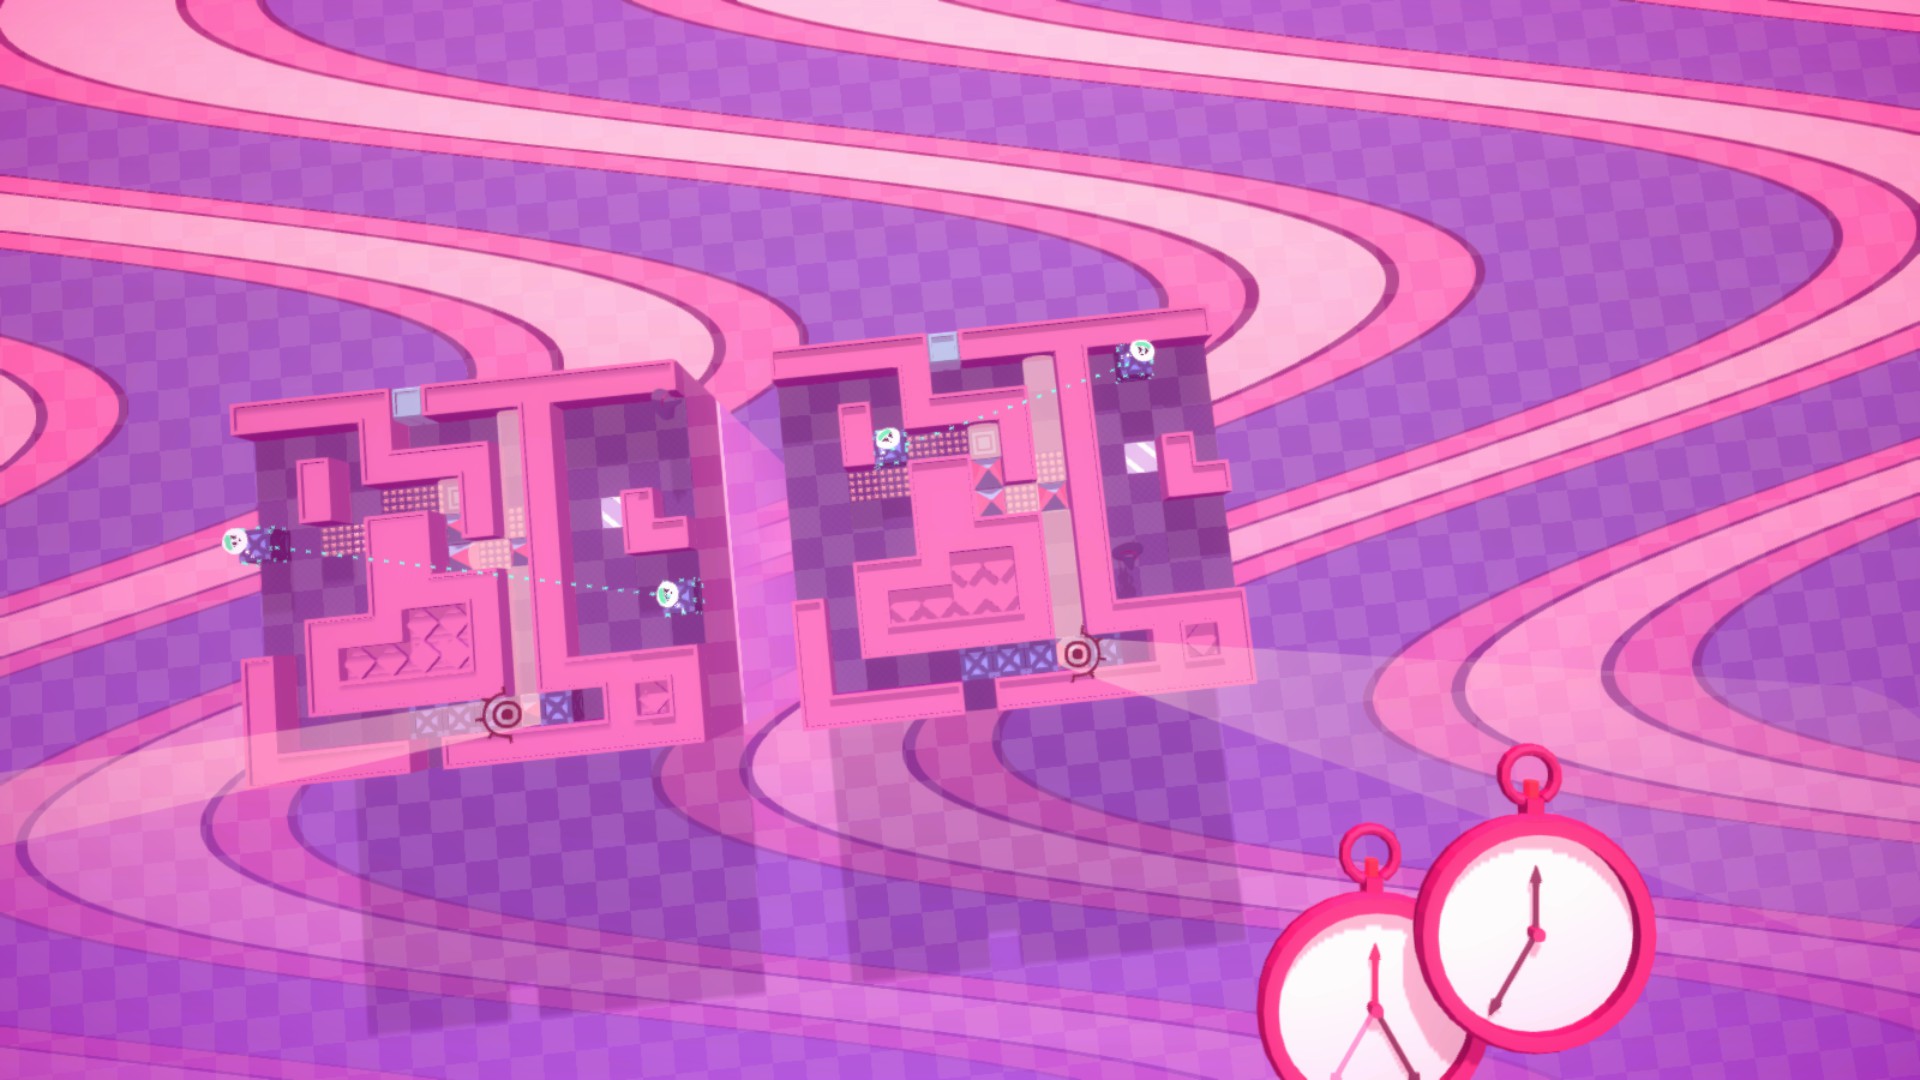
Hard. The middle is divided; Y-axis worldlines need entangled boxes. You must also press the blue switch, so you need two sets of entangled boxes—one for Y worldlines and one combined with that. (Spoiler image)
More Theta and Paralldoxs on Worldlines guides
Go back to hub for full walkthrough, or browse all games.