Theta and Paralldoxs on Worldlines Guide
Theta and Paralldoxs on Worldlines — Post-Game & Final Realm (0-U–0-Z)
Level hint tables — Post-Game & Final Realm (0-U–0-Z)
Last updated: October 19, 2026
Quick Answer
After credits: 1-W, 5-R, torch levels, then six 0-* stages for 0-Z star.
Post-Game & Final Realm (0-U–0-Z)
Hub: main guide.
After the ending (1/2)
| ID | Level | Revelation | Hints |
|---|---|---|---|
| 6-O | Open Sesame | Level to enter with a key that is unlocked after collecting stars. You need two keys and you need to collect them into one worldline. Take advantage of the wall and crossing the border. | |
| 1-W | Torch | The level at which you got off the elevator. The X levels from Chapter 1 to Chapter 6 are lined up and combined with any of them. Take advantage of the nature of the ice sheets and locks you experienced in Chapter 2. (spoiler) Combo spoiler1-W+3-X |
|
| 1-Z | Golden Finger | After clearing 1-W, you will be able to access other stages in Chapter 1. The goal is in a position where you have to stay still on the ice sheet. A combination of three levels is required to allow the locks to stop on the ice sheet and the boxes to be stacked so that the locks can be carried. (spoiler) Combo spoiler(1-8^4-X)+1-Z |
|
| 1-F | Stairs | A level that reorders Thetas sorted ascending by key count into descending order. Two swap methods: ① move the rearmost Theta to the front and shift others back; ② move the rearmost to the front, put the second-from-rear in second place, and shift the rest back. Adjust order with ①, then use ② to line up descending every other step. | |
| 1-G | Grid | Levels that make 1-19 harder. Splitting lasts, so the key is how you line up and how many forks you want the theta to have. Due to the number of forks, if 5 people are arranged vertically without gaps, the last tail will not be filled. | |
| 2-0 | (Up to 2-P) | The next level lies on a hidden path after using the key, but you cannot see it from the surface, so reaching it is tricky. The fork shape is a hint. (Spoilers) | |
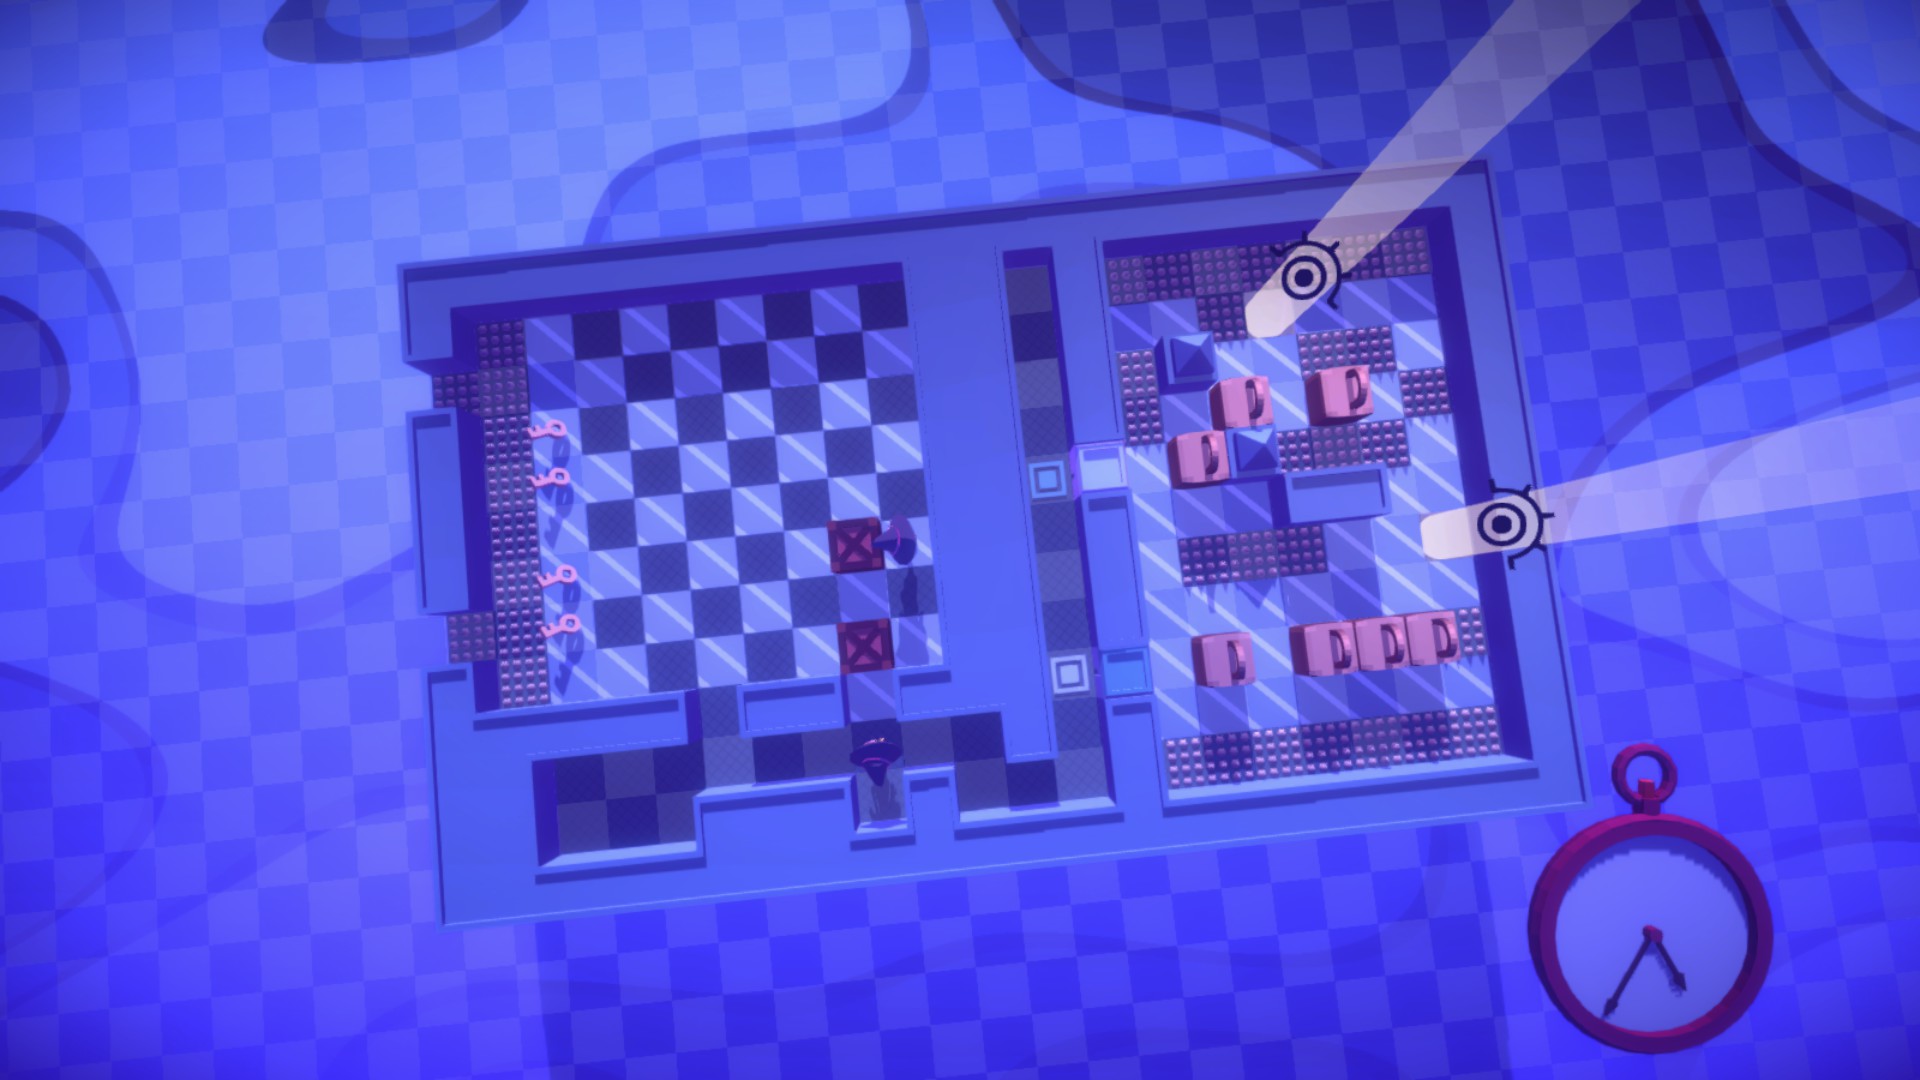
| 2-P | Castling | There are only 4 keys on the level, but the required number is 5, so you can't use collisions because you have to press two switches. When you use the ice sheet and take one key at the same time...? | |
| 2-Q | Wall intrusion | Locks on the wall and on the goal require two keys. In order to enter the wall with the key, you need to use the fusion of theta and put both of them inside the wall at the same time. Apart from the solution, the puzzle itself is simply more difficult. | |
| 2-0 | (2-0 cleared) | You can pass through the wall from the lock on top of 2-Q to the goal. However, you can't just divide it. The key points are the competitions used in 4-Y, etc., and the concept of priority that came out in 6-M. | |
| 3-P | Pipelining | Loop boxes vertically while packing into the space on the left, building a light path from the top-left goal to the bottom-right. Completing from the right side is easier. | |
| 3-U | Metamorphosis and Rebirth | A tall stage with a goal carrying a prism above, blocked by spikes. Find a three-level combo where lock and box overlay let Theta move beyond the spikes. (Spoilers) Combo spoiler(3-16^3-X)+3-U |
|
| 3-0 | (3-0 cleared) | The optical path extending from the goal to the right is blocked by the box, so you need to pass through the optical path with a prism. However, since it is not possible to open all three locks, we will use box packing so that it can be completed simply by opening the top and middle locks. Since the camera is fixed around the goal, it is difficult to see, so it is easy to understand once you pull the camera from the left of the switch block. | |
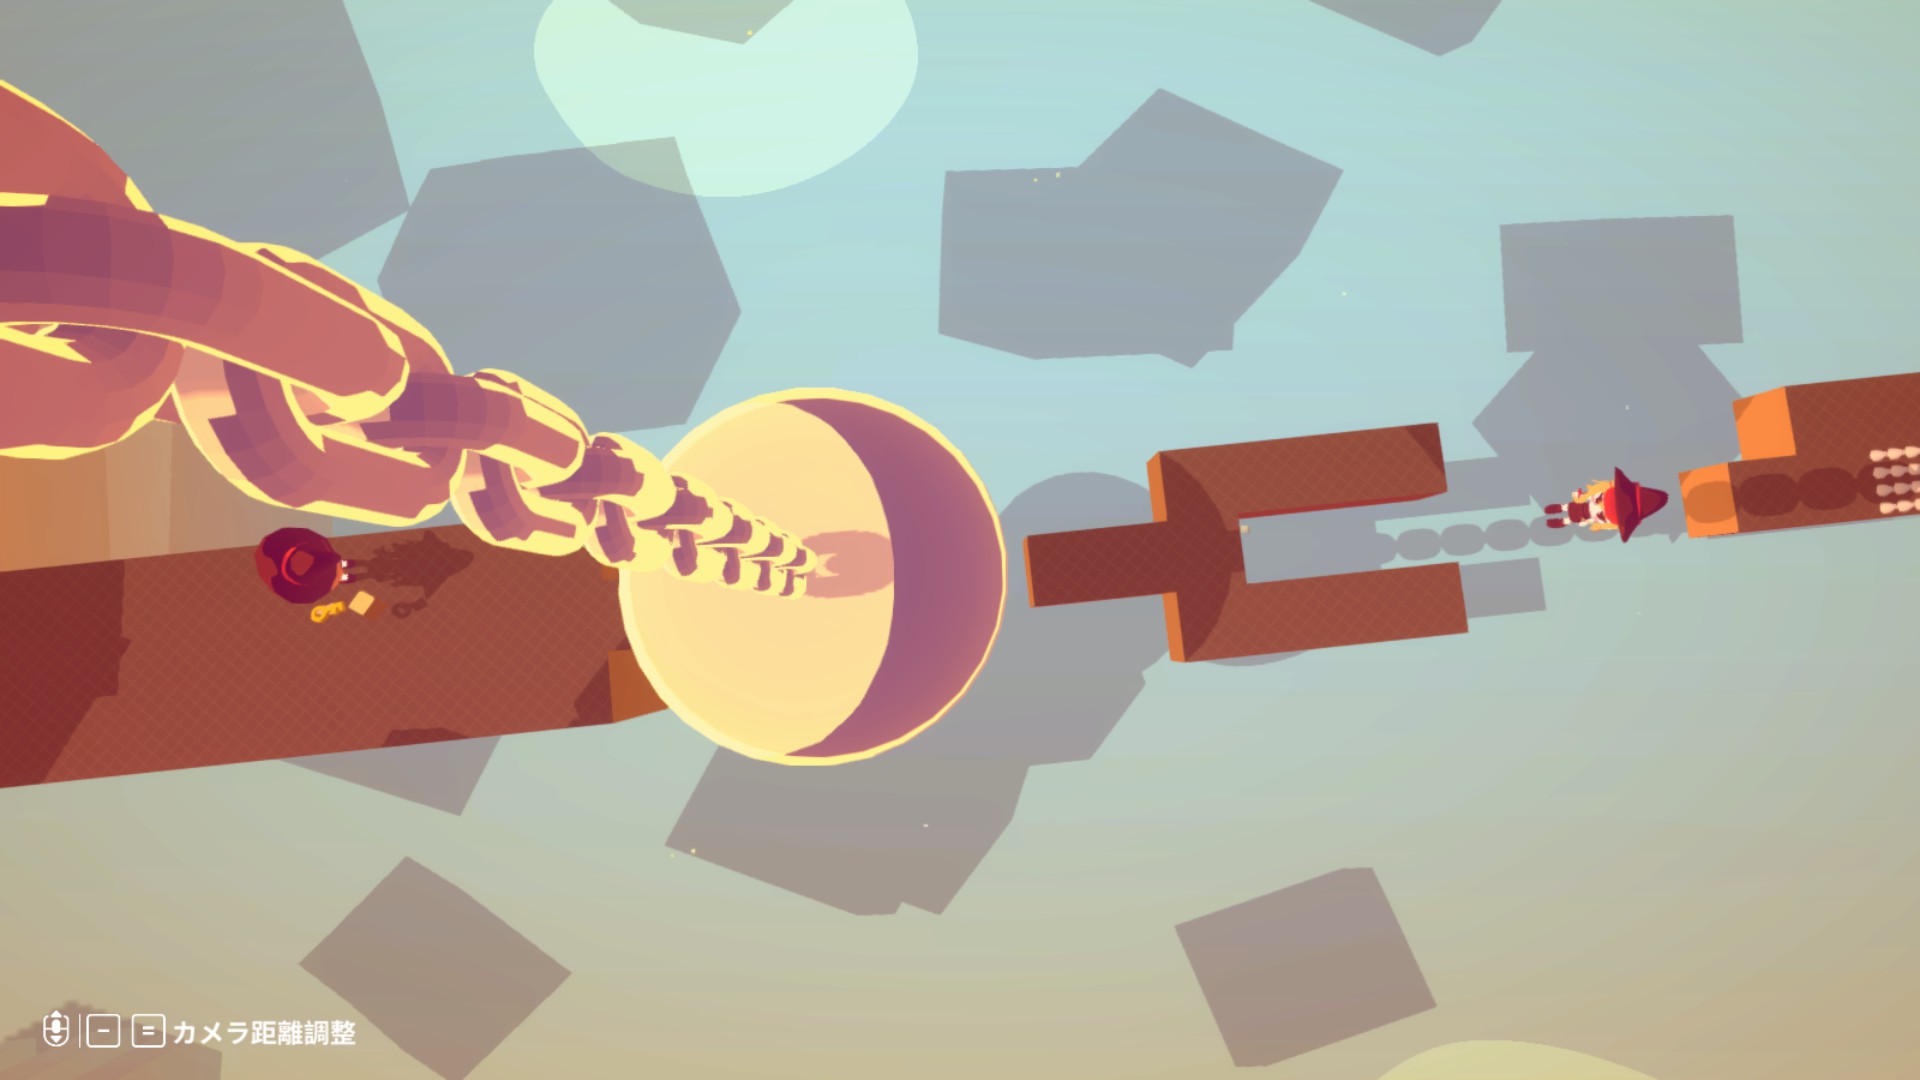
| 4-0 | (Up to 4-U) | It is also a bit difficult to understand the hidden passage here. Let's look around the initial location. | |
| 4-U | sun | There is a wall, spines and goal to the right of the three lined box type levels. | |
| 4-V | MM | In the middle of the three side-by-side box type levels, there is a lock and a key. | |
| 4-W | Star | There is a theta and a box to the left of the three side-by-side box type levels. | |
| 4-Z | Return to the sea | 4 - Meta level solved in combination with UVW. Since the goal is in the wall and the theta is in the wall one cell away from the goal, the goal is to fill the gap with the wall and consider a combination of levels that will allow the wall to be transported. (spoiler) Combo spoiler(4-U^4-V)+4-W+4-Z |
|
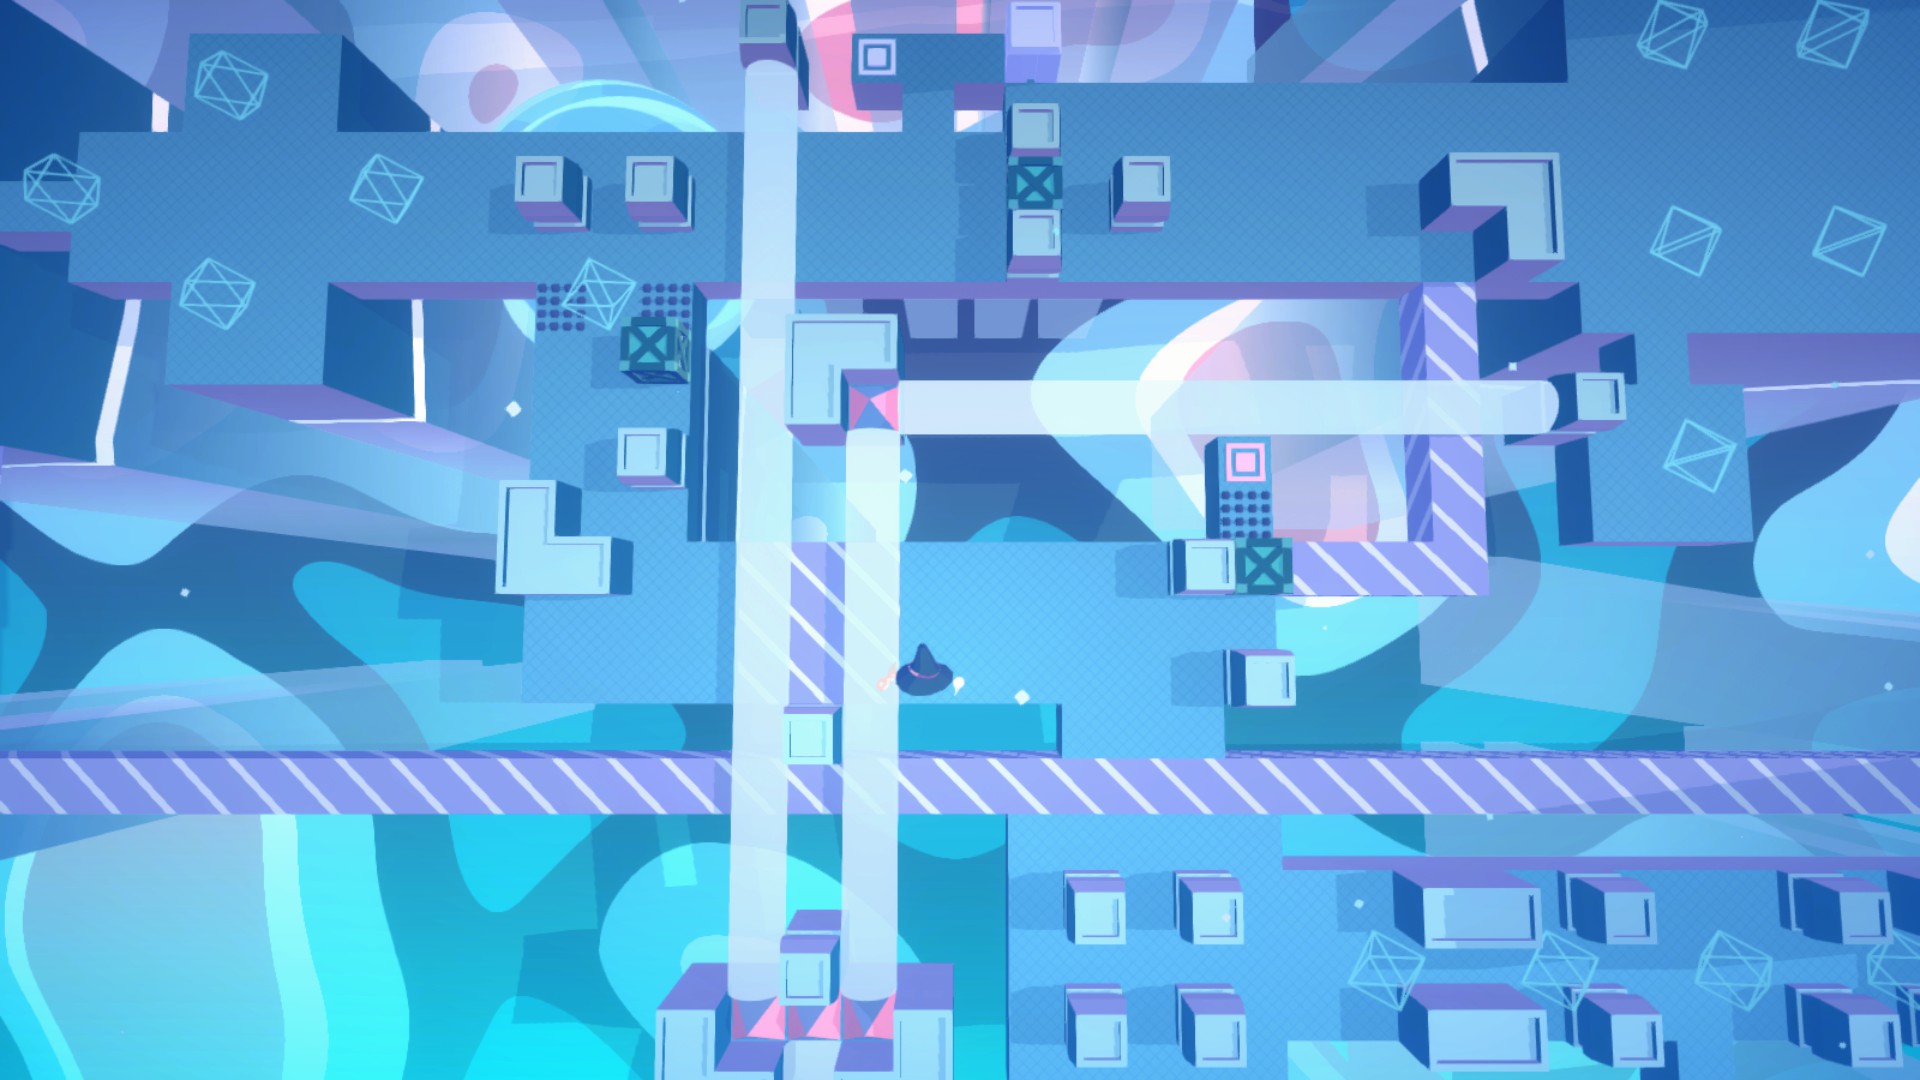
| 5-0 | (Up to 5-R) | The fork marking the hidden path is easy to spot, but it sits mid-ice, so entry takes extra work. Use the techniques from entering 2-Y and 5-P. | |
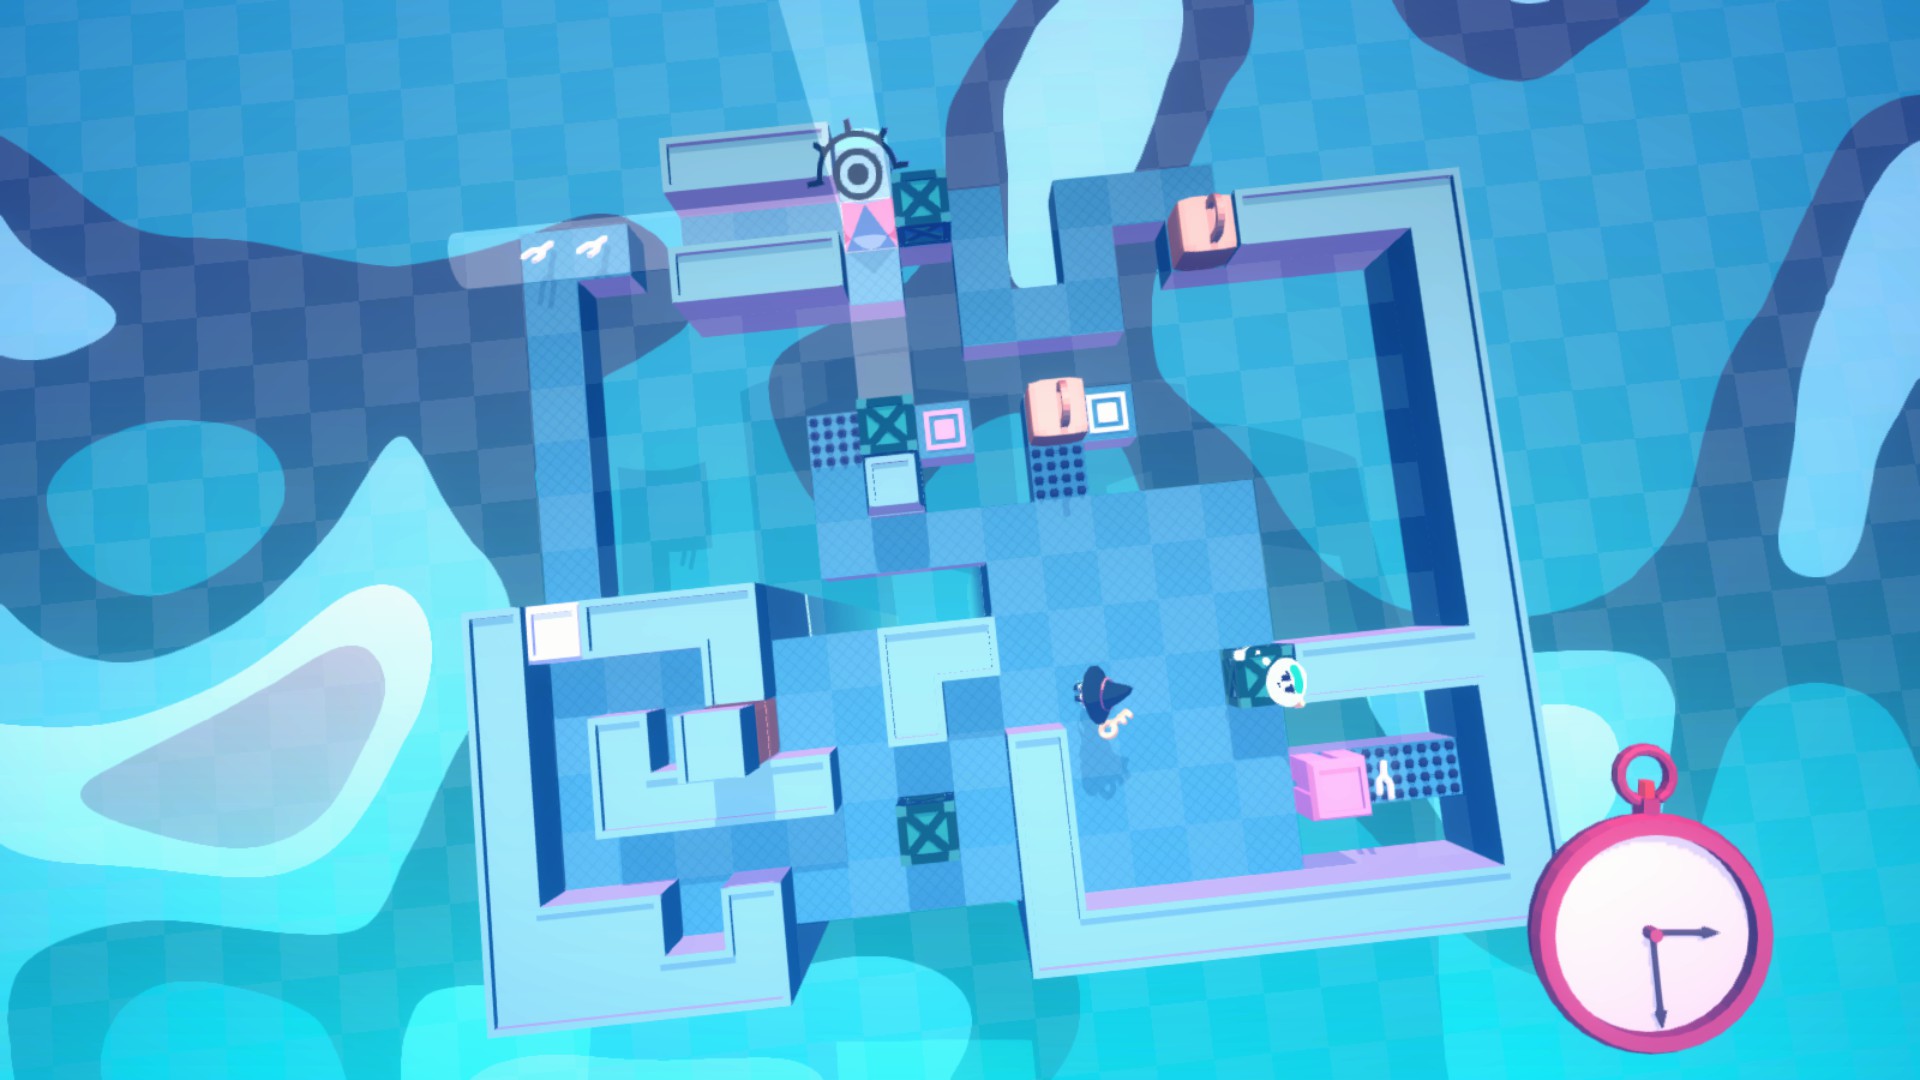
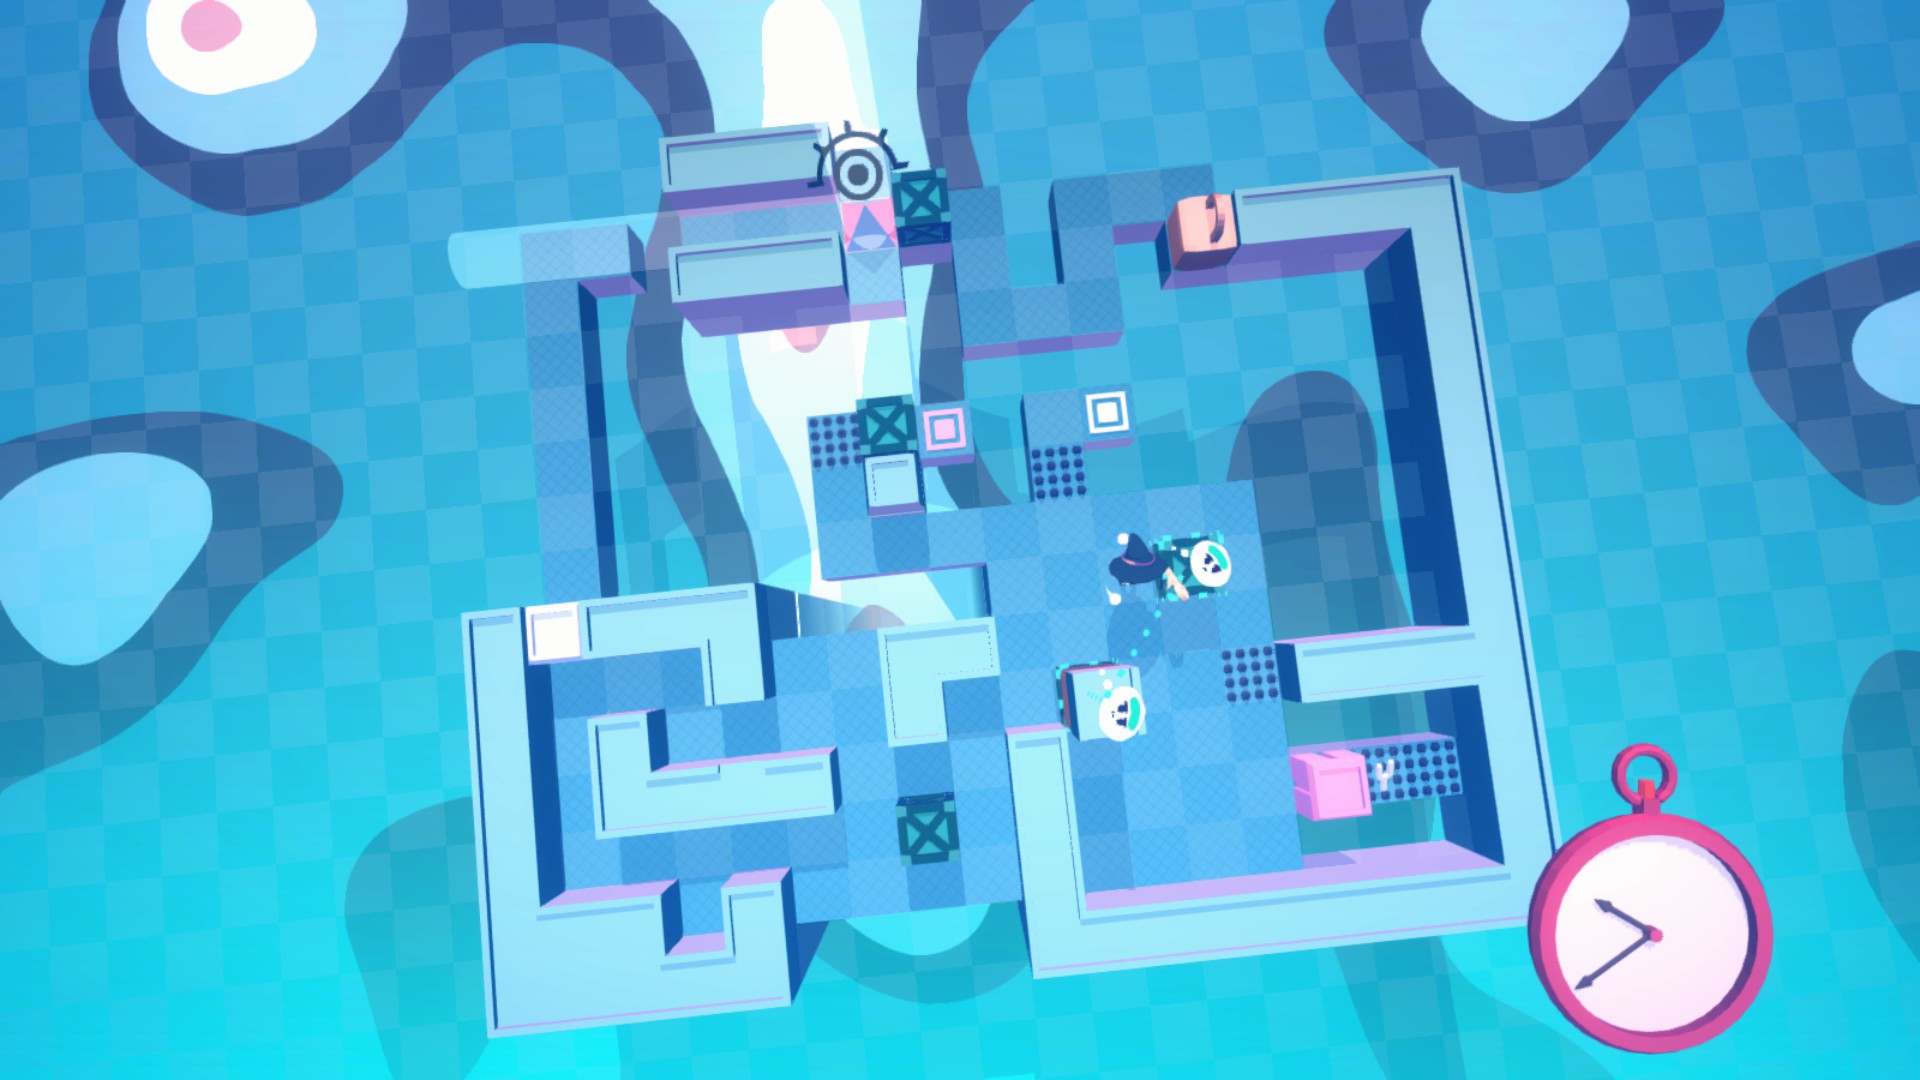
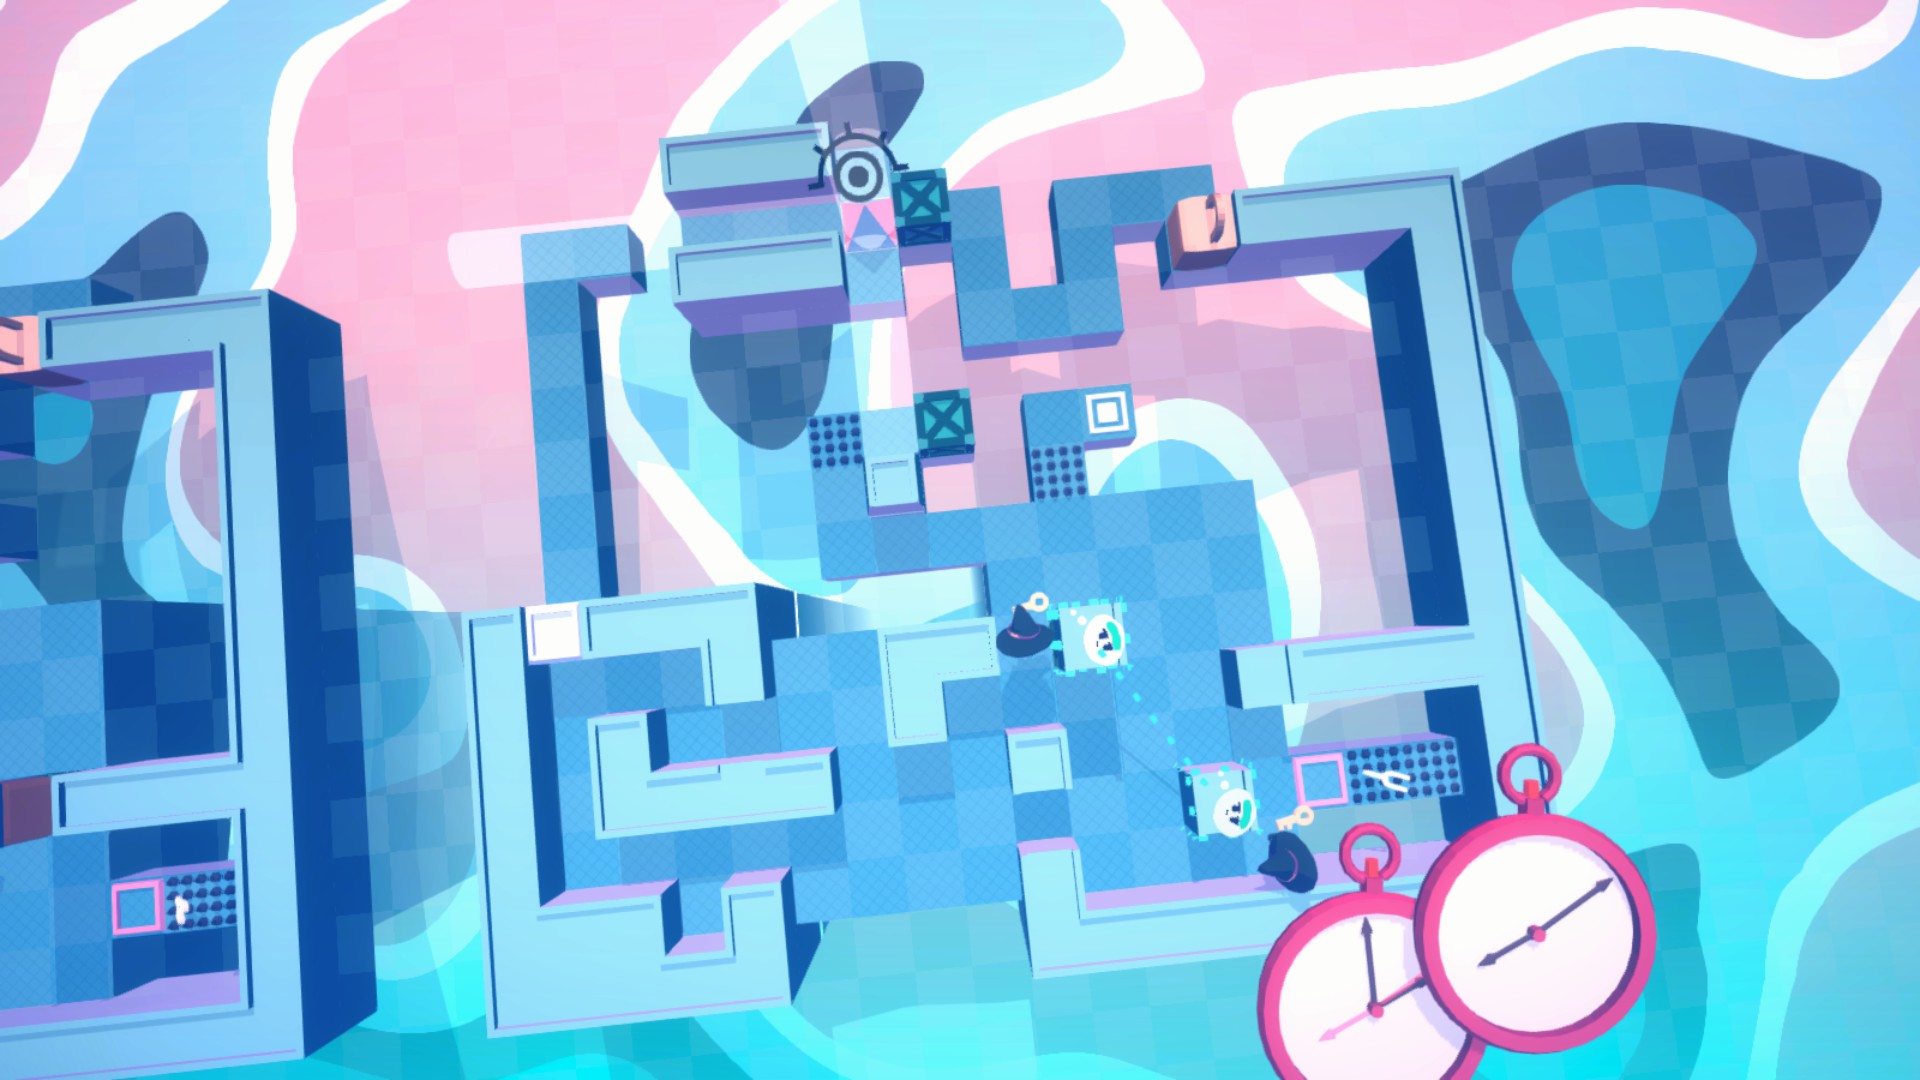
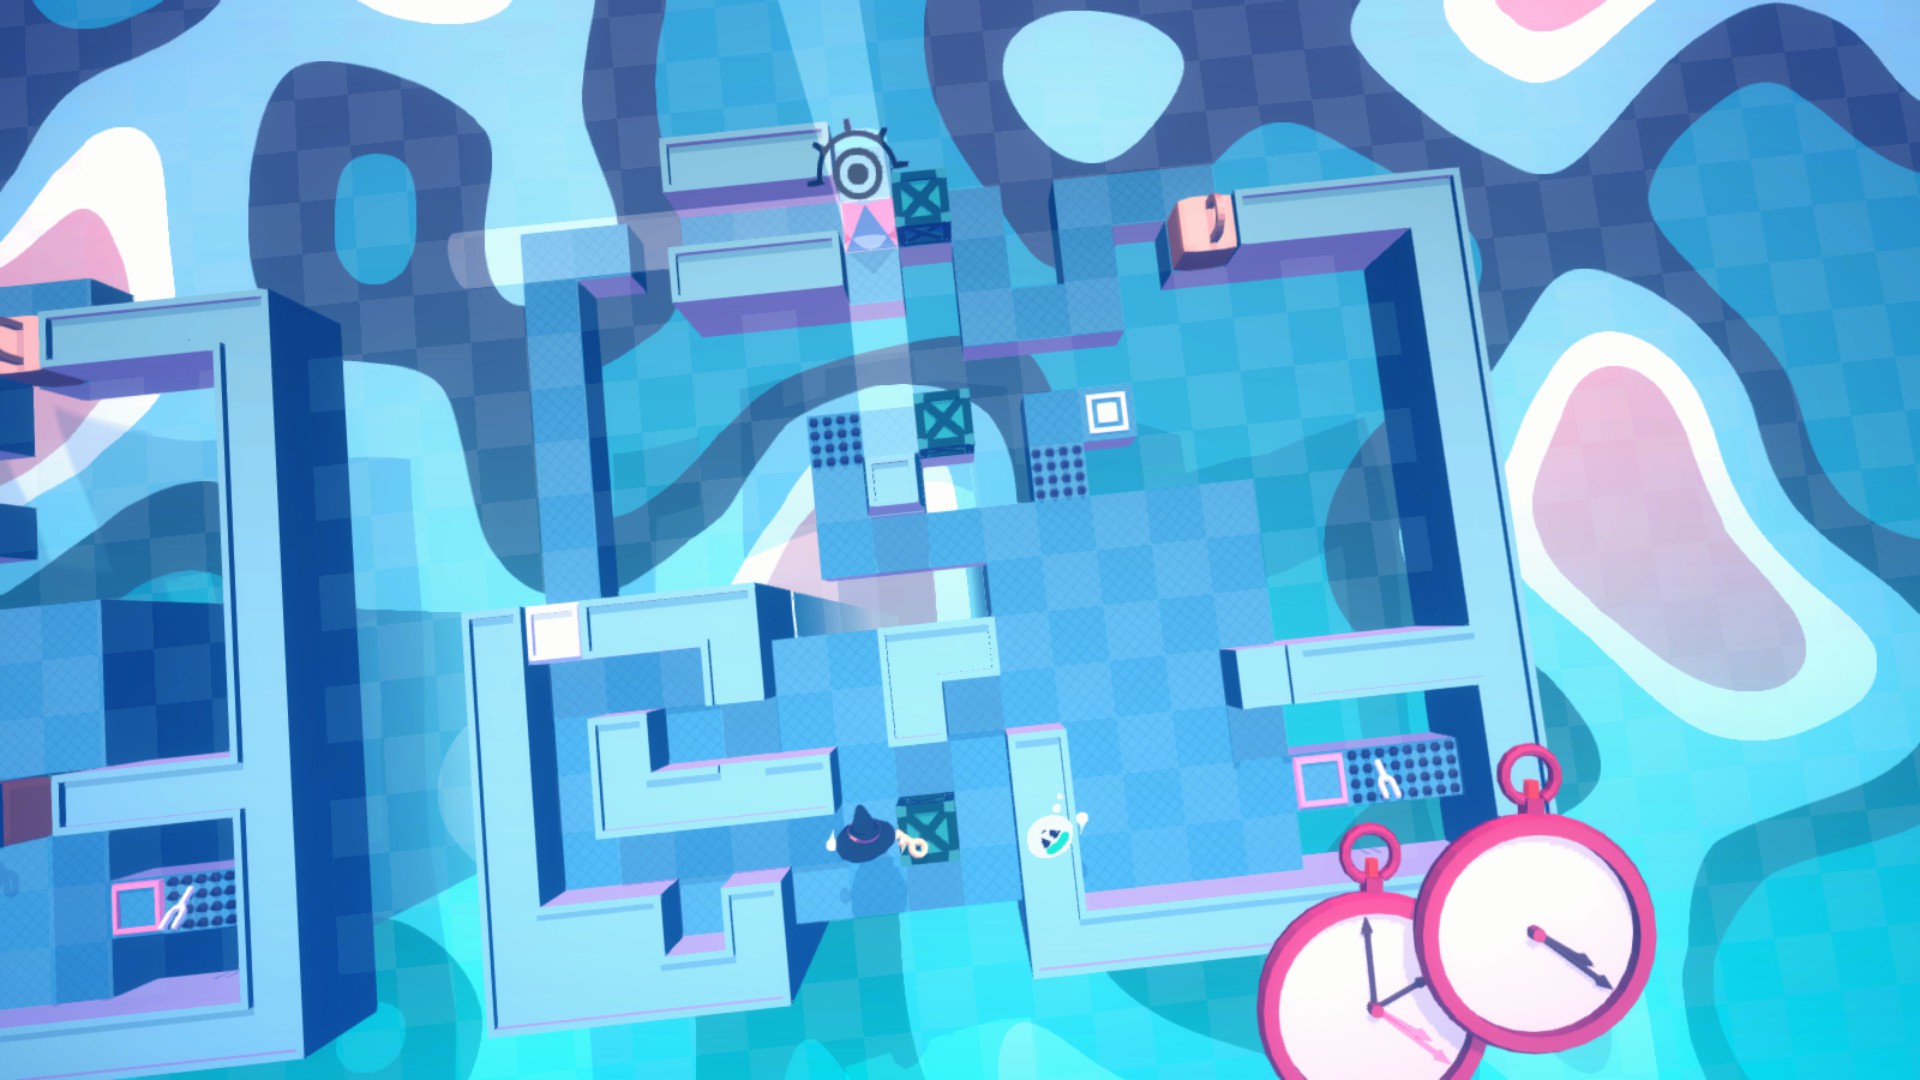
| 5-R | ER=EPR | The most difficult level of the game (I think). Because there are so many steps required, we will outline the general steps. ① Make an entangled box with the right thorn and get the fork on the top left ② Overlap the lock wall on the left and carry the block to the right ③ Press the pink switch and push the box lock wall block on the thorn ④ Use the key from the lock wall block to enter the wall ⑤ Use the split to create the overlap between the box and the wall ⑥ Fuse to hold the key to the the theta in the wall ⑦ Take the fork on the bottom right and open the lock on the top right through the wall to the goal (spoiler image available) | |
| 5-Z | Sunlit | Complete 5-R and use the free chest to create a level combination, inspired by the technique of multiplying keys with 2-P. (spoiler) Combo spoiler5-Z^5-Z |
|
| 5-0 | (5-0 cleared) | It is necessary to block each of the three optical paths out of the prism. One can be blocked with a box when returning to the top of the level, one is near 5-X, and the other is passing over the ice sheet, so we will use the techniques that appeared in 5-18 and so on. |
After the ending (2/2)
A group of six levels at the bottom-left of the final chapter. Collecting the star at 0-Z is the ultimate goal.
| ID | Level | Notes | Combo (spoiler) |
|---|---|---|---|
| 0-0 | (Overview) | If it is not cleared, the combination will be limited, and you will not be able to pick up the stars one step at a time, so it will be divided into several times to make the level cleared. When combining, it may be helpful to keep in mind the rule that the alphabetical levels are arranged from left to right in order of youth. | |
| 0-U | Up | In the middle of three rows. There are three goals lined up. | |
| 0-V | Down | A box-type level. Boxes are present. | |
| 0-W | Overview | The left of the three side-by-side. Quarantined goals and keys exist. | |
| 0-X | Strange | A box-type level. Built from keys and walls. | |
| 0-Y | bottom | The right of the three side-by-side. There are goals blocked by switch blocks and keys. | |
| 0-Z | Charm | The level of the box type at the top. There are two types of stars surrounded by switch blocks and four goals on the top side, blocked by walls. | |
| First Stage | Combine the three levels. It is easy to handle 0-W and 0-Y as a set. When packing the box, use the end-to-end division that appeared in 1-19 and so on. | Combo spoiler(0-V^0-Y)+0-W |
|
| Second Stage | Use levels you cleared in the first stage to clear levels other than 0-Z. Box-packing becomes available, widening combo options beyond the first stage. Collisions and overlay are also usable. | Combo spoiler(0-U+(0-V^0-W))(0-V^0-Y)Combo spoiler(0-V^0-W)((0-V^0-Y)+0-X) |
|
| Third Stage | Complete with a combination that includes 0-Z. 0-Z goals can only be accessed through a wall. Since it is necessary to split 6 times from the nearest wall to the goal, by increasing the world line with 2 forks, the number of forks required for the goal condition is secured. A combination of 10 levels, including addition, direct product, and superposition. | Combo spoiler((0-U^0-V^0-X)+(0-V^0-W^0-X)*((0-V^0-X^0-Y)+0-Z) |
|
| 0th Star | Get a 0-Z star. Since 0-W and 0-Y each have a switch, it is a combination of those two levels. | Combo spoiler(0-W^0-Z)+(0-Y^0-Z) |
Spoiler screenshots (by level)
Hint art tied to specific rows — text is also in the table; open for the picture.
Spoiler — 2-P — Ch6 Infinite Loop
There are only 4 keys on the level, but the required number is 5, so you can't use collisions because you have to press two switches. When you use the ice sheet and take one key at the same time...?
Spoiler — 4-0 — Prologue Dream World
It is also a bit difficult to understand the hidden passage here. Let's look around the initial location.
Spoiler — 5-0 — Final Star 0 Z
The fork marking the hidden path is easy to spot, but it sits mid-ice, so entry takes extra work. Use the techniques from entering 2-Y and 5-P.
Spoiler — 5-R — Ch6 Light Path
The most difficult level of the game (I think). Because there are so many steps required, we will outline the general steps. ① Make an entangled box with the right thorn and get the fork on the top left ② Overlap the lock wall on the left and carry the block to the right ③ Press the pink switch and push the box lock wall block on the thorn ④ Use the key from the lock wall block to enter the wall ⑤ Use the split to create the overlap between the box and the wall ⑥ Fuse to hold the key to the Theta in the wall ⑦ Take the fork on the bottom right and open the lock on the top right through the wall to the goal (spoiler image available)
Spoiler — 5-R — Stars Chapter Map
The most difficult level of the game (I think). Because there are so many steps required, we will outline the general steps. ① Make an entangled box with the right thorn and get the fork on the top left ② Overlap the lock wall on the left and carry the block to the right ③ Press the pink switch and push the box lock wall block on the thorn ④ Use the key from the lock wall block to enter the wall ⑤ Use the split to create the overlap between the box and the wall ⑥ Fuse to hold the key to the Theta in the wall ⑦ Take the fork on the bottom right and open the lock on the top right through the wall to the goal (spoiler image available)
Spoiler — 5-R — Post Game Torch
The most difficult level of the game (I think). Because there are so many steps required, we will outline the general steps. ① Make an entangled box with the right thorn and get the fork on the top left ② Overlap the lock wall on the left and carry the block to the right ③ Press the pink switch and push the box lock wall block on the thorn ④ Use the key from the lock wall block to enter the wall ⑤ Use the split to create the overlap between the box and the wall ⑥ Fuse to hold the key to the Theta in the wall ⑦ Take the fork on the bottom right and open the lock on the top right through the wall to the goal (spoiler image available)
Spoiler — 5-R — Post Game Golden Finger
The most difficult level of the game (I think). Because there are so many steps required, we will outline the general steps. ① Make an entangled box with the right thorn and get the fork on the top left ② Overlap the lock wall on the left and carry the block to the right ③ Press the pink switch and push the box lock wall block on the thorn ④ Use the key from the lock wall block to enter the wall ⑤ Use the split to create the overlap between the box and the wall ⑥ Fuse to hold the key to the Theta in the wall ⑦ Take the fork on the bottom right and open the lock on the top right through the wall to the goal (spoiler image available)
More Theta and Paralldoxs on Worldlines guides
Go back to hub for full walkthrough, or browse all games.