PAPERHEAD Guide
PAPERHEAD Walkthrough: All 18 Chapters
Full 18-chapter route — Intro through final Manager fight, with leaf pages for bosses, puzzles, golden paper clips, and beginners basics.
Last updated: October 6, 2026
Start Here
Normal new game → Ch1 facility & mini-boss → Ch3 pencil & Subject 345 → Ch4 golden clip → Ch5–11 keys & Depth Dweller → Ch13 Shambler → Ch15 wizard → Ch18 The Manager.
If you ask "where I go next?", start with sections below on this PAPERHEAD hub page.
Paper-craft horror — kick, pencil bombs, erase dead bodies for HP, paper clips in shop. 18 chapters till The Manager.
I played demo already. Dev sent full game early. This page = my run in order. Boss, puzzle, clip, basics = leaf links if you stuck.
Jump to
- Route overview
- Intro
- Chapter 1
- Chapter 2
- Chapter 3
- Chapter 4
- Chapter 5
- Chapter 6
- Chapter 7
- Chapter 8
- Chapter 9 & 10
- Chapter 11
- Chapter 12
- Chapter 13
- Chapter 14
- Chapter 15
- Chapter 16
- Chapter 17
- Chapter 18
- Leaf guides
Route overview
-
Intro and Chapter 1 — Start new game, learn controls, combat, shop, and defeat first mini-boss.
-
Chapters 2-4 — Progress through early story, learn pencil abilities, obtain infinite-ammo gun, and find Golden Paper Clip.
-
Chapters 5-6 — Navigate Sorting Station, use shotgun, drive vehicle, and defeat Shelter Leader.
-
Chapters 7-8 — Explore Hunting Grounds, collect colored keys, survive arenas, and reach the Farm.
-
Chapters 9-10 — Explore Log State Capital, unlock slow motion, and defeat Whispering Boss.
-
Chapter 11 — Navigate flooded depths, defeat Crying Man and Razor Man, and outrun Depth Dweller.
-
Chapters 12-13 — Discover lore, fight through Project HQ, solve electricity puzzle, and defeat Shambler Boss.
-
Chapters 14-15 — Start new project, find blue key, acquire explosive weapon, and defeat teleporting wizard.
-
Chapters 16-17 — Read rituals lore, fight Manager's guards, and assault the fortress.
-
Chapter 18 — Confront and defeat The Manager, the final boss.
-
Bosses — All Bosses Guide
-
Basics — Beginners' Guide
-
Golden paper clips — Locations & shop uses
-
Puzzles — All Puzzles Guide
Chapters 9 & 10 = one stretch in my run — same block below.
Intro
- New game, Normal, Mercenary — what I picked. I played the demo before and had fun; the dev sent me the full game early.
Chapter 1
First facility chapter — kick, freezer, shop, barricades, mini-boss at end.

Chapter 1 — facility start
-
Left shift = kick, F = flashlight, space in air = double jump. Triple jump works too.
-
Collect all lore items to unlock an out-of-character feature. There are many to find.
-
Combine slide, jump, and dash to progress through the facility.
-
Inspect the sleeping figure and open the map to navigate.
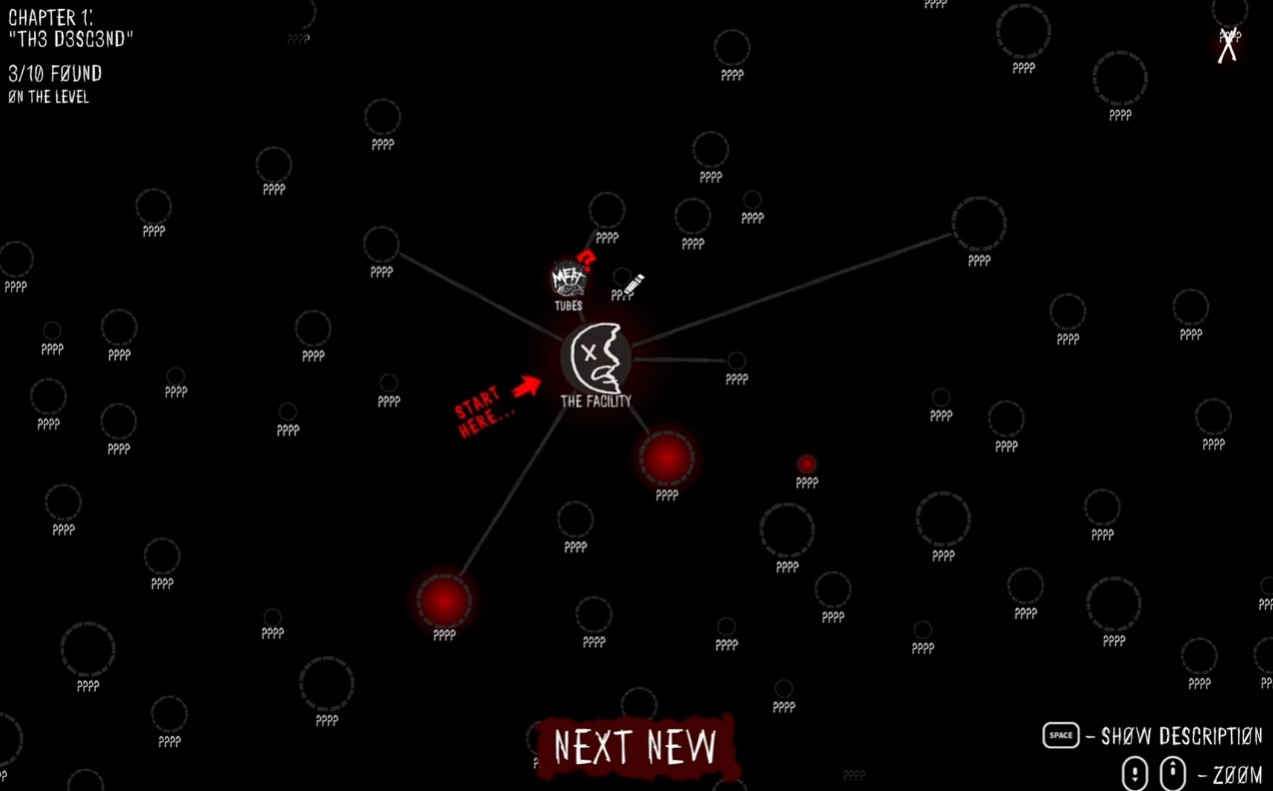
Chapter 1 — map
-
Keep freezer temp low — if not, things wake up.
-
Kick enemies into the freezer to deal with them.
-
Hide somewhere and wait until your manager contacts you.
-
Fight enemies using kicks and combos. Use the combo meter to track hits. I really like the combat in this game.
-
Jump on enemies to deal damage and stun them.
-
Blue button = items, red = upgrades. Buy the prop jump upgrade to pick up objects. I'm so glad I got the prop thing.

Chapter 1 — shop tutorial
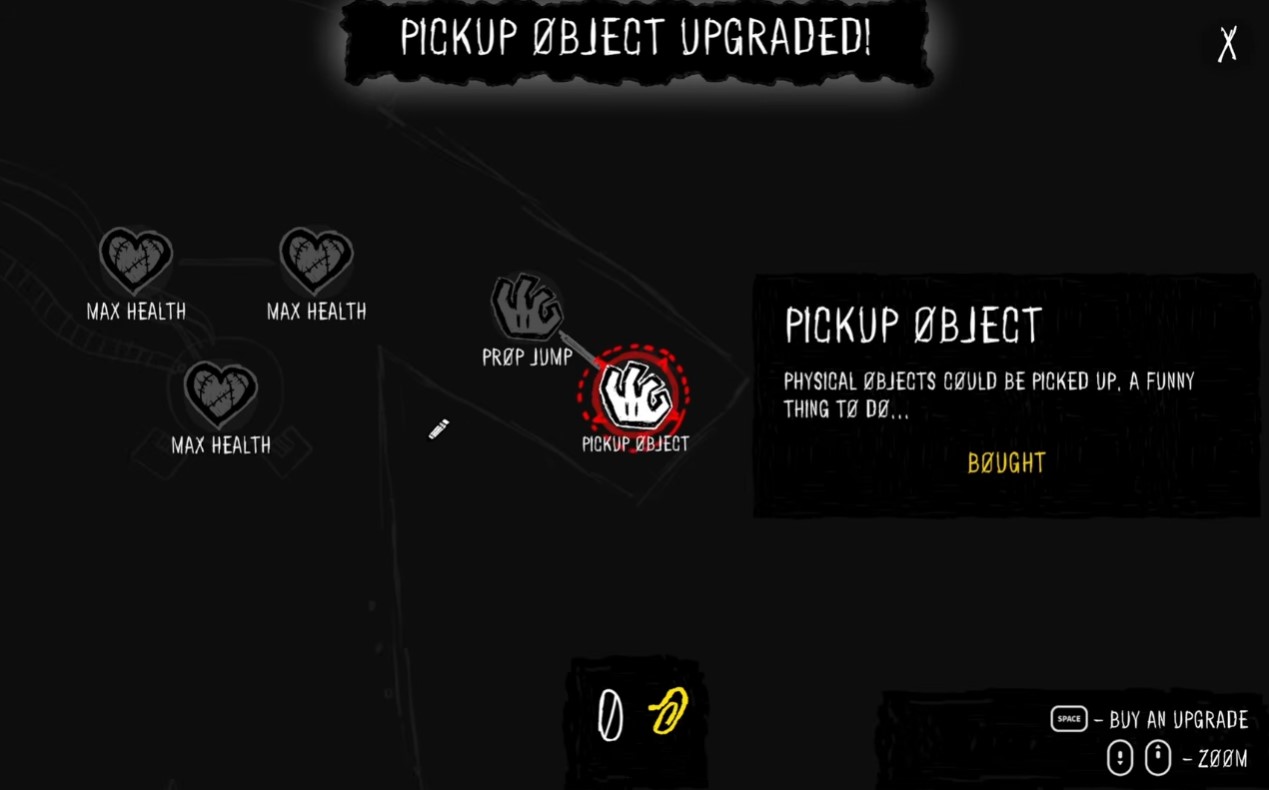
Chapter 1 — prop jump upgrade
-
Use objects to build barricades and block enemy paths.
-
Use explosives to kill the mini-boss. Watch the combo meter on the right. In the demo, bosses had to be killed with guns, but this one can be killed with explosives.
Chapter 2
Continue after Chapter 1. Read lore about Project Capetto being suspended due to an incident. Project Capetto.

Chapter 2 — Project Capetto note
Chapter 3
Descend deeper into the facility. Open vault 666 to encounter Object 808. Learn pencil abilities, manage regenerating bombs and health, acquire an infinite-ammo gun, fight exploding dogs, shop for upgrades, read Subject 345, and defeat the boss. Bombs auto-regenerate and erasing corpses restores health, so use erasing as a healing mechanic during combat.
- Use X to draw, throw a bomb, and V to erase corpses to heal yourself. You can also draw a cool S and add your own images. This is going to be OP. I remember being able to draw bombs.
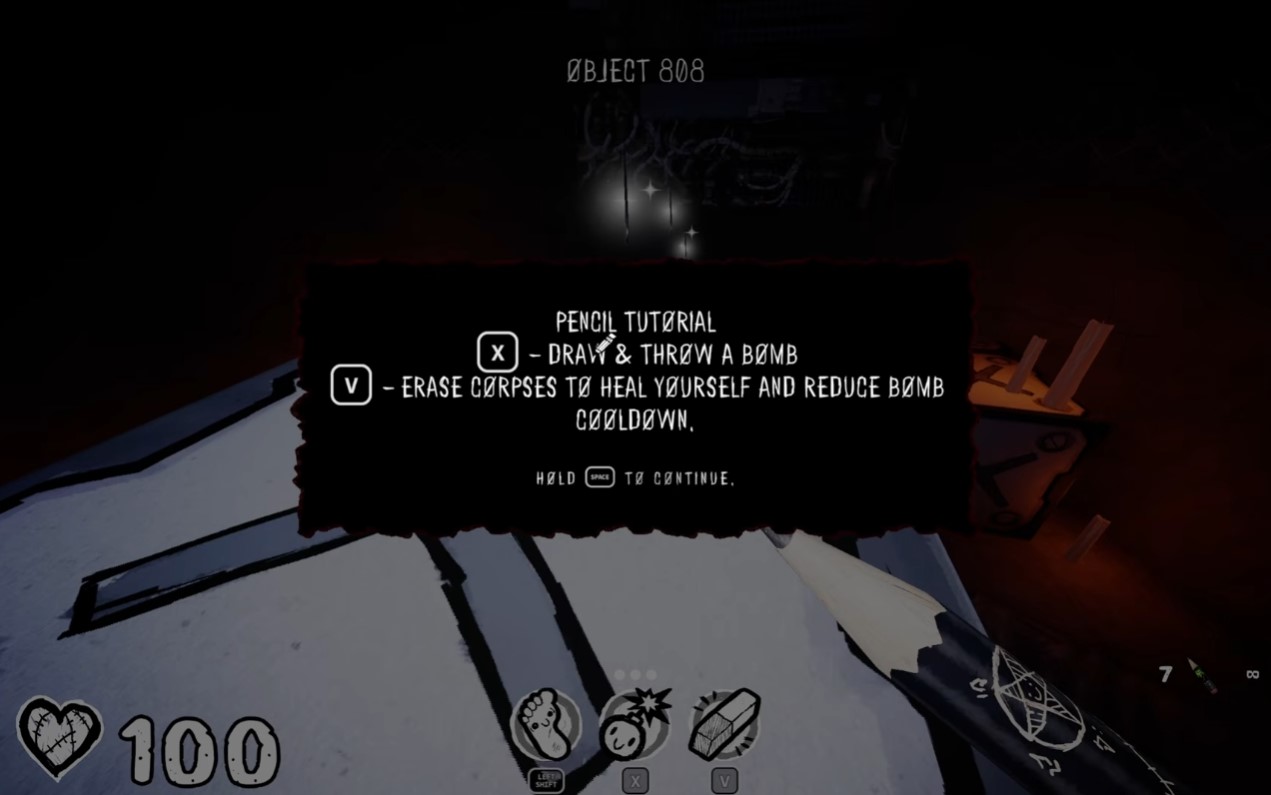
Chapter 3 — pencil tutorial
-
Bombs now automatically regenerate over time; no need to manually sharpen them. In the demo you had to sharpen bombs to get more; now they auto-regen, which is a nice change.
-
Erase corpses to restore health. Low on health, erase bodies first when low.
-
Pick up a gun; it has infinite ammo in this version. There used to not be infinite ammo in the demo.
-
Watch out for exploding dogs; they are new enemies.
-
At the shop, buy upgrades. Purchase bombs manual regen speed and bombs auto.
-
Read file on Subject 345: Army Serviceman, 45th Formation, Assault Company, severe traumatic brain injury, PTSD. Likely a boss.
-
In the boss fight, erase enemies to damage them. They summon minions; use bombs and erasing to survive.
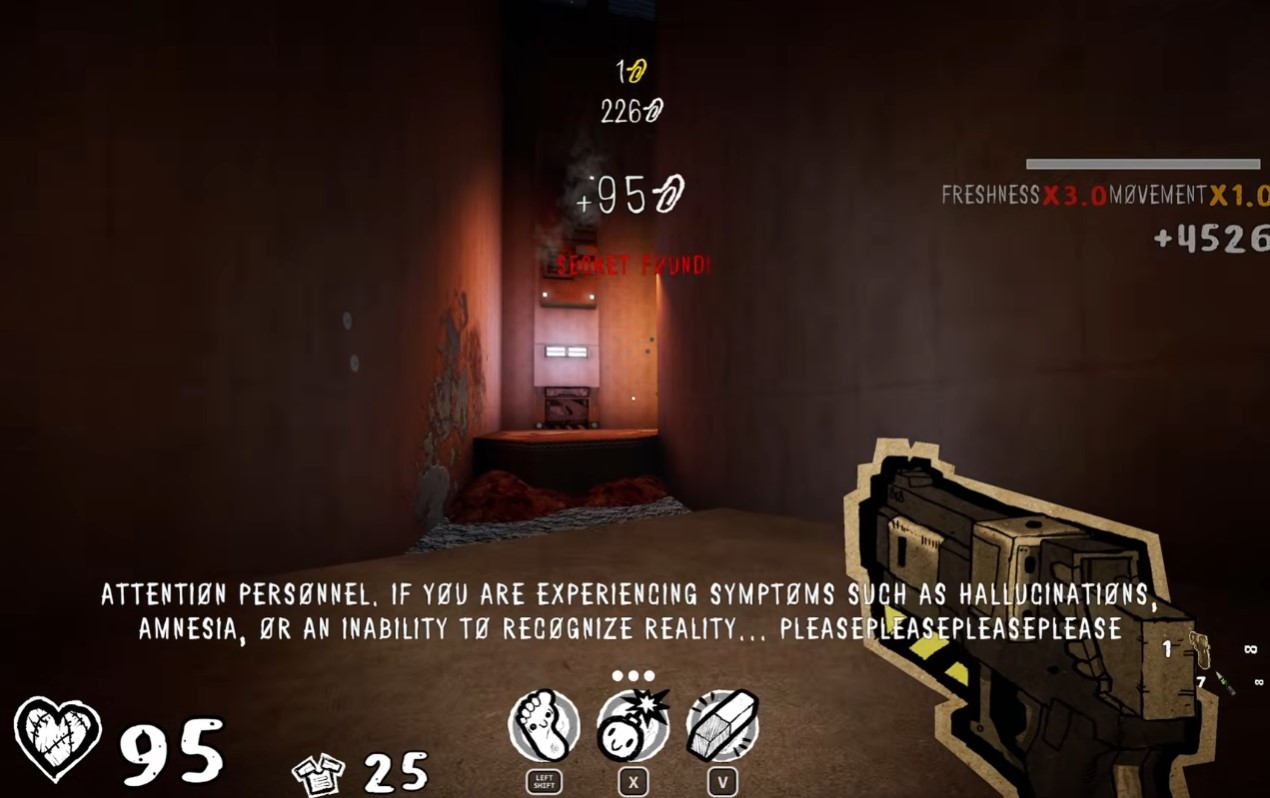
Chapter 3 — secret
- After defeating the boss, meet Larry. He offers to help you get through inner barriers if you kill a monster for him.
Chapter 4
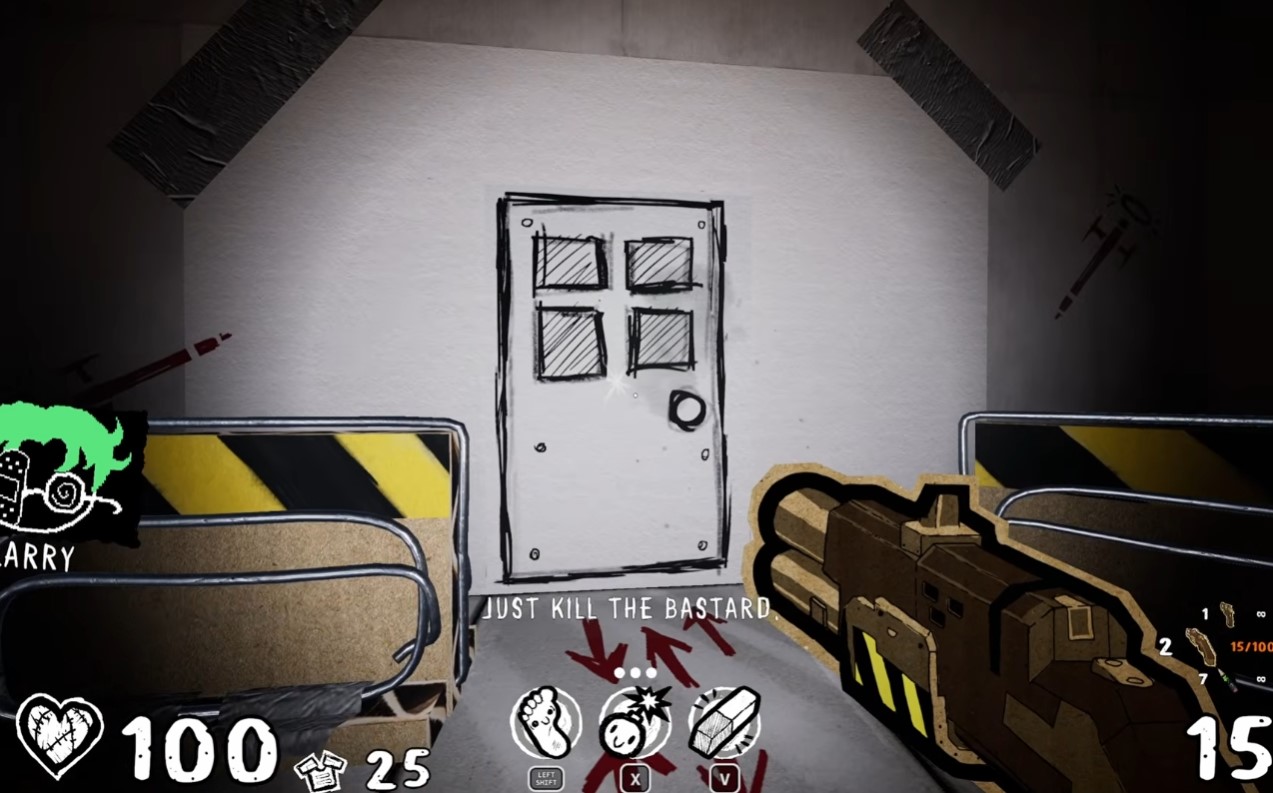
Chapter 4 begins. Talk to Larry; he gives you a new weapon (shotgun or minigun) and asks you to kill a monster. Talk to Larry and Find the Golden Paper Clip to progress.
- Collect the golden paper clip. It contains log entry 163 from archive 731 about PTSD and escape from reality.
Chapter 4 — draw a door
Chapter 5
Chapter 5 begins. Explode enemies and corpses with bombs to get ammo. Go through the Sorting Station, fight leaping enemies, and prepare to kill the God. Use the shotgun, deflect bombs, swap weapons, find the power generator, drive a vehicle, collect Commander Meat, and enter the arena. Dev wants you using the shotgun for close-range encounters and deflecting bombs back at enemies as a key tactic.
-
Encounter an enemy that leaps. Use spear and other weapons to defeat it.
-
The god is coming; you will have to kill it. It weighs 9000 kg.
-
Use shotgun to kill enemies. They don't resist.
-
Enter the restroom area. Encounter more enemies.
-
Use the abundant shotgun ammo to deal with enemies.
-
Deflect bombs thrown by new enemies.
-
Swap weapons as needed when enemies appear from vents.
-
Find the power generator to restore power.
-
Drive the vehicle to proceed.
-
Collect the commander meat to progress.
-
Prepare for an arena fight.
-
Find a razor to sharpen your pencil.
-
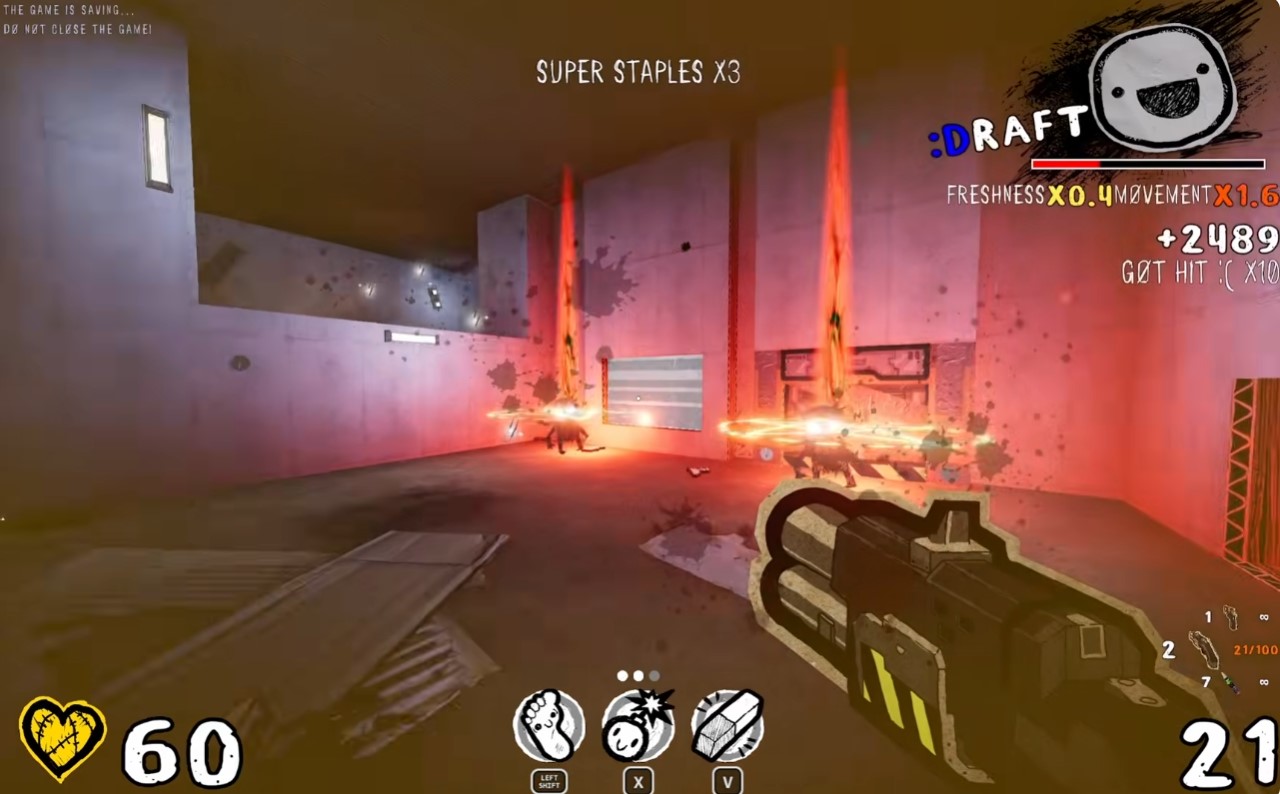
Use bombs to break through shield enemies' defenses.
Chapter 5 — Super Staples
Chapter 6
Reach the shelter, defeat its leader, find the entry, and listen to a recording to progress.
-
Go to the shelter, going around debris.
-
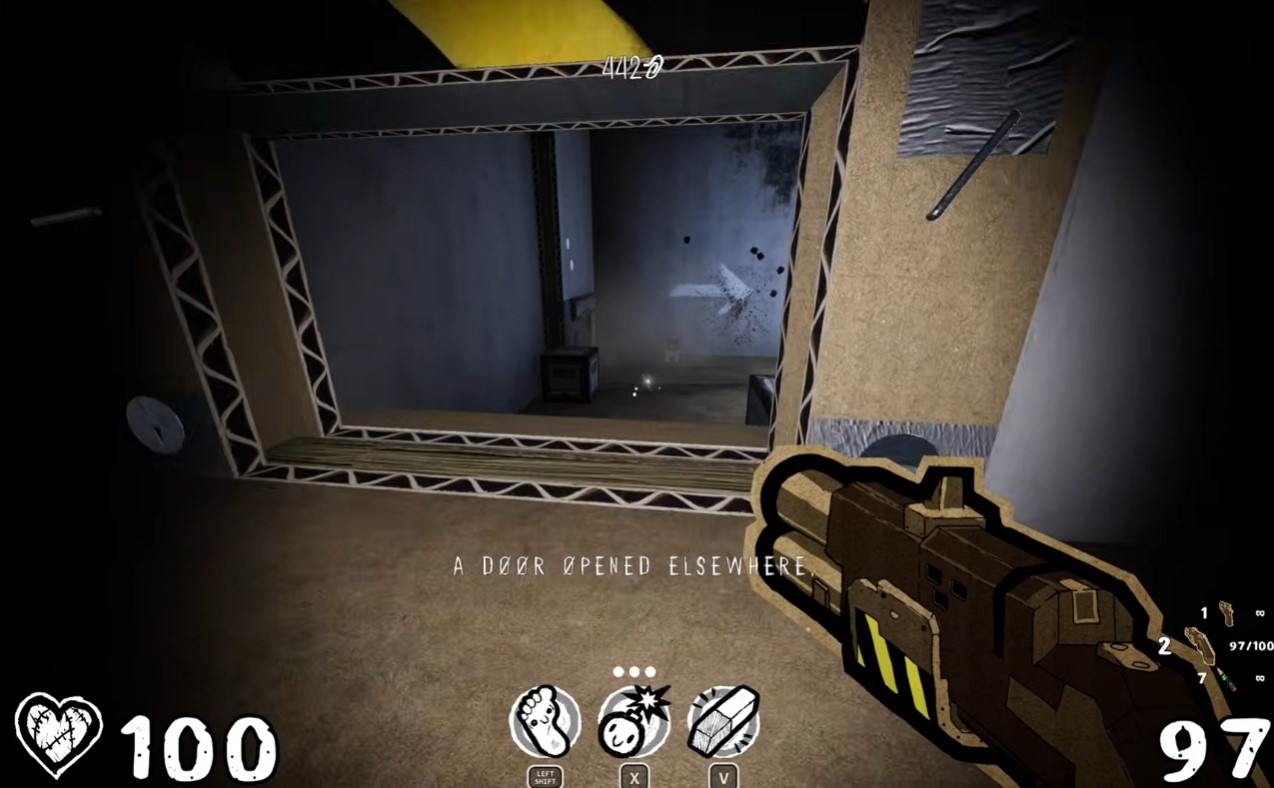
Prepare for a boss fight against the shelter leader.
Chapter 6 — Shelter Leader
-
Find an alternative entry as the main door says 'no entry'.
-
Wait for the recording to finish to proceed.
Chapter 7
Go through the Hunting Grounds, collect colored keys, survive the arena, and defeat the chapter boss.
-
Go into the hunting grounds area.
-
Find the yellow key to unlock doors.
-
Use bombs to destroy enemy shields as erasing doesn't work.
-
Fight off enemies in the arena.
-
Get the blue key and use it on the blue door.
-
Find the pink key to unlock the living quarters.
-
Buy the gold clip upgrade.
-
Pick up the yellow key found in the area.
-
Fight the boss. Use bombs and melee attacks. Kill the new enemy type first, then sharpen your blade. Throw bombs at the boss. Find bodies to heal when low on health. I'm going to kill this guy first and then sharpen my blade. I'm going to throw another bomb at him. And then I'm going to try to find bodies because I'm losing a lot of health.
Chapter 8
Enter the Hunting Grounds, explore the Logs territory, and make your way to the Farm.
-
Go into the hunting grounds area.
-
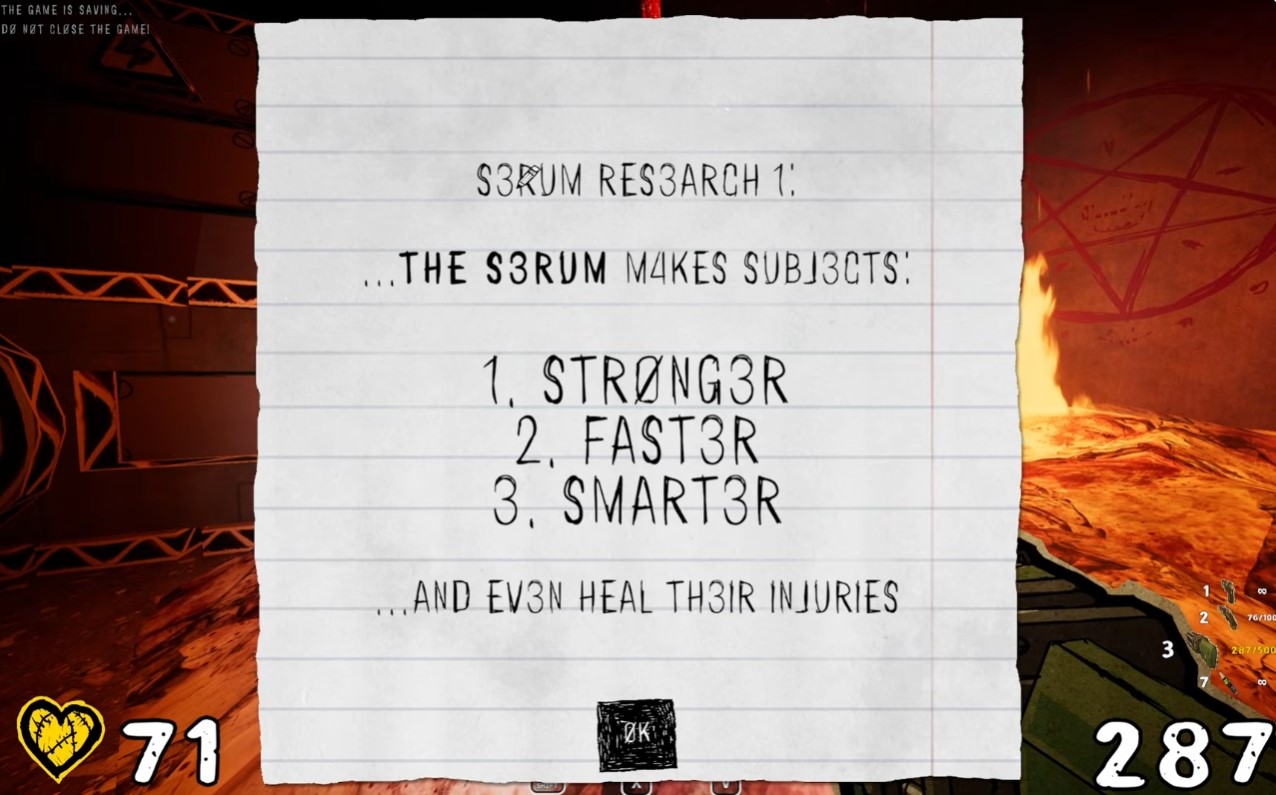
Move through the Logs territory. Read serum research notes: serum makes subjects stronger, faster, smarter, and heals them; subjects become dependent on regular doses and rot without them.
Chapter 8 — serum research note
- Head towards the farm area.
Chapter 9 & 10
Explore the Log State Capital, clear enemies, and unlock the slow motion ability. Bombs are effective against groups; the Savage Shotgun is a strong pickup. Slow motion helps in tight combat.
- Approach the log state capital.
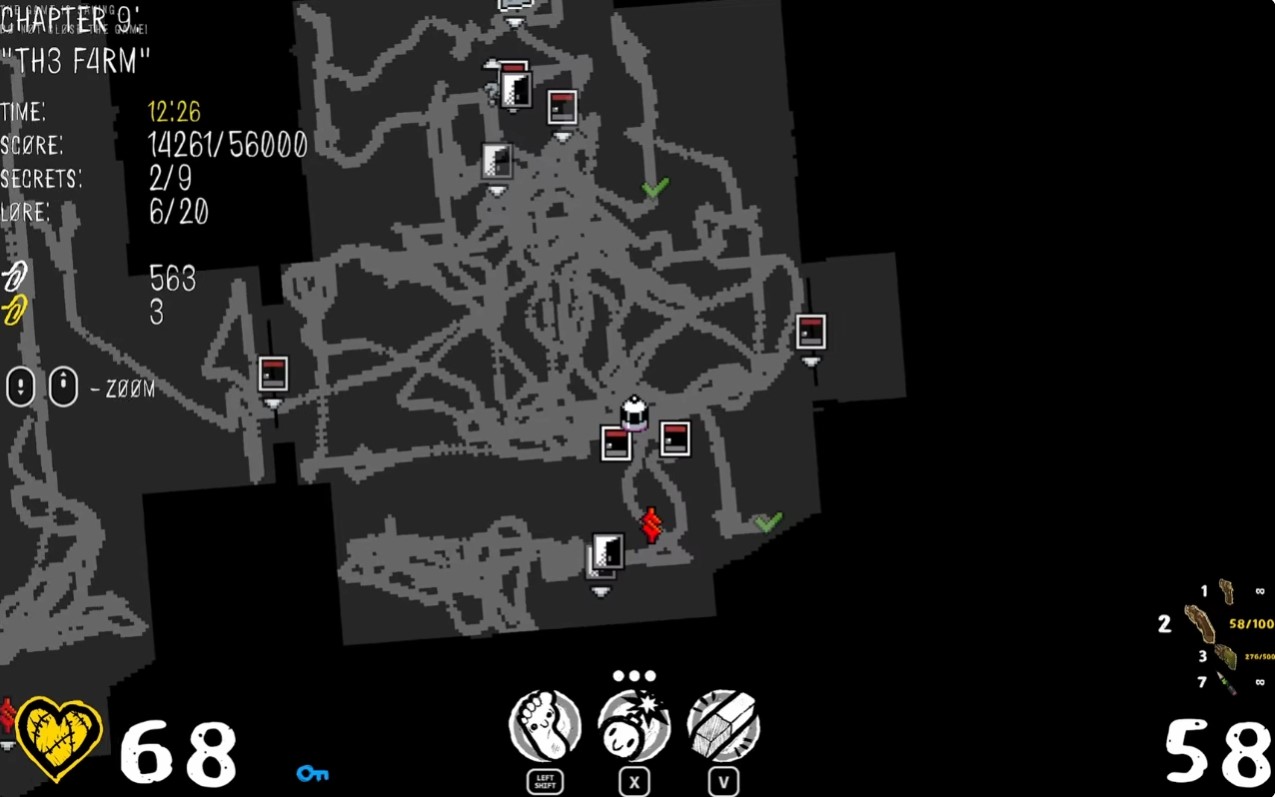
Chapter 9 — Log State Capital map
-
Enter the church. Note: Sanctuarium needs a pinky (pink key). A locked bell requires a yellow key. Read note: 'Boss said no calls until you've got the meat, y'all idiots. So, I've locked the bell for now.'.
-
Throw bombs at enemies. They may dodge. Bombs are effective against shielded savages. I think it just might be bombs. I feel like there is another way to..
-
Read lore: Savages carry a steel shield that blocks almost any damage except explosives. Can knock it out of their hands with an electric shock or a kick. That makes it so much better. I understand it now.
-
Fight the rocketeer enemy.
-
Find the piggy farm. The farm is separate from the piggy farm.
-
Read log: Specimen number 4434. Recipe type crawler. Implantation of additional teeth and bone structures. Implantation of organoid clusters responsible for the digestive system. 3D suturing with additional reinforcement of the gastric system using organic tissues for daily injection of the serum for 2 to 3 days.
-
Find the blue door. It is not near the current area.
-
Objective: Hunt down all of them. Clear the area of enemies.
-
Gain entry to the meat grinder. Kick trapped individuals to end their suffering. Obtain the pink key.
-
Use the pink key to open the Sanctuarium door.
-
Press R to slow down time and heal yourself a little. Kill enemies or stand in blood puddles to get the slow motion bar revealed.
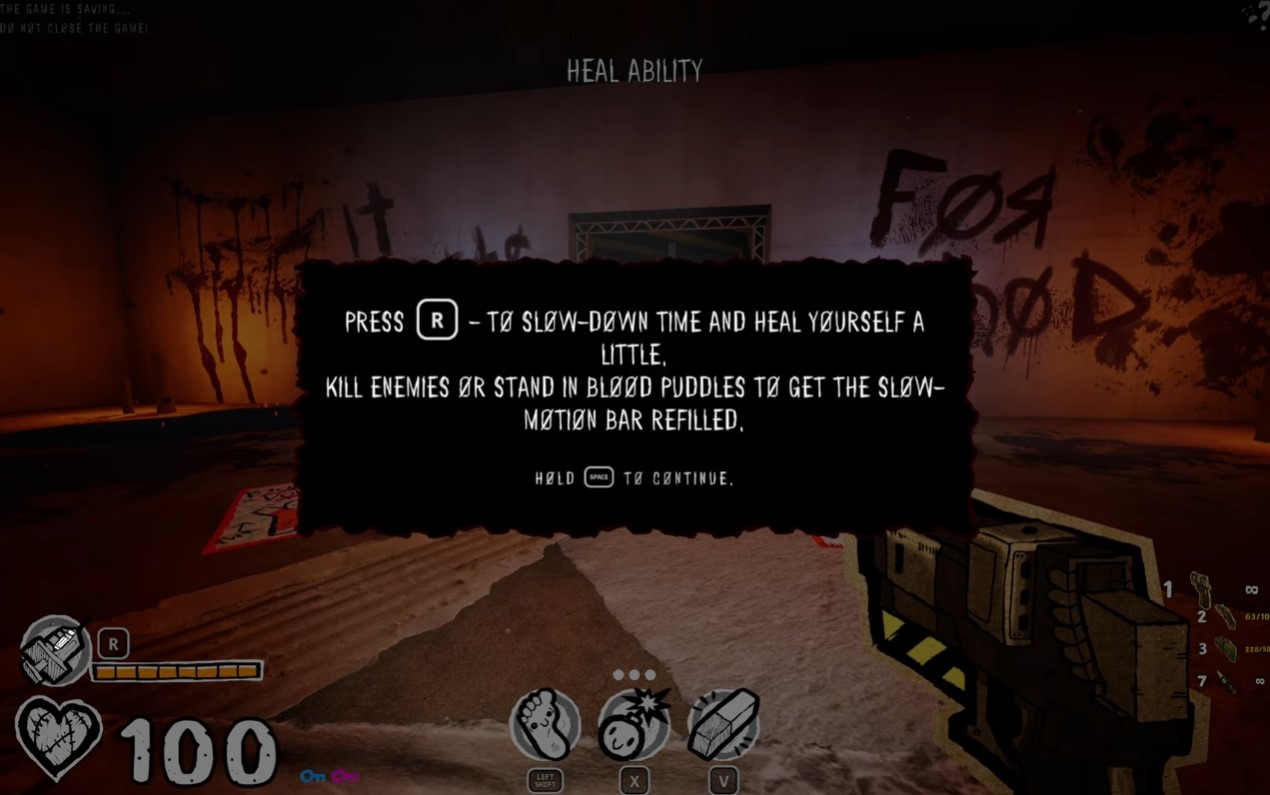
Chapter 9 — slow motion / heal ability
-
Use the bell to open a big and scary door.
-
Encounter the boss Commander Cape. Prepare for a fight.
-
Spam the double barrel option on the boss. Watch for thrown bombs and avoid the shockwave. Recover health when possible. The bosses are way better than the demo.
-
After the boss, Go through the area. Both paths lead to the same place. Examine the giant baby skull and continue.
-
Drop down. You take no fall damage. Systems reboot and you receive a regenerative implant.

Multiple system damages detected
Chapter 11
Flooded depths. Crying Man, Razor Man, water rises, Depth Dweller chase.
-
Beware of who lives in the depths. The teeth lower to allow passage. Proceed carefully.
-
The Crying Man: The Crying Man has high health and attacks anyone. It is vulnerable to electricity. Use electric weapons to stun and damage it.
-
The wireless charger pierces through enemies and stuns organic monsters. Use it against the Crying Man.
-
Group enemies together and defeat them. Watch out for the rammer that charges in one direction.
-
Water rises to allow crossing. Wait for it to rise, then cross. You may need to do this multiple times to reach higher areas.
-
Many enemies appear. Keep your distance and defeat them. Use electric weapons against organic enemies.
-
Prepare for the Chained Enemy: You remember this enemy from the demo. It will break free from its chains and attack. Be ready.
-
The Razor Man: The Razor Man is a berserker with high organic matter. It is effectively neutralized using electricity. Use electric attacks.
-
Clear out the enemy in front, then escape the area as entities spawn behind you. Use the syringe to heal when needed. The syringe is easily forgotten but very helpful for survival.
-
Water has risen again. Continue forward through the large door.
-
Outrun the Depth Dweller: Run from the Depth Dweller. You are faster than him; keep moving to avoid being caught. The Depth Dweller is slow and cannot catch up if you keep running.
-
The Depth Dweller is defeated, ending Chapter 11.
Chapter 12
Discover lore in Chapter 12: read the note about Paper Town, listen to Jeb's dialogue, learn about the Japetto project, and unlock Jeb the Scientist.
- Read the note explaining how Paper Town was formed by naive people imitating the narrator.
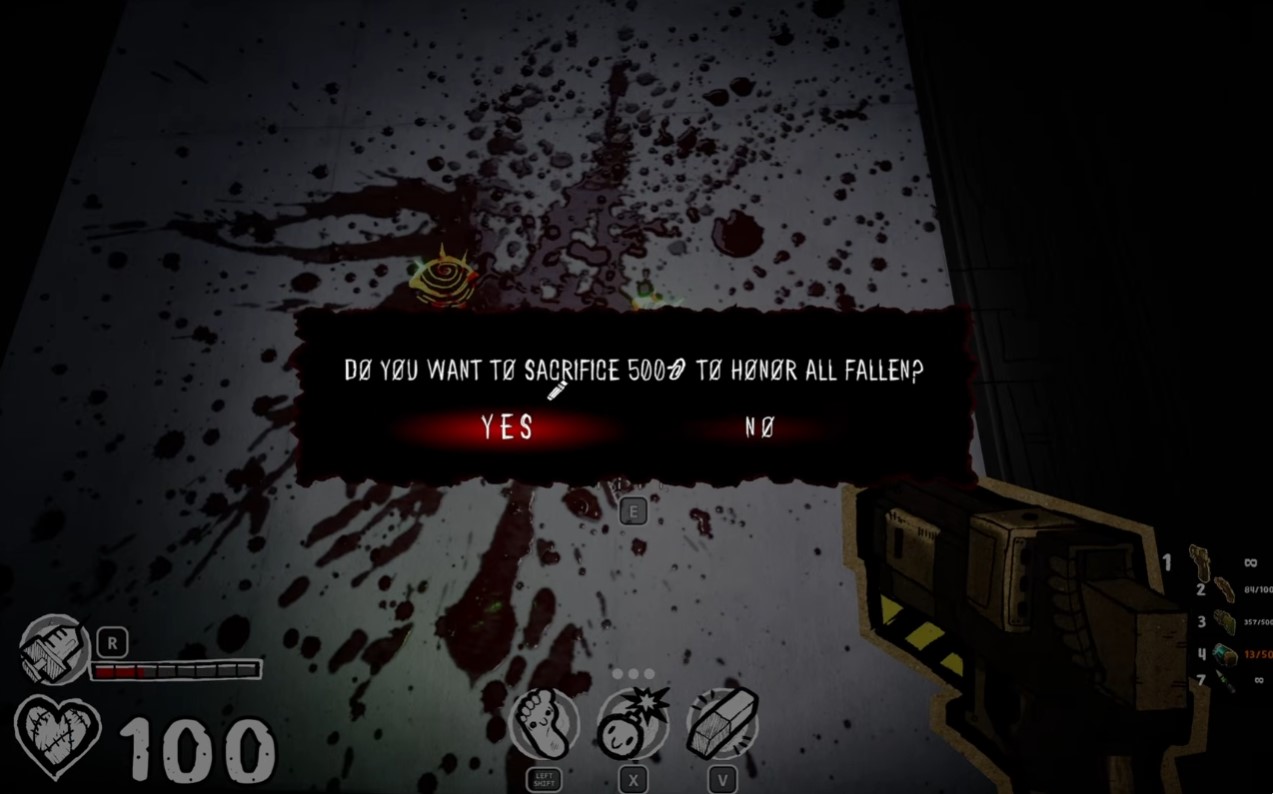
Chapter 12 — honor the fallen
- Listen to Jeb's dialogue as he explains his escape from the farm and his deteriorating condition.
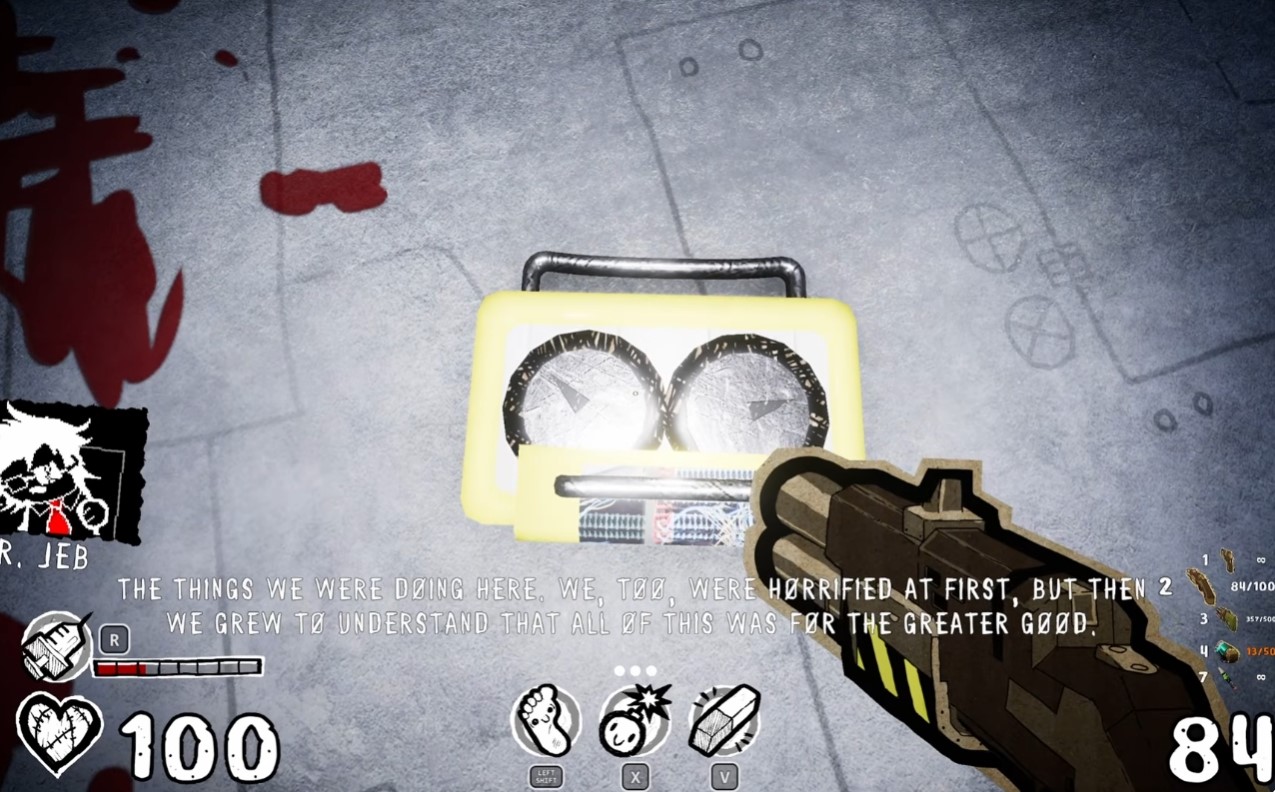
Chapter 12 — Jeb note
-
Watch the lore sequence about scientists working for the motherland and the Japetto project. The correct pronunciation is 'Japetto', not 'Gapetto'.
-
Sacrifice 500 paper clips to unlock Jeb the Scientist as a playable character. Saving paper clips is worthwhile to unlock new characters.
Chapter 13
Fight through Project HQ, solve the electricity puzzle, defeat the Shambler Boss, and destroy the Halo in the Freezer. Buy the 'Barrels drop ammo' upgrade to keep ammo stocked during heavy combat; heal while shooting to survive enemy swarms.
-
Fight through enemies in the Project HQ. Use the new weapon and explosives found in the area. Enemies seem to have more health, taking more than one bullet to kill.
-
You can heal yourself and shoot at the same time. Use this to survive tough fights. Healing while shooting is a useful tactic.
-
Go down the path; there is nothing above. Continue exploring the area.
-
Clear out the enemies first. Use bombs if needed. Bombs haven't been used in a while but are effective.
-
Buy the upgrade that makes barrels drop ammo. Save remaining clips for later. Barrels dropping ammo is a useful upgrade.
-
Draw on the scientist to generate electricity, as seen in the demo.
-
Get ready to fight dogs. Be cautious as they can dodge attacks. Dogs can dodge kicks, so be prepared.
-
A boss is ahead. Save ammo for the upcoming fight. There is definitely going to be a boss, so conserve ammunition.
-
Fight the Shambler, a bald armored creature with rocket launchers for arms. Remove its armor by kicking it multiple times or using explosive electricity, then shoot it until it dies. The syringe does not cure poison. The Shambler takes many hard shots to kill; focus on breaking its shield first.
-
Use the syringe to heal or remove poison. It functions similarly to the syringe in Super Hot. I really like the syringe; it reminds me of Super Hot.
-
The freezer opens, leading to a boss encounter. Prepare for a fight.
-
Break the halo to possibly reduce enemy health or stop creature spawning. Focus on destroying it while fighting enemies. I wonder if breaking the halo means they have less health or stops spawning creatures.
-
Use gold clips to buy upgrades. With three gold clips, purchase more bombs.
-
Locate a secret area, which triggers the 'Episode Zero' achievement featuring the demo character.
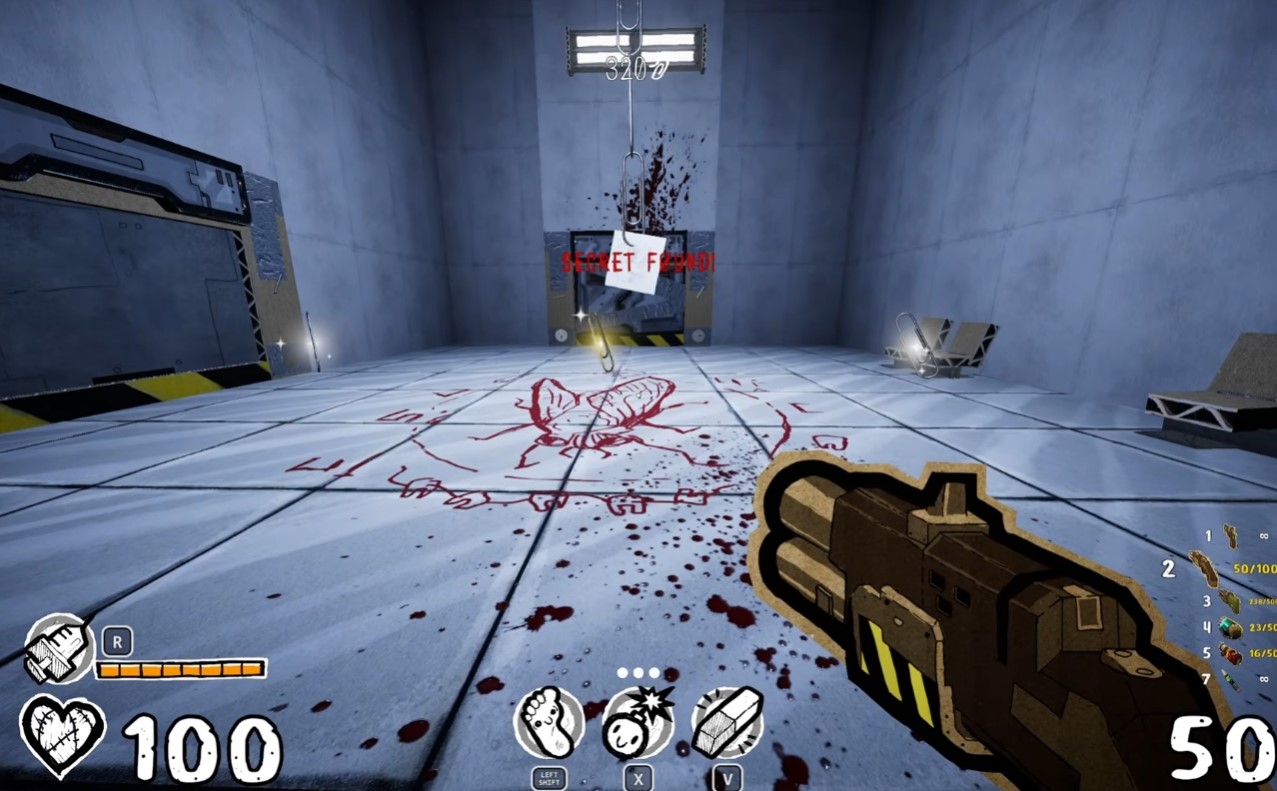
Chapter 13 — Episode Zero secret
-
Fight a spider-like creature that jumps on your face. Keep your distance and shoot it. It has a lot of health. It reminds me of a headcrab. It scared me when it jumped.
-
Fight a boss with multiple enemies. Focus on smaller enemies first, then the boss. Use headshots and rush when possible. The boss has a lot of health. I'm running out of ammo.
-
After defeating the boss, proceed to Jeppetto HQ flesh processing. Chapter 13 ends. That was fun. I like the ritual at the end.
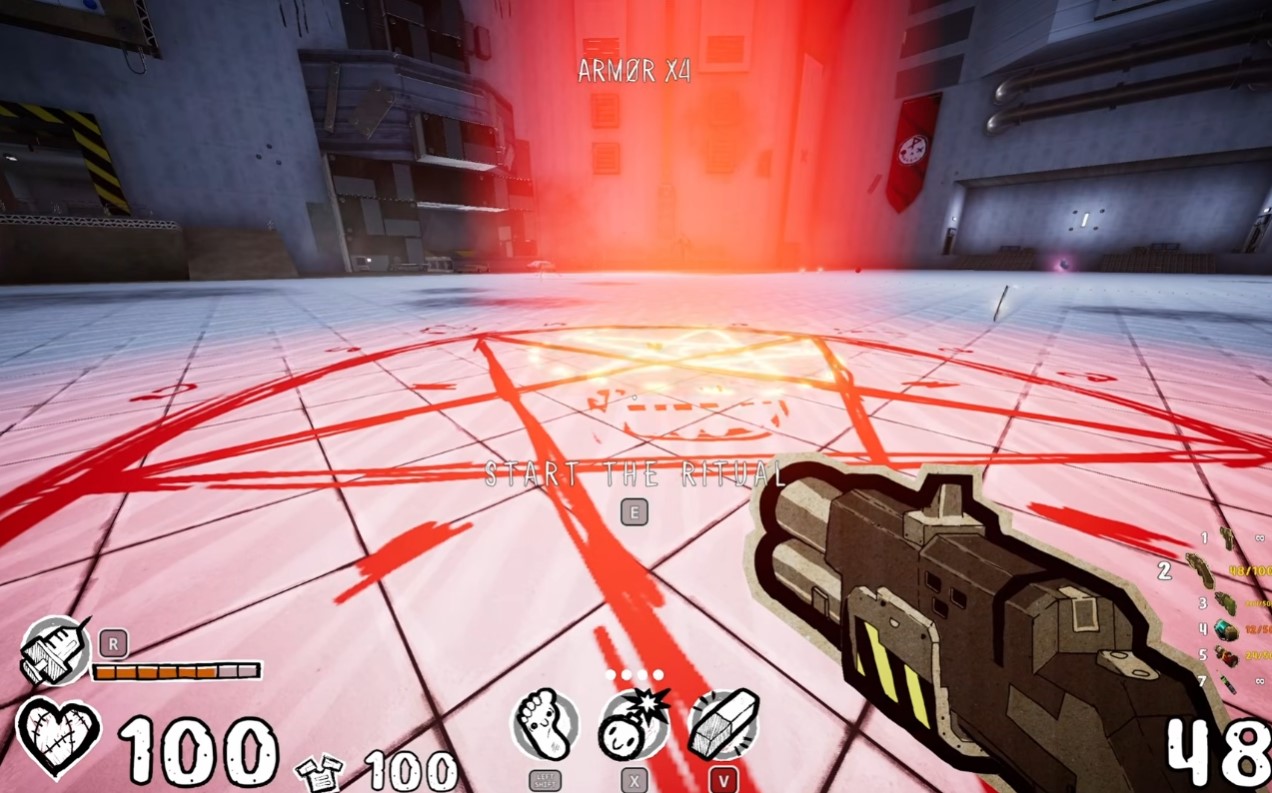
Chapter 13 — ritual
Chapter 14
Chapter 14 begins. The mercenary wanders through a conveyor belt of rotten meat and paper. Listen to the lore about the new Pinocchio project. Begin Chapter 14 and continue the walkthrough from the previous chapter's conclusion.
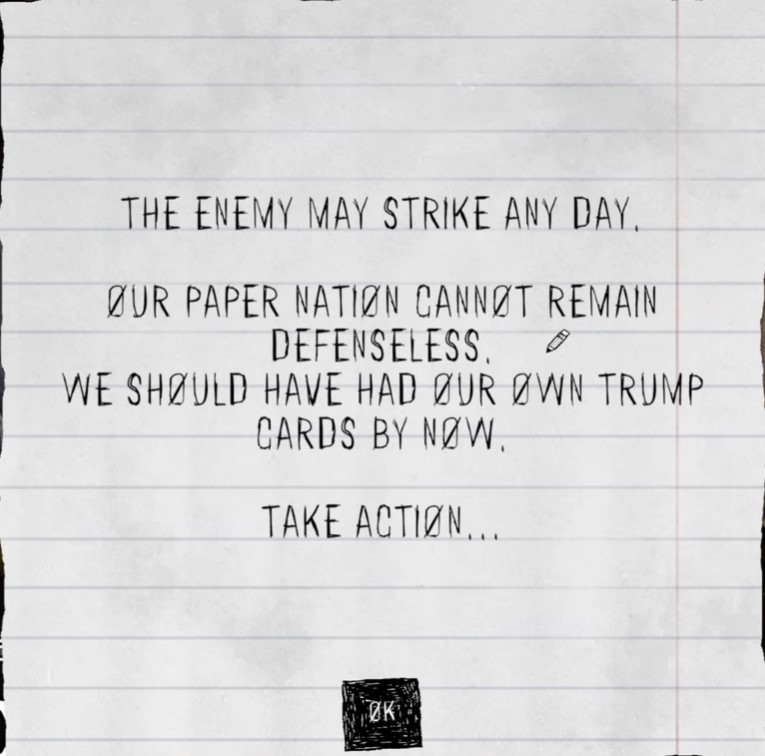
Chapter 14 — Pinocchio project note
Chapter 15
Chapter 15: Vivise Sector. The place where horrific operations on paper people were carried out. Immediately fight off enemies that spawn at the start. Navigate Chapter 15's combat encounters: Find the blue key, obtain an explosive weapon, and defeat the axe enemy, necromancer, and teleporting wizard.
-
Pick up the blue key. Look for a blue door to use it on.
-
Pick up a powerful explosive weapon. It has limited ammo (3 out of 6). I have a nuclear bomb in my inventory. Maybe I should have saved some ammo.
-
Fight an enemy wielding an axe. It deals a lot of damage. Dodge and attack from a distance if possible. That axe is a lot of damage.
-
The Necromancer: The necromancer only spawns minions when you are close. Shoot him from a distance to avoid spawning additional enemies. I can just shoot him from over here and I'll be fine.
-
Fight the wizard boss who teleports across the map and summons enemies. Focus fire on the wizard and manage the summoned adds. Conserve high-damage ammo for the boss. I should have saved my nuke for this fight. Conserve good ammo for the boss.
Chapter 16
Explore the Rituals lore section to uncover story details, then fight the Manager's guards in combat.
- Walk through the ritual chamber and read the lore entries about the god, the hybrids, and the Alpha project. Interact with the environment to trigger the story.

Chapter 16 — God of the Logs
- After the cutscene with the manager, fight the guards that appear. They have a lot of health, so use your remaining ammo carefully. I'm almost out of ammo here.
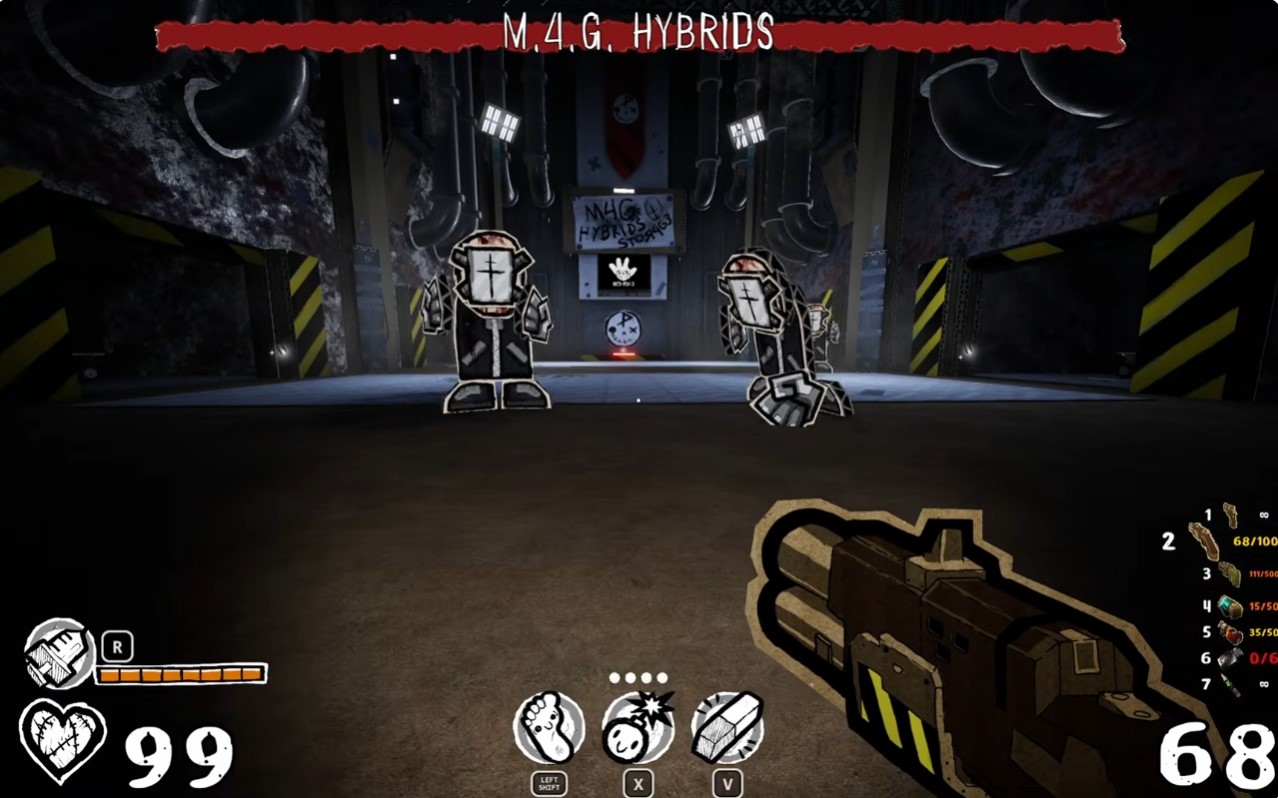
Chapter 16 — M.4.G hybrids
Chapter 17
Storm the Manager's fortress, defeat the hybrid and wizard, and survive the final waves of hybrid enemies.
-
Advance towards the manager's fortress. Destroy the generators on the outside to disable defenses. Fight through the guards and scientists. Their defenses are weak; the generators are on the outside and can be easily erased.
-
The Hybrid and Wizard: A hybrid and a wizard appear. Keep your distance from the hybrid and focus on killing the hybrids first before dealing with the wizard. The wizard shoots ricochet bullets. I should use my rockets more. I'll kill the hybrids first to focus on the wizard.
-
A large wave of enemies spawns, including enemies that create shock waves. Manage your ammo and switch weapons as needed. Use shields and health pickups if available. I'm going to run out of ammo; I need to switch weapons.
-
Fight off multiple waves of hybrid enemies. Prioritize destroying lag machines first. Manage ammo carefully and use distance to avoid fire attacks. After several waves, a larger hybrid boss appears. I should have upgraded my backpack capacity; ran out of ammo mid-fight. Enemies cause more lag than damage to my PC.
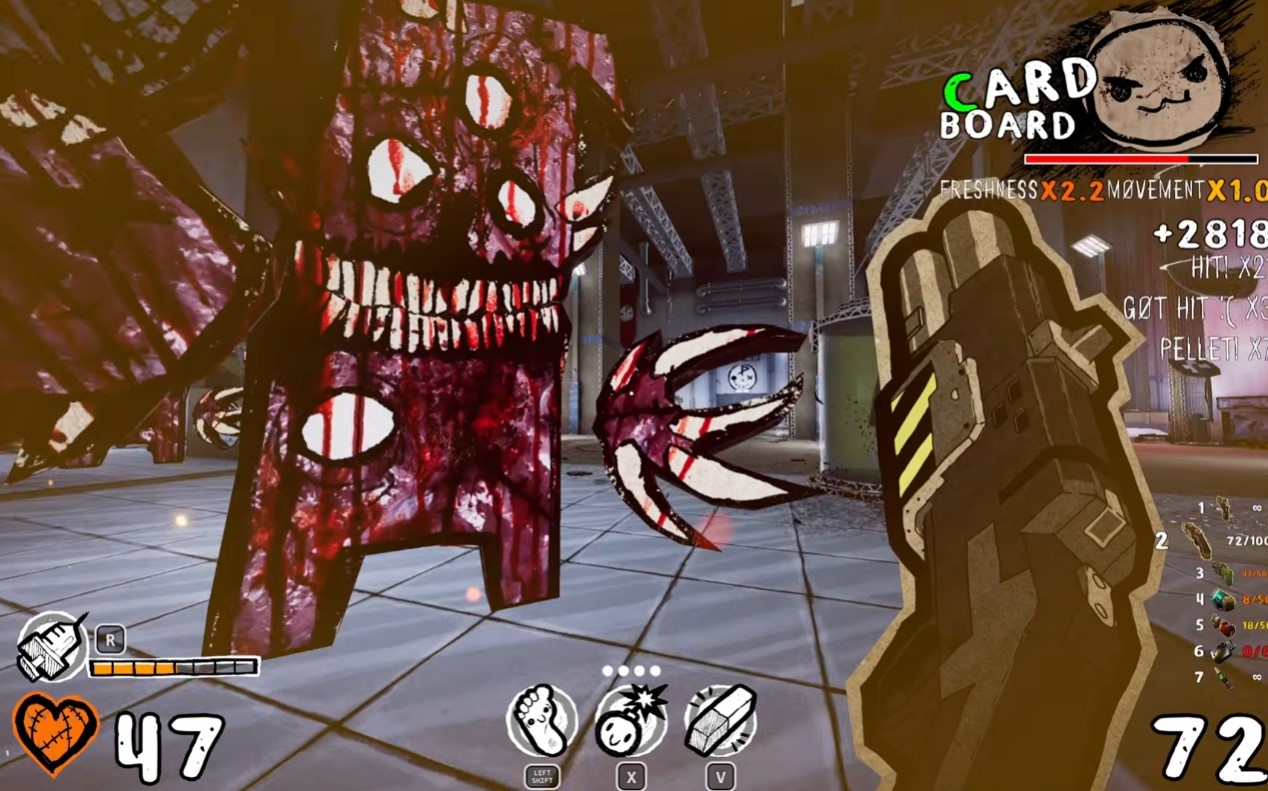
Chapter 17 — hybrid wave boss
Chapter 18
Last chapter — The Manager. I buy nuke ammo in both shops first.
- Purchase nuke ammo from the two shops before the fight. The Manager is a large humanoid boss with ram, jump, and plasma attacks. Use the machine gun on the boss and shotgun on smaller enemies. Keep distance to avoid ram attacks. Collect ammo drops and health pickups. After defeating the boss, place the beacon to trigger the ending. Machine gun for boss, shotgun for adds. Stay at range because his ram attack does massive damage. He gains jumping attacks and a plasma attack in later phases.
Leaf guides
| Page | Use when |
|---|---|
| All Bosses | Boss order + how I fought them |
| Beginners' Guide | Controls, pencil, shop |
| Golden Paper Clips | Clip spots + shop spends |
| All Puzzles | Keys, teeth, water, electricity, halo |
Done with PAPERHEAD? Pick next game.
Browse all guides or go back to homepage.
Browse all game guides →