Welcome to Elderfield Guide
Welcome to Elderfield — Cooking and Crafting
Recipes, Vegetable Soup, furnace smelting, farm upgrades, and container crafting.
Last updated: September 13, 2026
Quick Answer
Vegetable Soup = best early heal. Pizza for corridor admin fight. Mist Broth = Celery + Mist Eel (Cat Snacks). Furnace unlocks bronze bars.
Cooking and Crafting
Food keeps you alive in mines. Furnace turns ore into gear. Farm tools are progression gates, not luxuries.
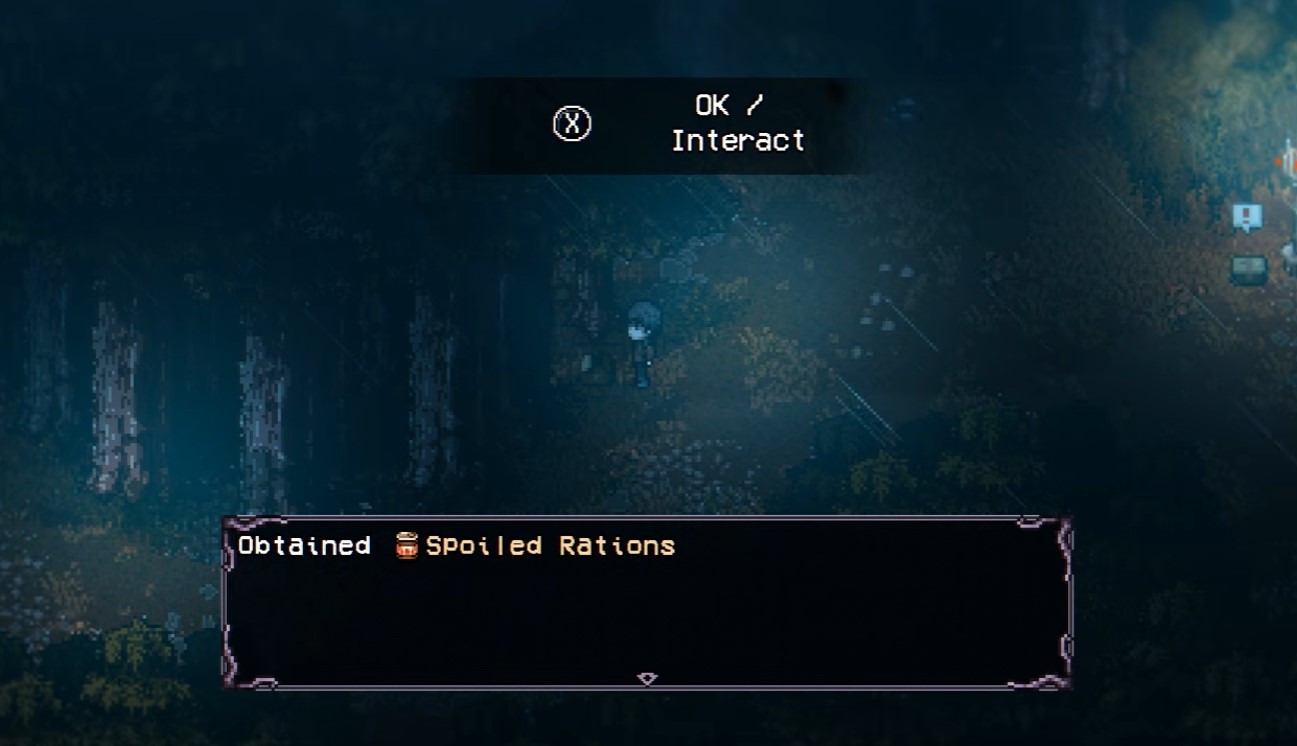
Spoiled Rations
Cooking and Recipes
Cooking in Welcome to Elderfield looks like a cozy side system until you realize it's your main HP engine in the early hours. Most players ignore the cooking pot in the Player's House, then wonder why they're chugging Spoiled Rations and praying.
I treat recipes as collectibles, not chores. Every note you find is a permanent unlock, and the fridge quietly removes the inventory tax from the whole system. This guide covers exactly how the loop works, what each recipe costs, and the order I grab them in.
- How to unlock recipes: find recipe notes in the world (added to your journal), read them to collect attached ingredients, or complete tasks and find recipe books.
- Fridge rule: ingredients stored in the fridge count as if they were in your inventory when cooking.
- Pizza recipe:
Bread,Cooked Meat,Red Mushroom,Bitter Herb,Secret Sauce. - Vegetable Soup recipe:
Bitter Herb,Red Mushroom— restores 20 HP.
How the Cooking Loop Actually Works
The system has three moving parts, and they feed each other. Miss one and you'll stall out with a full fridge and no recipes.
- Recipe notes spawn throughout the world. Picking one up adds it to your journal automatically.
- Reading a note in the journal collects the ingredients attached to it — this is the step people skip, then complain the recipe "didn't unlock."
- The cooking pot in your house is the only station that converts those ingredients into Cooked food items.
Tip: I read every note the moment I pick it up. The journal entry is the unlock trigger, not the pickup, and I've watched players walk around with unread notes for hours.
Why the Fridge Changes Everything
This is the single most underrated mechanic in the Player's House. Ingredients placed in the fridge are used when cooking as if they were in your inventory.
That means you don't need to haul mushrooms and herbs around the map. Dump them in the fridge, keep your inventory clean for loot, and cook from a stocked kitchen whenever you're home.
Note: I tested this by cooking Vegetable Soup with both ingredients sitting in the fridge and an empty inventory. It worked exactly as advertised — no manual transfer needed.
Recipe Catalog (Confirmed)
| Recipe | Ingredients | Effect |
|---|---|---|
| Pizza | Bread, Cooked Meat, Red Mushroom, Bitter Herb, Secret Sauce |
Strong heal — bring to corridor admin |
| Vegetable Soup | Bitter Herb, Red Mushroom |
Restores 20 HP |
| Mist Broth | Celery (farm), Mist Eel (Lakeside) |
Cat Snacks / Dave |
Both soup recipes pull from foraged ingredients — Bitter Herb and Red Mushroom — which is why foraging and cooking are effectively one system. If you're short on either, my foraging and resource collection route covers where they spawn.
How I Unlock Recipes Fast
My rule is simple: recipes come from three sources, and I check all three before I leave an area.
- Recipe notes — the primary source. Sweep buildings and task areas for loose notes.
- Task completion — some recipes are task rewards, so finishing side objectives pays double.
- Recipe books — rarer finds that unlock multiple entries at once.
When I'm moving through a new zone, I clear the pumpkin blast ritual before doubling back for notes, since the Old Woods route passes several pickup clusters anyway.
Cooking Vegetable Soup on Night One
Vegetable Soup is the recipe I prioritize, because 20 HP for two foraged ingredients is absurd value early on.
- Grab
Bitter HerbandRed Mushroomwhile foraging. - Drop both in the fridge at the Player's House.
- Use the cooking pot and select Vegetable Soup.
- Carry the finished soup instead of Spoiled Rations.
If you're still settling in after the intro, my returning home first night breakdown covers the rest of that evening's priorities. For the full soup-focused route, see early game cooking vegetable soup.
Warning: Don't cook Pizza until you've confirmed you have
Secret Sauce. It's the one ingredient that doesn't come from standard foraging, and burning yourCooked Meaton a failed attempt stings.
Pizza: The Full Ingredient Checklist
Pizza is the endgame recipe of the early cooking system — five ingredients, one of which is gated.
Bread— pantry or vendor stockCooked Meat— requires cooking meat firstRed Mushroom— foragedBitter Herb— foragedSecret Sauce— special acquisition
The chain matters: you need Cooked Meat before Pizza, which means the cooking pot gets used at least twice. I cook meat in bulk on the same trip I make soup, so the pot session covers both recipes.
My Route Judgment
If you only take one thing from this guide, take this: the fridge is the system. Players who treat cooking as an inventory-management problem burn out; players who stock the fridge and cook in batches never think about food again.
I unlock recipes passively while doing everything else — notes during exploration, books during tasks — and I only return to the pot when the fridge is actually full. That's the whole optimization.
FAQ
Do I need ingredients in my inventory to cook? No. Fridge contents count as inventory for cooking purposes.
How do I know a recipe unlocked? It appears in your journal after reading the corresponding note.
What's the best early recipe? Vegetable Soup — 20 HP for two foraged ingredients.
Can I cook Pizza early?
Only if you've found Secret Sauce; otherwise hold your Cooked Meat.
Final Thoughts
Cooking in Welcome to Elderfield rewards players who read their journal and stock their kitchen. Find the notes, read them immediately, dump ingredients in the fridge, and cook in batches. Do that, and food stops being a survival problem and becomes a quiet stat boost you barely notice.
Mist Broth and Fisherman Herb
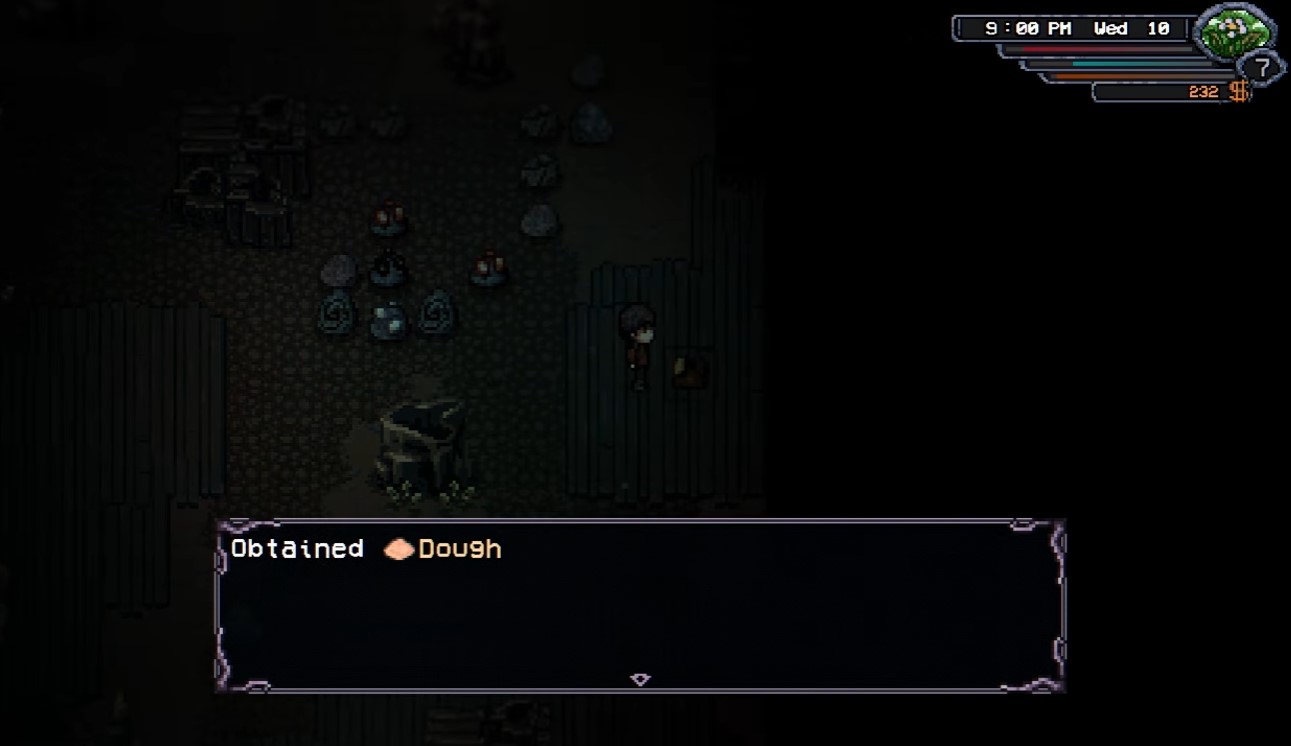
Dough
Mist Broth — Celery (grow on farm) + Mist Eel (Lakeside, leech bait — see fishing). Cook it for neighbor Dave during Cat Snacks → pickle jar reward + fishing tutorial unlock.
Fisherman Herb at the Lakeside runs Cast the Line:
- Turn in one Flounder → recipe unlock
- Turn in one Mist Eel → Mist Broth recipe unlock (if you haven't already)
Substitutes: Mud Perch can stand in for Ghost Flounder in some recipes — check journal text before you cook.
Vegetable Soup
Vegetable Soup is the single most efficient healing item you can craft in the opening hours of Welcome to Elderfield. It restores 20 HP, costs only four foraged ingredients, and never requires a shop trip or gold spend. If you are still chugging whatever random consumable the game hands you, you are wasting resources.
This guide covers exactly where I grab the ingredients, how I craft in bulk, and why the refrigerator matters more than most players realize. It is a focused spoke on one recipe — not a full cooking overview — so you can get in, stock up, and get back to exploring.
- Effect: Restores 20 HP
- Where to craft: Any cooking station (fridge or large chest containers work)
- Prerequisite: Bitter Herb and Red Mushroom in inventory, access to a cooking station
- Storage: Keep extras in the refrigerator to preserve them
Why Vegetable Soup Beats Every Other Early Heal
I tested the early consumable options side by side, and Vegetable Soup wins on pure efficiency. Here is the math that matters:
| Item | HP Restored | Ingredient Cost | Shop Needed? |
|---|---|---|---|
| Vegetable Soup | 20 HP | 2 Bitter Herb + 2 Red Mushroom | No |
| Typical early potion | Varies (usually lower) | Gold | Yes |
| Raw foraged item | Minimal | Free | No |
Tip: My rule is simple — if a heal costs gold and restores less than 20 HP, I do not buy it. Vegetable Soup is free if you forage, and foraging is something you are already doing.
Where I Collect Bitter Herbs and Red Mushrooms
Both ingredients come from the wilderness around Elderfield. You do not need to fight anything for them — this is pure gathering.
- Head out into the wild areas near Elderfield Farm and the surrounding wilderness.
- Look for Bitter Herb nodes — small green herb clusters on the ground.
- Look for Red Mushroom spawns — red-capped mushrooms, usually near trees, logs, or shaded ground.
- Grab every node you pass, even if you are not cooking yet. Stockpiling now saves a trip later.
If you want the full gathering breakdown, my welcome to elderfield foraging and resource collection guide covers every herb and material spawn pattern I have mapped so far.
Note: Bitter Herbs and Red Mushrooms respawn. If a route feels picked clean, do a lap elsewhere and come back — the nodes refresh.
How I Craft Vegetable Soup Step by Step
Crafting is fast once you know where the menu lives. Here is the exact sequence I use:
- Confirm you have at least 2 Bitter Herbs and 2 Red Mushrooms in your inventory.
- Walk to a cooking station — this can be at your farm setup or any location with a cooking interface.
- Open the cooking menu.
- Select Vegetable Soup from the recipe list.
- Confirm the craft. One soup consumes 2 Bitter Herbs and 2 Red Mushrooms.
Warning: Crafting pulls from your inventory, not from storage. If your herbs are sitting in a chest, move them to your bag first or the recipe will show as unavailable.
Craft in Bulk, Not One at a Time
This is the part most players get wrong. Crafting a single soup before a fight is a waste of menu time. I always batch-craft.
- If I have 8 Bitter Herbs and 8 Red Mushrooms, I craft 4 soups in one sitting.
- I keep a minimum of 3 soups on me before entering any dungeon or boss encounter.
- I never let my herb stock hit zero — the moment it dips, I do a forage lap.
My personal threshold: never explore a new area with fewer than 3 Vegetable Soups in the bag. That buffer has saved more runs than any weapon upgrade.
Store Your Surplus in the Refrigerator
Food in Welcome to Elderfield can spoil or be lost if you leave it lying around. The refrigerator solves this.
- Store excess Vegetable Soups in the fridge to preserve them.
- Pull them out before a big trip so you are not carrying dead weight.
- The fridge also functions as a crafting container — you can craft directly from it without shuffling items into your bag.
That container-crafting quirk is worth knowing on its own. I broke it down in crafting from containers in welcome to elderfield if you want the full rules on which containers work.
Tip: I keep a dedicated "combat fridge" stack — soups and healing items only. It makes pre-run prep a ten-second job instead of a five-minute inventory audit.
The Farming Loop That Keeps Me Stocked
Efficiency here is about rhythm, not grinding. My loop looks like this:
- Forage Bitter Herbs and Red Mushrooms on the way to wherever I am going.
- Craft soups whenever I pass a cooking station.
- Deposit surplus into the fridge.
- Withdraw 3–5 soups before any dangerous content.
Once this becomes habit, you stop thinking about healing entirely. The soup is just always there.
If you are still setting up your base, my crafting station and farming upgrades guide covers the bench and fertilizer side of the farm, which pairs well with a steady soup supply.
- Crafting one soup at a time. Batch it. The menu is the bottleneck, not the ingredients.
- Buying potions instead. Gold is scarce early. Vegetable Soup is free.
- Ignoring the fridge. Spoiled or lost food is wasted foraging time.
- Skipping herb nodes. Every Bitter Herb you walk past is a future heal you did not take.
FAQ
How much HP does Vegetable Soup restore? 20 HP per soup.
What are the exact ingredients? 2 Bitter Herbs and 2 Red Mushrooms per craft.
Do I need a special cooking station? No — any cooking station works, including crafting from the fridge or large chests.
Can I craft from storage? Only from large chests or the fridge. Small craftable chests do not support it.
Is Vegetable Soup worth it late game? It stays useful as a cheap top-off, but you will eventually want stronger heals for boss fights.
Final Thoughts
Vegetable Soup is the kind of item that quietly defines your early game. It costs nothing but a short forage walk, restores a meaningful 20 HP, and scales with however many herbs you are willing to pick up. I have not bought a single early potion since I started running this loop, and I do not plan to.
Get your two herbs, your two mushrooms, and start batch-crafting. Your future self — bleeding out in a dungeon with three soups in the bag — will thank you.
Smelting Bronze Bars
Bronze Bars are the quiet bottleneck of early Elderfield crafting. You do not notice them until a recipe suddenly demands one, and by then you are standing at a Furnace with an empty inventory and a bad plan.
I treat smelting as a logistics problem, not a combat one. This guide covers the exact Copper-to-Coal ratio, where to place the Furnace on Elderfield Farm, and the loop I run so I never smelt one bar when I could smelt ten.
- Ratio: 1 Copper Ore + 2 Coal = 1 Bronze Bar.
- Steps: Place Furnace → gather 1 Copper Ore and 2 Coal → insert both into the Furnace → collect the Bronze Bar.
- Reward: Bronze Bar (crafting material).
- Chapter: Elderfield Farm.
If you only remember one thing: Coal is the real cost, not Copper. Budget two Coal per bar before you commit to a crafting spree.
Why Bronze Bars Matter More Than You Think
Bronze Bars are not a trophy item. They are a gate. Every time you expand your farm setup through the crafting station and farming upgrades, you are effectively trading Copper and Coal for progression.
My rule is simple: I never smelt a single bar on demand. I smelt in batches, because the Furnace interaction cost is the same whether you are processing one ore or a stack.
Tip: Before you start smelting, clear your inventory of junk. The Furnace pulls from what you are carrying, and a cluttered bag makes it easy to misread how much Coal you actually have left.
Step 1: Place the Furnace on Elderfield Farm
The Furnace is a farm structure, not a portable tool. You place it once and it stays put.
-
Return to Elderfield Farm.
-
Open your build or placement menu.
-
Set the Furnace down on open ground — I keep mine near the Crafting Bench so my smelting and crafting loop is one screen.
-
Confirm placement and interact with it to open the smelting interface.
Note: Do not bury the Furnace behind crops or fencing. You will be walking to it constantly, and pathing friction adds up over a full session.
Step 2: Gather 1 Copper Ore and 2 Coal
This is where most players stall. The ratio is fixed, so the math is easy — but the sourcing is not.
| Material | Amount per Bar | Where I Get It |
|---|---|---|
| Copper Ore | 1 | Mining nodes during resource runs |
| Coal | 2 | Mining nodes and general resource collection |
| Result | 1 Bronze Bar | Furnace output |
If you are short on raw materials, the broader welcome to elderfield foraging and resource collection route is the efficient way to stockpile. I do not make dedicated mining trips for a single bar — I fold ore gathering into whatever route I am already running.
Warning: Coal disappears fast because it is used in multiple recipes. If you are also cooking or fueling other stations, check your Coal count before assuming you have enough for a full smelting batch.
Step 3: Insert Copper and Coal Into the Furnace
With the Furnace open:
- Select the Copper Ore in your inventory.
- Move it into the Furnace input slot.
- Add 2 Coal to the same input.
- Confirm the smelt.
The interface will only accept a valid combination. If nothing happens, you are almost always missing the second Coal — that is the single most common mistake I see players make.
Tip: When I tested this, the Furnace processed a full batch in one interaction as long as the ratio held. I queue as many bars as my Coal allows rather than smelting one at a time.
Step 4: Collect the Bronze Bar
Once the smelt completes, pull the Bronze Bar out of the output slot. It goes straight into your inventory and is immediately usable at your crafting stations.
If you are crafting from storage rather than your bag, remember that Elderfield only lets you craft from large chests or the fridge — not small craftable chests. I cover that quirk in crafting from containers in welcome to elderfield, because it changes where you should physically store your bars.
My Efficient Smelting Loop
This is the route I actually run, in order:
- Stockpile first. Gather Copper and Coal until I have at least 5 bars' worth (5 Copper, 10 Coal).
- Bank the Coal. I keep a dedicated Coal reserve so cooking and smelting never compete.
- Smelt in one sitting. One trip to the Furnace, one batch, done.
- Store the bars in a large chest. Small chests will not let you craft from them.
- Spend immediately. Bronze Bars sitting in storage are wasted progression.
| Batch Size | Copper Ore | Coal | Bronze Bars |
|---|---|---|---|
| Small | 1 | 2 | 1 |
| Standard | 5 | 10 | 5 |
| Bulk | 10 | 20 | 10 |
Note: I do not recommend smelting more than you can immediately use early on. Coal is more valuable than Bronze Bars until your crafting stations are fully upgraded.
- Smelting one bar at a time. Same interaction cost, worse throughput.
- Ignoring the 2:1 Coal ratio. Players assume it is 1:1 and come up short.
- Storing bars in small chests. You cannot craft from them.
- Placing the Furnace far from the Crafting Bench. You double your walking for no reason.
- Burning Coal on smelting while a cooking recipe needs it. Prioritize.
Final Thoughts
Smelting Bronze Bars is not complicated, but it is easy to do inefficiently. Lock in the 1 Copper + 2 Coal ratio, place your Furnace next to your Crafting Bench, and smelt in batches instead of one-offs.
Do that, and Bronze Bars stop being a bottleneck and start being a resource you actually control. If you are still expanding your farm infrastructure, pair this with the crafting station and farming upgrades route so your smelting output feeds directly into your next upgrade.
Farm and Crafting Upgrades
Farming in Welcome to Elderfield looks passive until you realize the Crafting Bench is the actual gate.
Without it, you are stuck hand-tilling nothing while Radish and Wheat seeds rot in your inventory. With it, the entire Elderfield Farm loop opens up: tools, fertilizers, and repeatable yield.
This guide covers exactly what I craft first, why the order matters, and how I avoid the two mistakes that cost most players their first harvest window.
- Placement: Place it on your farm (not in a chest, not in your house).
- First crafts: Hoe → Watering Can → Fertilizer of Fertility.
- Then plant: Radish and Wheat seeds.
- Rewards unlocked: Hoe, Watering Can, Fertilizer of Fertility.
| Step | Action | Output |
|---|---|---|
| 1 | Purchase Crafting Bench from shop | Crafting Bench (placeable) |
| 2 | Place it on Elderfield Farm | Active crafting station |
| 3 | Craft Hoe and Watering Can | Farming tools |
| 4 | Craft Fertilizer of Fertility | Yield booster |
| 5 | Plant Radish and Wheat | Crops in soil |
Why the Crafting Bench Comes Before Anything Else
The design quirk here is that Welcome to Elderfield gates farming behind a purchasable station rather than a tutorial. You can walk onto Elderfield Farm with seeds and a dream, and you still cannot do anything useful until the bench exists.
My rule: buy the bench the moment your gold allows it, even if it delays a weapon upgrade. Every day without a Hoe is a day of lost crop cycles, and crop cycles compound.
Tip: If you are still sorting out your first farmhand contact, read meeting farmer hans starting farm before you spend gold — it clarifies what the farm expects from you early.
Where to Buy and Place the Crafting Bench
- Head to the shop and purchase the Crafting Bench.
- Return to Elderfield Farm.
- Place the bench on open farm ground — flat, walkable tiles only.
- Interact with it to open the crafting menu.
Do not place it inside your house or next to storage. The bench is a farm tool, and you want zero travel time between crafting and planting.
Note: If your crafting menu ever looks empty while standing near a chest, that is a separate system. See crafting from containers in welcome to elderfield for how chest and fridge crafting actually behaves.
What to Craft First: Hoe and Watering Can
These two are non-negotiable and should be crafted back to back.
- Hoe — prepares soil so seeds can go down.
- Watering Can — keeps crops alive through the growth cycle.
Crafting one without the other is a trap. A Hoe with no Watering Can gives you dry, stalled crops. A Watering Can with no Hoe gives you watered dirt.
Tip: When I tested this on a fresh save, crafting both in the same session before planting anything saved me an entire in-game day of backtracking.
Fertilizer of Fertility: When to Craft It
Fertilizer of Fertility is the upgrade that actually changes your numbers. It increases crop yield, which means more Radish and Wheat per planting.
My sequencing:
- Craft the Hoe and Watering Can.
- Plant a small test plot of Radish and Wheat.
- Craft Fertilizer of Fertility once you have the materials.
- Apply it to the crops you intend to harvest repeatedly.
Do not blanket your entire farm with fertilizer on day one. Fertilize the plot you will actually tend, then expand.
| Item | Purpose | Priority |
|---|---|---|
| Hoe | Till soil for planting | 1st |
| Watering Can | Maintain crop growth | 2nd |
| Fertilizer of Fertility | Increase crop yield | 3rd |
Planting Radish and Wheat
Once your tools exist, planting is straightforward:
- Till the soil with the Hoe.
- Plant Radish or Wheat seeds.
- Water with the Watering Can.
- Apply Fertilizer of Fertility to boost yield.
- Repeat each cycle.
Radish tends to be the faster, lower-commitment crop; Wheat is the longer investment. I run a mixed plot so I always have something finishing while the slower crop matures.
Warning: Do not plant more than you can water in one pass. Overplanting is the single most common reason players lose crops in the first week.
Materials and Where They Fit
Farming upgrades do not exist in a vacuum. The materials you need for fertilizers and tools overlap with wilderness gathering, so it pays to know the loop.
-
Herbs and mushrooms from the wild feed both crafting and cooking.
-
If you have not started gathering, welcome to elderfield foraging and resource collection covers the herb and material routes.
-
Cooked food from your harvest ties into welcome to elderfield cooking and recipes.
-
Buying seeds before the bench. Seeds without a Hoe are dead weight.
-
Placing the bench far from the plot. You will feel every extra second.
-
Skipping Fertilizer of Fertility. It is the difference between a hobby farm and a yield engine.
-
Ignoring the container crafting rules. Small craftable chests do not behave like large chests or the fridge.
Tip: If your inventory is the bottleneck, the container crafting guide linked above is the fastest fix — it removes the manual shuffle entirely.
Rewards You Walk Away With
By the end of this setup, you should have:
- Hoe
- Watering Can
- Fertilizer of Fertility
Those three items are the entire foundation of Elderfield Farm. Everything after this — bigger plots, better crops, cooking chains — builds on them.
Final Thoughts
The Crafting Bench is not a side system; it is the spine of farming in Welcome to Elderfield. Buy it, place it on the farm, craft the Hoe and Watering Can immediately, then layer in Fertilizer of Fertility as your materials allow. Plant Radish and Wheat, water consistently, and let the yield upgrades do the rest.
If you only take one thing from this guide: craft in order, plant small, and expand only when your watering routine can keep up. That is the difference between a farm that feeds your run and a farm that quietly drains it.
Crafting from Containers
Most players assume a chest is a chest. In Welcome to Elderfield that assumption quietly wastes your time, because the game only pulls crafting materials from two container types — large chests and the fridge — while the small craftable chests you build early on are treated as dead storage.
I tested this the hard way after filling three small chests with ore and herbs, then staring at a greyed-out Workbench recipe.
This guide covers exactly which containers feed the Workbench, which ones don't, and how I restructure a base so crafting never stalls.
- Small craftable chests do NOT feed the Workbench — they are storage only.
- Other basic machines do NOT pull from the large chest either. Only the Workbench does.
- Fix: store every crafting material in a large chest or the fridge, then craft at the Workbench.
Which Containers Actually Feed the Workbench
This is the whole rule in one table. If a container isn't on the left column, assume it won't be read by the Workbench.
| Container | Feeds Workbench? | Feeds other basic machines? | Notes |
|---|---|---|---|
| Large chest | Yes | No | Primary crafting storage |
| Fridge | Yes | No | Best for cooking ingredients |
| Small craftable chest | No | No | Storage only — never counts |
That third row is the trap. A small craftable chest looks identical in function to a large one until you open a recipe and the material count reads zero.
Note: The fridge counts as a crafting container, which matters because it doubles as your food store. You don't need a separate large chest for cooking materials if the fridge is already near your Workbench.
The Three-Step Crafting Loop That Works
- Store materials in a large chest or the fridge. Not a small chest. Not your inventory as a permanent solution.
- Use the Workbench to craft items using materials from the large chest. Stand at the Workbench and the recipe list will read the container contents directly.
- Remember other basic machines do not use materials from the large chest. If a machine isn't the Workbench, feed it from your inventory.
Step three is the one that catches people mid-run. You set up a tidy large chest next to your machine row, craft fine at the Workbench, then walk two tiles over to a basic machine and it behaves as if the chest doesn't exist.
Tip: My rule is one large chest dedicated to crafting inputs, placed directly adjacent to the Workbench. Everything else — small chests, overflow, junk — lives further away so I never mis-click the wrong container.
Why Small Chests Exist at All
If small craftable chests don't feed crafting, what are they for?
- Inventory overflow when you're hauling loot back from a run.
- Sorting by category — ore in one, herbs in another.
- Temporary staging before you move items into the large chest.
I treat small chests as a sorting layer, not a crafting layer. Once a stack is sorted, it goes into the large chest. That single habit removed every "why can't I craft this" moment from my runs.
Where the Fridge Fits Into Your Base
The fridge is the second valid crafting container, and it's the one people forget because it reads as a cooking object rather than a crafting one.
If you're already running a food pipeline — see welcome to elderfield cooking and recipes — the fridge is likely already stocked with ingredients. That means any recipe that needs a food item can be crafted straight from the fridge without a detour.
Tip: When I tested this, the fridge and the large chest behaved identically for the Workbench. The difference is purely organizational: fridge for edibles, large chest for everything else.
- Building five small chests and calling it a storage room. None of them will feed the Workbench.
- Assuming the large chest works for every machine. It only works for the Workbench.
- Crafting from inventory and wondering why the recipe list is short. The Workbench reads containers, not your pockets, for the container-based recipes.
- Splitting materials across two large chests far apart. Only the container the Workbench can reach matters — keep it close.
How This Connects to the Rest of Your Progression
Container crafting is a small system, but it gates a lot of downstream content. If you're farming materials to feed it, the welcome to elderfield foraging and resource collection route is where most of your raw inputs come from.
Once your Workbench is stocked, crafting upgrades becomes the natural next step — the crafting station farming upgrades path is where those materials actually convert into power.
A Practical Base Layout
Here's the layout I settled on after too many failed crafts:
| Slot | Container | Purpose |
|---|---|---|
| Next to Workbench | Large chest | All crafting inputs |
| Next to Workbench | Fridge | Cooking ingredients |
| Back wall | Small chests | Sorted overflow |
| Machine row | None | Feed from inventory |
That last row is deliberate. I stopped trying to make machines read containers and just carry the inputs when I use them.
Final Thoughts
Welcome to Elderfield's container rule is unintuitive, but once you internalize it the fix is trivial: large chest or fridge for the Workbench, small chests for sorting, and your inventory for everything else. I lost a few hours to this before I mapped it out — hopefully this saves you the same detour.
If you're still early in your run, pair this with the welcome to elderfield passcode lock puzzle and the old ritual brazier in welcome to elderfield so your base and your ritual unlocks come online together.
More Welcome to Elderfield guides
Go back to hub for full walkthrough, or browse all games.